DIY Artist Workspace

If you're an artist with an imagination, you need the tools and the space, to bring your ideas to life. If you've seen my previous videos, you might know that my wife gave up our spare bedroom, to give me my own office. Since I spent so much time creating my own perfect workspace, I wanted to do the same for her.
Just a disclaimer: My wife and I are total beginners when it comes to woodworking, we aren’t professionals. Our process was full of mistakes, but we learned so much in the process. My goal with this post is to share what we did, how we did it, and the resources and tools we found most useful.
Watch a tour of the space and the entire process.
Quick note: Some of the links provided below are affiliate links, which I receive a small commission for at no extra cost to you. Shopping through those links is the easiest way to support my content. Thank you.
Designing the space
Belinda is a multi-disciplinary artist, which includes illustration, paper craft, digital design work, and everything in between. So she needed a workspace that could hold all of her tools, and was big enough for all of her various projects. Here are a few goals we kept in mind when designing this space.
Function. It's an artist work space that will be have multiple uses.
Comfort. This workspace is in the living area, and we don't want it to feel like a workspace.
Flow. We don't want the space to feel cluttered but instead make the space feel larger.
Storage. Keeping in mind all the items that need to fit, utilizing the space efficiently.
Inspiring. Make it good. Make it beautiful. Something you want to look at every day.
Check out this video for more tips on how I organize my space.
Sketches
We began by measuring the available space, and all of the furniture we planned to keep. To quickly rough out ideas, we sketched out some design options. We wanted to build a long floating desk, connected to a floating credenza for storage, and shelves above it.

Building in 3D
Once we had a general idea of what we wanted, we built our living room (to scale) in our favorite 3D tool, Cinema 4D. This helped us get a better idea of the layout and flow of the space, before committing to any plans or purchases.


Finalizing the plans
After a few iterations, we landed on a design we liked, and then created plans with the exact measurements of every piece in Adobe Illustrator. It was pretty difficult to get get all the math right right, but it’s worth triple checking everything. This was helpful in determining the amount of wood and materials we’d need to purchase to complete this build.

Using tape to test
Finally, we taped a silhouette outline of the build on the wall to mark where everything would be. This helped us visualize what it look like in this space, and make sure it felt just right.

Choosing the right wood
The biggest decision we had to make up front is what wood species we should work with. Our floors are dark so we wanted to use a wood that was a lighter in value for contrast, and strong enough to hold a good amount of weight.
Some of the most popular hardwoods people work with are:
Oak
Birch
Maple
Ash
Walnut
We chose 3/4" White Oak plywood for its color and strength. While we would've liked to go with solid wood, it was about 3-4 times more expensive and much harder to find at the large sizes we wanted. We ordered our wood from a local lumber yard here in LA, Bohnhoff Lumber Co., and had it delivered to our place.


Cutting the plywood
Handling a 4'x8' sheet of plywood can be a bit challenging. We prepped ourselves by watching this video by Steve Ramsey. In it he explains everything from transporting large sheets of plywood to breaking it down. We found it very helpful in our process.
Using our plans, we began to cut our pieces using a circular saw. We laid out a few pieces of 2’x4’wood planks underneath to support our sheet as we cut.

Useful tools for cutting plywood
Useful Tips for Cutting plywood
Use the right blades. Before you cut anything, make sure you're using the right kind of blade for the job. Unfortunately we started by using general blades, which left a lot of chipping on the end of our plywood. Eventually we caught on and then bought a plywood blade for the job, which cut much cleaner. We purchased Diablo blades for our table saw, miter saw and circular saw.
Another trick we learned to prevent fraying is using frog tape over where we planned to cut. This can be a bit tedious, but worth it if you want to have the cleanest edges.


Measure with allowance. If you’re doing this all for the first time (and if you don’t have the best tools), we recommend leaving a 1/2" - 1" allowance on each side. to leave room for mistakes. If you follow Steve Ramsey’s process in the video above, you’ll have a chance to cut cleaner edges (and fix your mistakes) when you do your final cuts.
Putting the pieces together
With all of our pieces cut, we began the process of joining everything together. This is a multi-step process starting with drilling dowel holes, applying edge banding, sanding, then finally gluing together. We’ll break down each.
Drilling dowel holes
Dowel joinery is very strong, allows for a clean surface, with no visible screws or nails. We used a dowel jig to create and line up holes between adjacent pieces. Later in the process, we filled these with wooden dowels and glue, to combine the pieces together.
Tools
3/8" Wooden Dowels
The size of the dowel depends on the thickness of the wood. Our plywood was 3/4" thick.

Edge banding - Hiding those plywood edges
With most of the pieces cut and prepped with dowel holes, we moved onto edge banding. Which is a process of taking a real wood veneer and gluing it along the plywood edges to hide it's layered look. You can buy these in rolls that match your wood species that come with adhesive on the back. This gives the illusion that the furniture was build with solid wood.
Tools
We ironed on the wood veneer on all the visible edges, using an iron on the hottest setting to melt the glue from the veneer. We made sure to let the adhesive cool for about 15-20 minutes before trimming.

We used an edge trimmer and flush cutters to trim off the excess edge banding.


Gluing
To glue everything together, we filled in our dowel holes with glue and our wooden dowels. Sometimes the pieces wouldn’t fit together easily on the dowels, so we had to use the assistance of our clamps, to apply strong, even pressure on all sides of the board. We found this to be much better than using a mallet.
Tools
3/8" wood dowels. This size works well for 3/4" plywood.
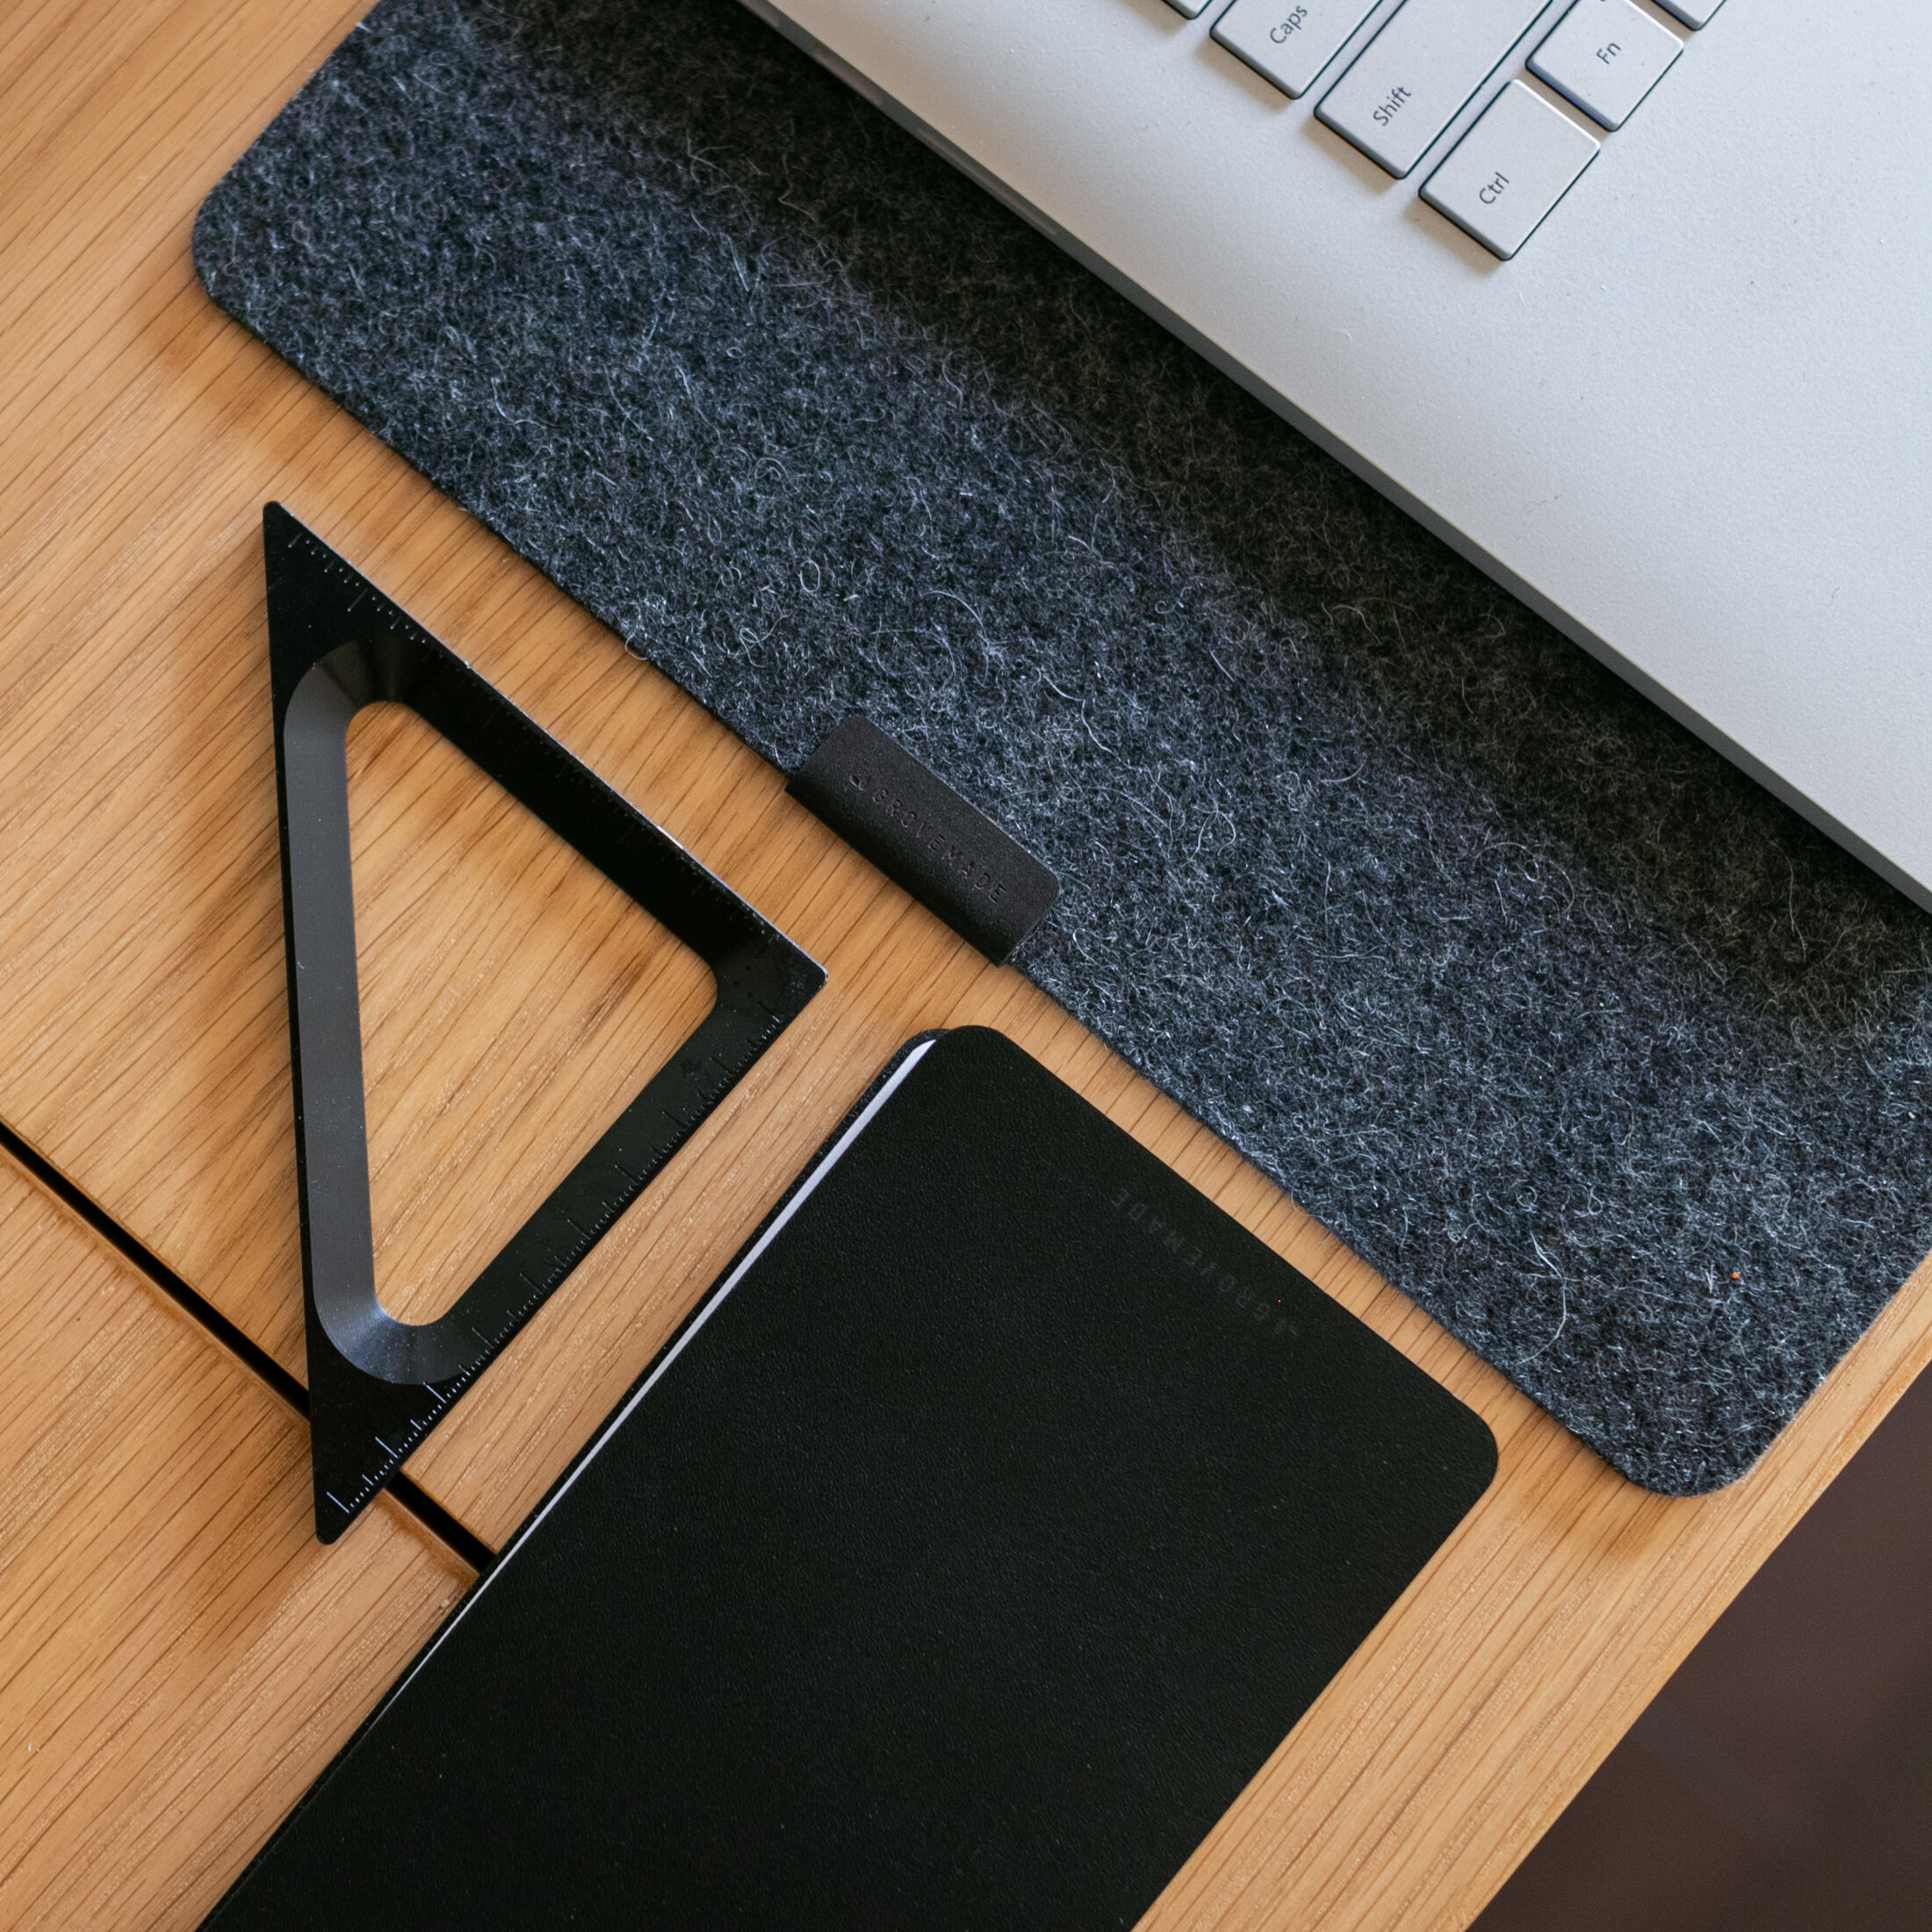
You'll need a lot of clamps for larger projects. We used 8-10 clamps for this project and let it set over night. Make sure everything is 90 degrees before the glue sets. Our Grovemade triangle came in handy for this job.

Getting dowels to line up can be a bit tricky. Some of our dowels weren't aligned perfectly and there were a few times we made the call to skip one dowel hole to make the rest fit.

Gorilla glue is surprisingly strong. Trust the glue and let the clamps do the work. Always check that your angles are 90 degrees.
Sanding
To prep the surfaces for finishing and to smooth the imperfections out, we sanded everything down using a 220 grit sandpaper. A recommended grit for plywood. We sanded until smooth to the touch. Then we manually sanded the corners of the desk to “break the edge, ” also known as a chamfered edge. This is important to do on any edge where your arms might come into contact with your desk.
Tools/Supplies

Wood Finish
To finish the wood, we used Osmo Polyx Oil, a natural blend of oil and wax. We applied two thin coats using a non-abrasive pad. This tinted the wood a few shades darker, brought out the natural textures in it, and gave it a protective coating for use. Check out this video by Matt Estlea, where we learned about this wood finish.


Mounting the desk to the wall
Once the finish dried, it was the moment of truth. Mounting everything to the wall. We designed the desk and credenza to mount with a French cleat. The French cleat is very durable and can hold heavy weights. Plus, it makes it easier to level and mount your furniture.
Tools
Also check out this video from Modern Builds, in here he demonstrates mounting furniture using a French cleat.
I first used a stud finder and marked all of the posts with tape. Then we drilled the cleats into the studs, using cabinet screws and triple checked if everything was leveled.

Then we lifted the credenza, and the desk to sit on top of the french cleats. They fit almost perfectly together, but needed some light hammering to get it all snug. Once in place, we screwed the top part of the cleats in, to lock everything on the wall.


Hinges
Thank you Peter Millard for teaching us everything we know about hinges. Peter does a great job explaining what kind of hinges will work for your project in this video. There are so many types of hinges we had to learn about before we purchased the right kind for our build.
Tools & Hinges
Blum - Full Overlay Soft Close Hinge. With this hinge, it allows the cabinet door to be set on the outside face of the cabinet.

Useful Tips using the Kreg concealed hinge jig
Another great explanation on the Kreg hinge jig by Peter Millard.
Hinges should be at least 2" from the edge of the door. Some people like to go further away from the edge. We measured our hinges 2" away from the edge.
Unfortunately our doors didn't fit because we didn't leave a wide enough gap between each piece. This made it difficult to install so we had to trim them down till we had an 1/8" gap between the doors. This left enough space for the door to open and close without butting up against the one next to it.

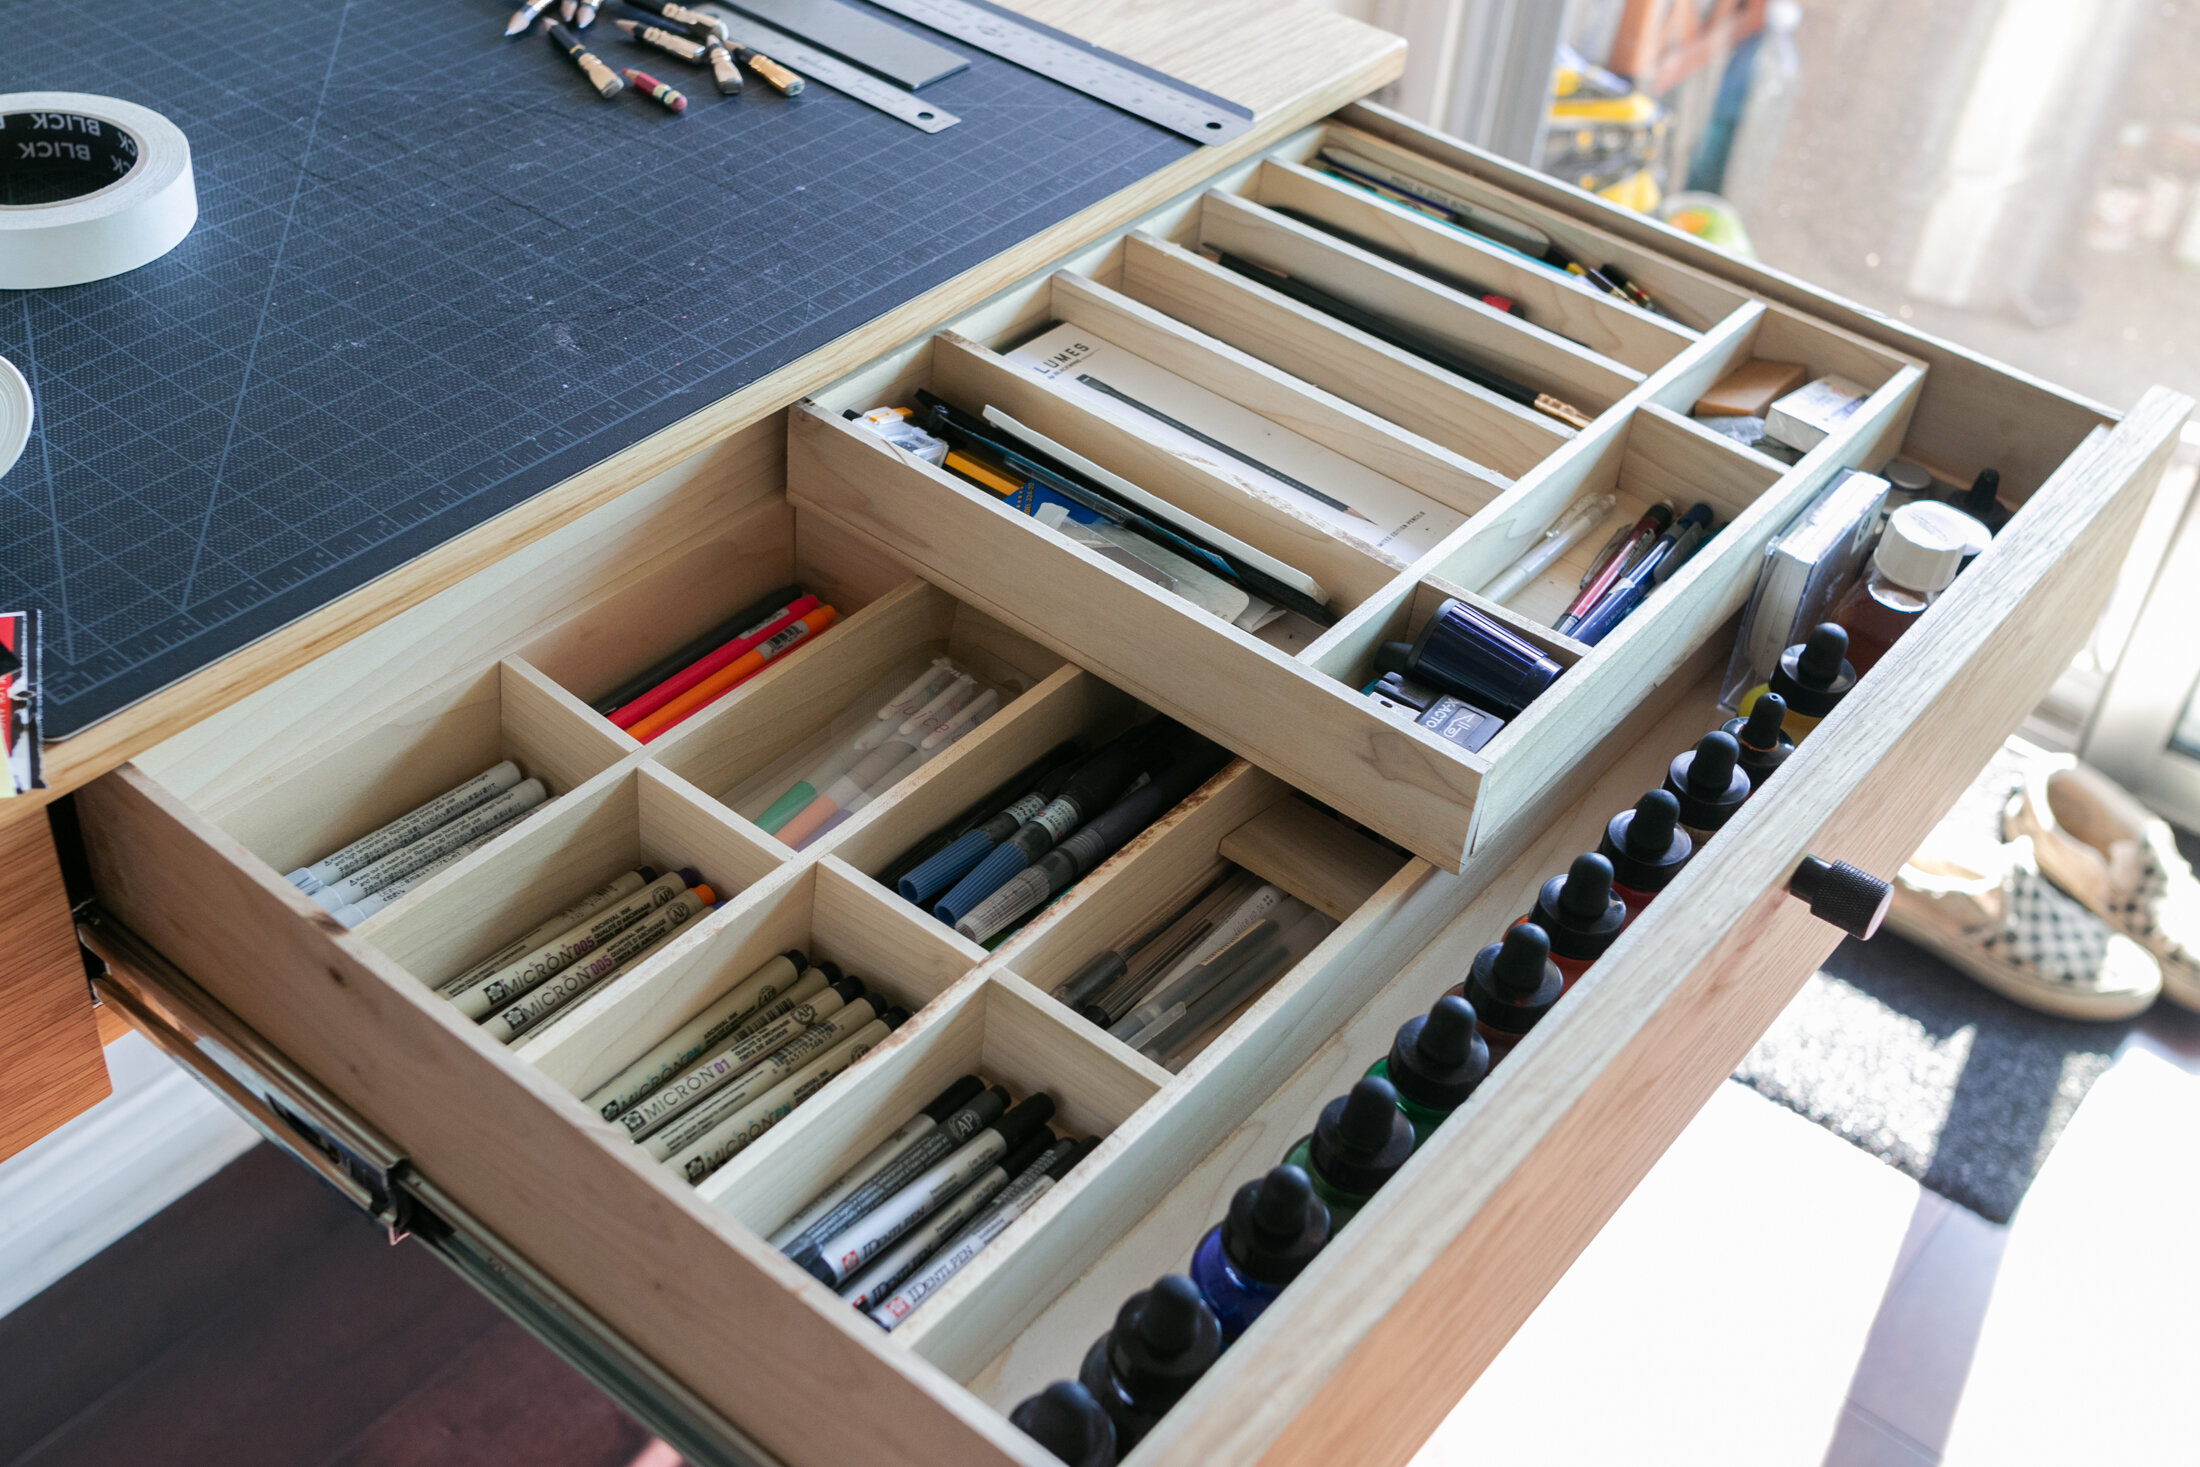
Building an organized art drawer
To hold Belinda’s miscellaneous tools and mediums, we decided to design a custom drawer.vFiguring out this drawer was like figuring out the entire space– it was it’s own little project. This drawer was designed to host a variety of pens, pencils, and ink, and it all needed to be easily accessible, utilizing the entire drawer space.

Supplies
Here's some inspiration we watched preparing for this drawer.
First, we placed every item inside the drawer measuring out rows and columns. Belinda decided to glue down the row dividers and leave the column dividers modular in case she wanted to change anything later.

Belinda even realized there was enough room to stack another organizer tray on top to slide from side to side.

Installing the ball-bearing slides were pretty simple. Here’s a video on how we learned to install these slides.

Fixtures and knobs
To finalize the desk, cabinets, and drawers, we added a few final touches to complete their designs.
Knobs
We installed black knobs on the cabinet doors and drawers. This gave everything a nice black accent.
Supplies
Flush power outlet
We installed a power outlet on top of the cabinet for quick access to plug in devices. We cut the hole for the outlet with my dad’s jigsaw.

To hide our cables easily, we drilled a 2" hole and installed a grommet to run cables through and connect to a hidden (second) surge protector inside the cabinet.
Supplies
Shelves
Belinda has a lot of books she uses for reference and inspiration. That’s why we included a few overhead shelves in the design of her space
Supplies
We installed all the shelves using heavy duty brackets and drilled into the studs with cabinet screws. Then we screwed the shelves securely to the brackets using 1/2" wood screws.

Organizing
With the build out of the way, we shifted our focus to organizing the space. We took inventory of Belinda's sketchbooks, tools, and crafting materials. Then organized them using stackable plastic drawer bins. We originally got these from Muji a few years ago– they're a great way to make the most of your vertical space.

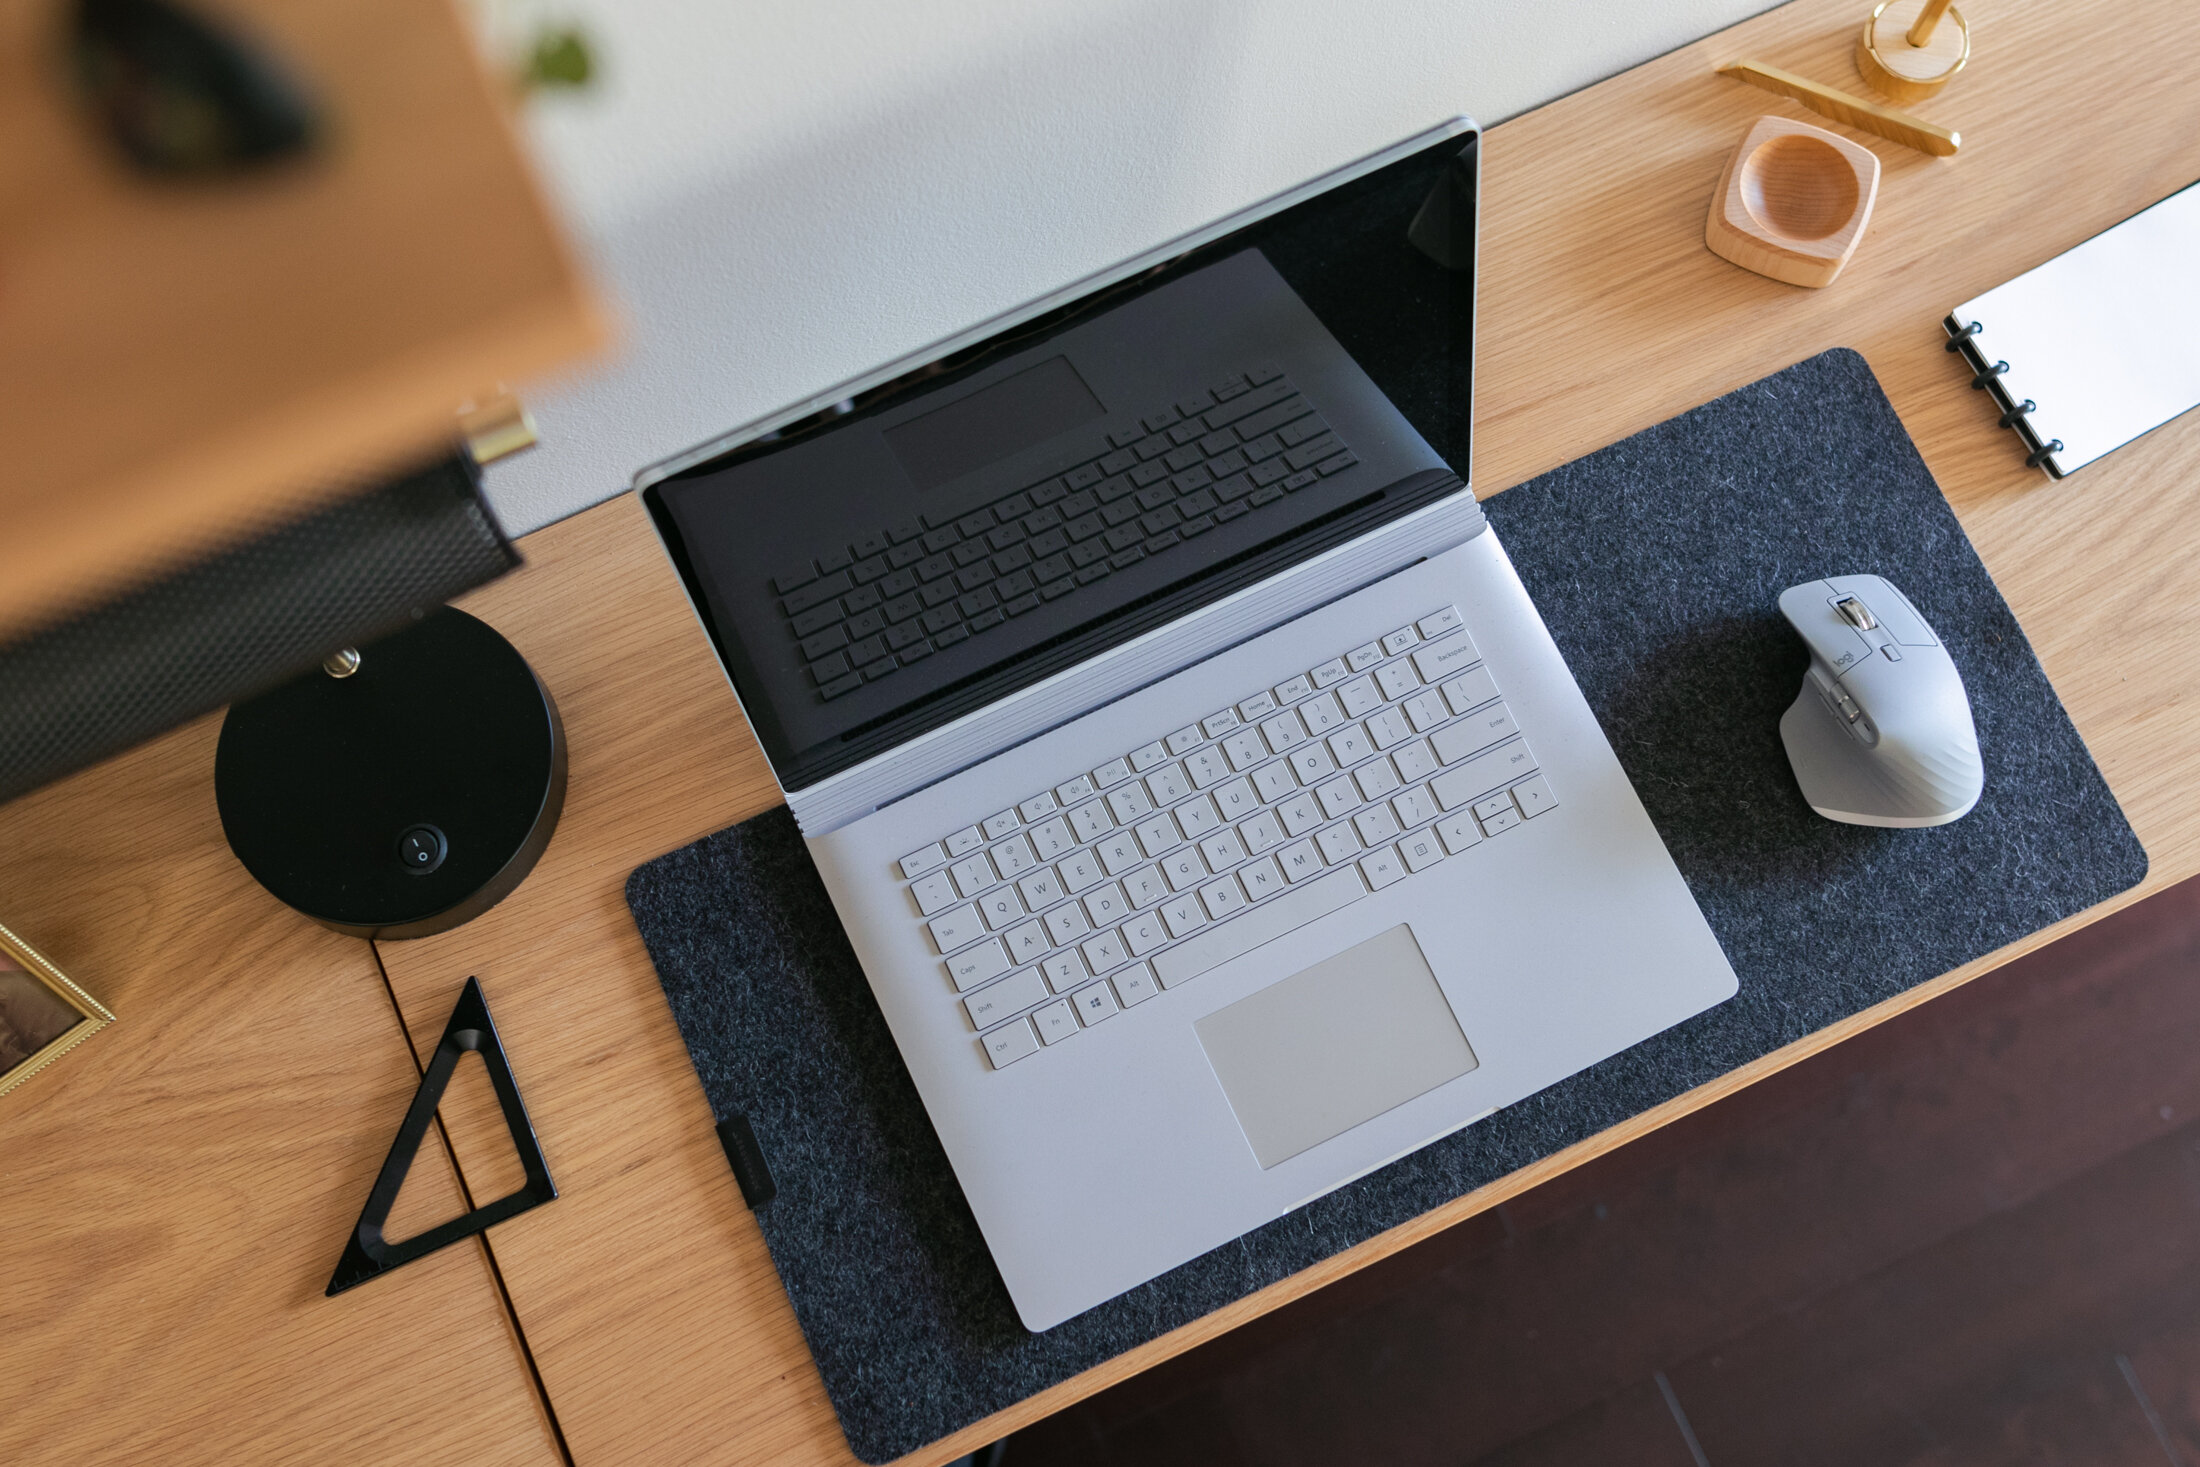
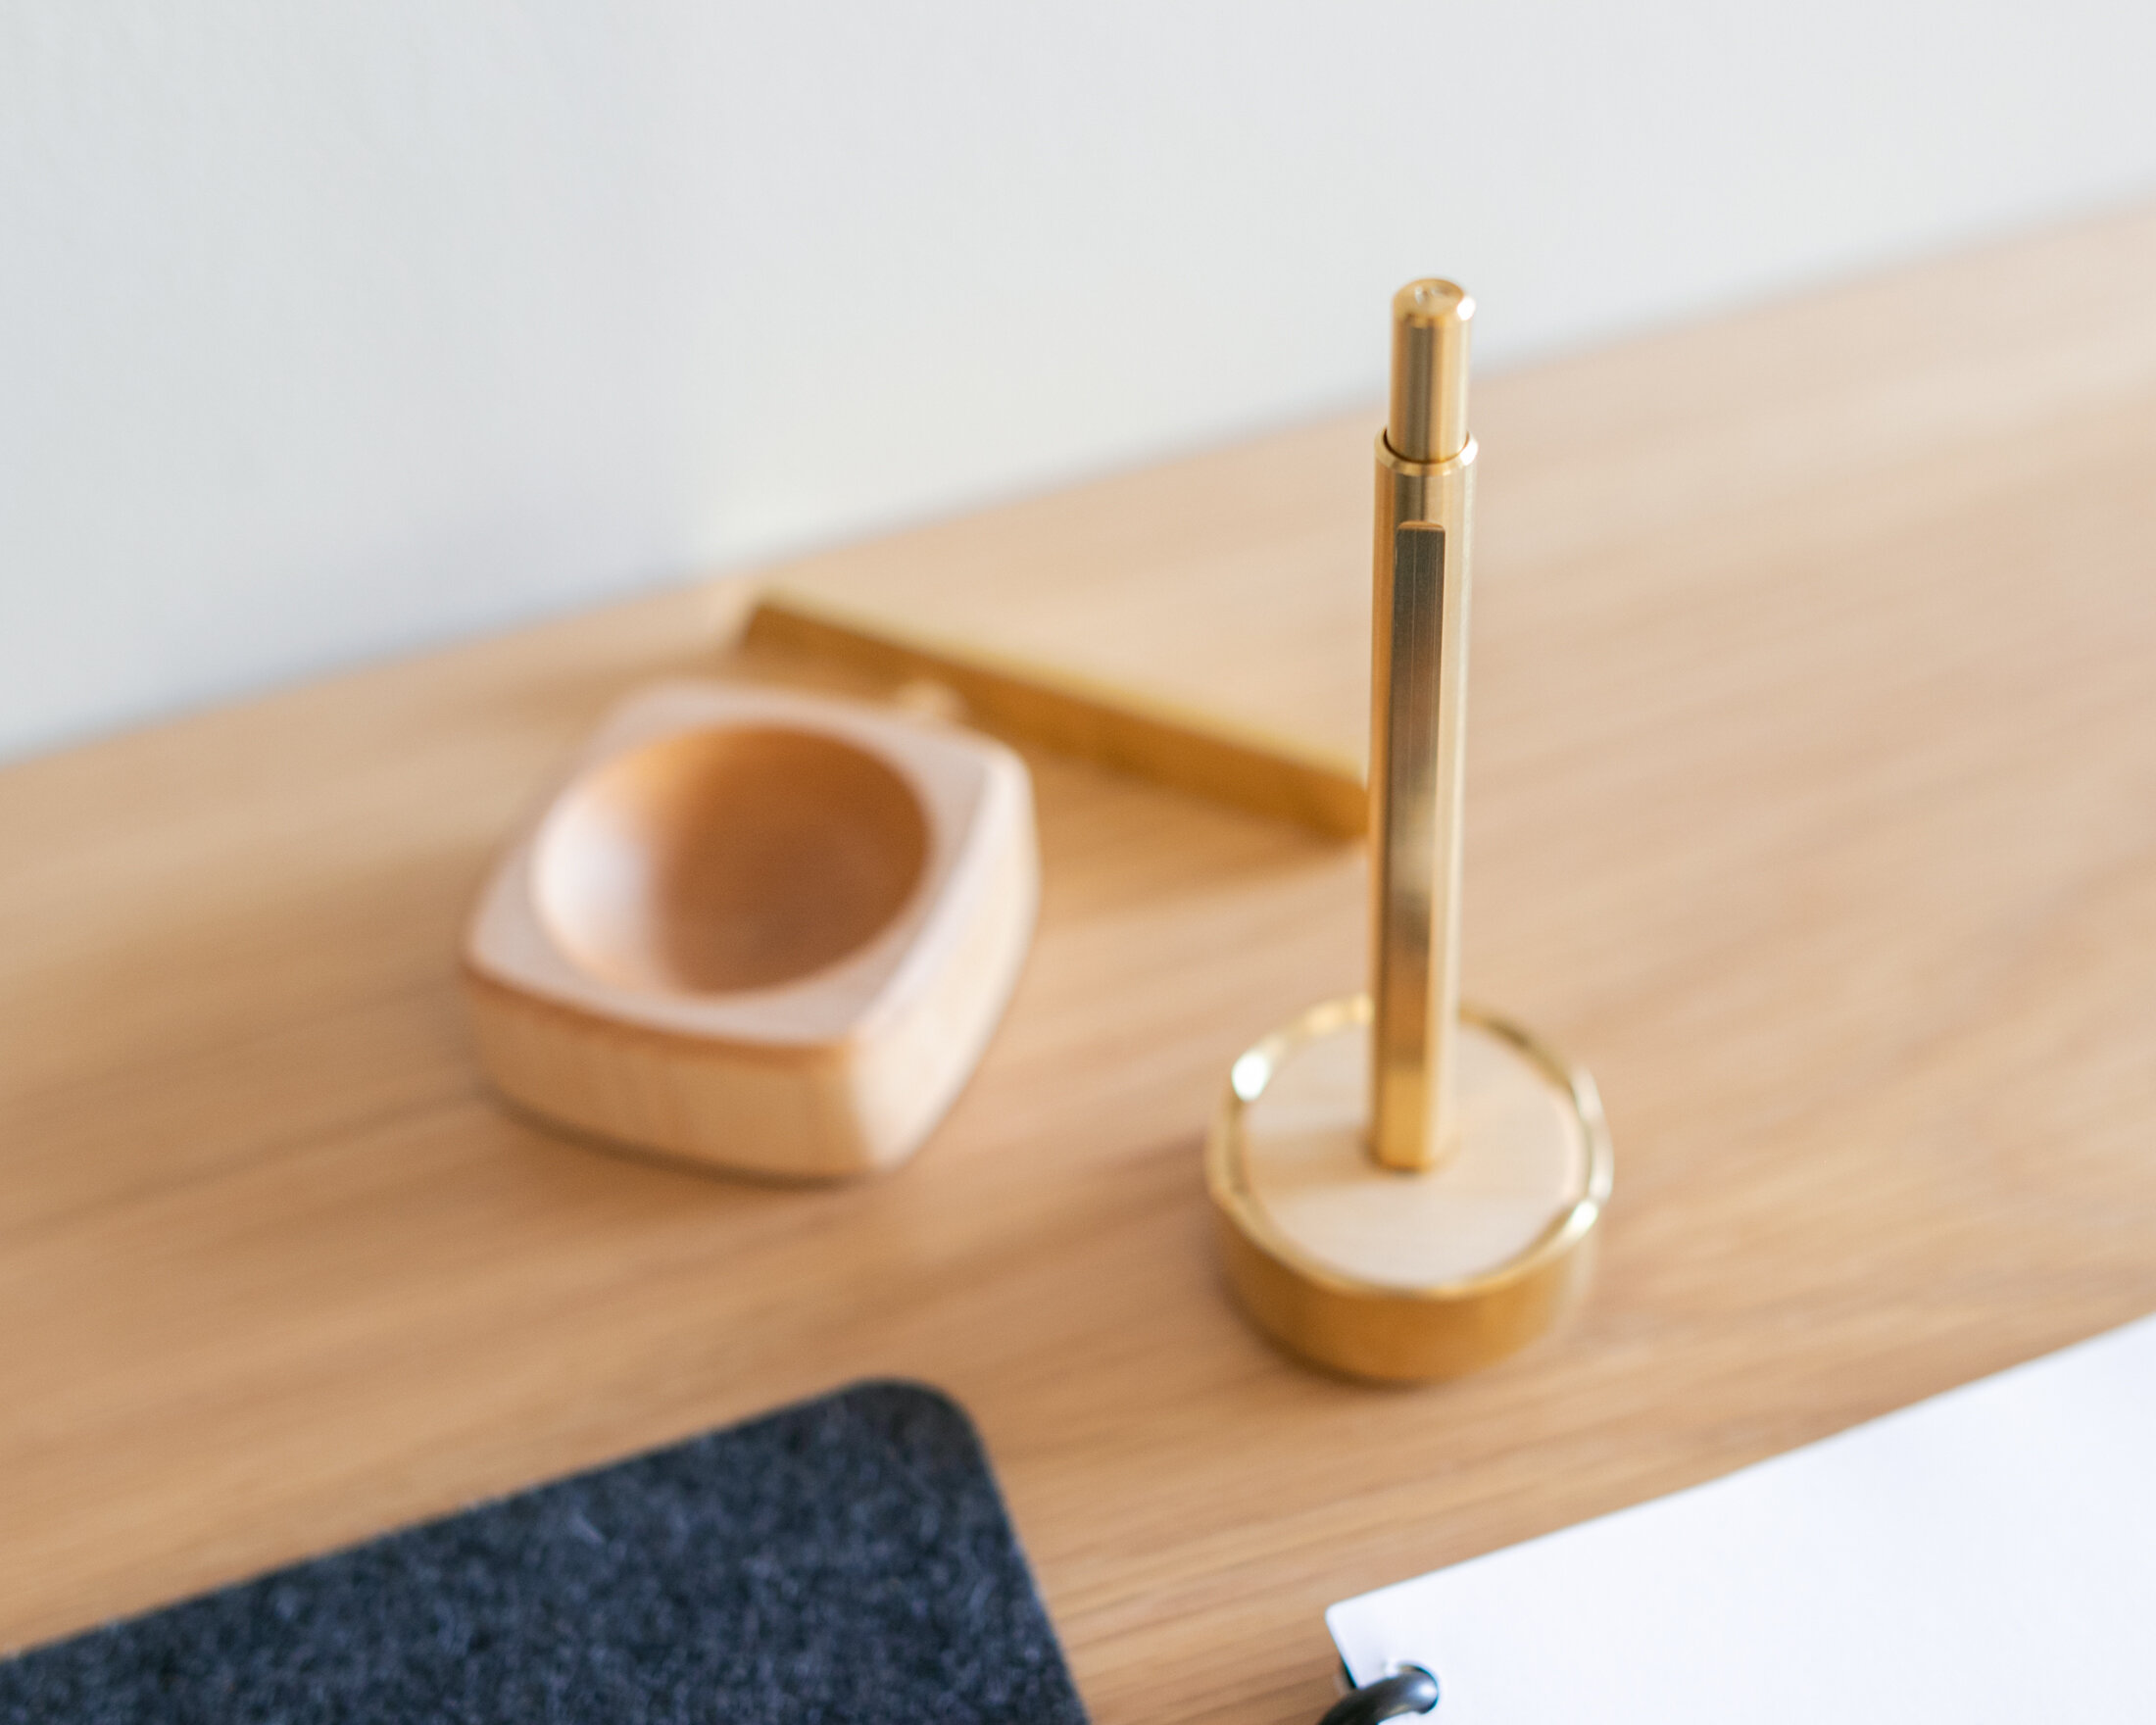
Desktop accessories
On the desktop, Belinda has an iPad for her digital drawings and a Surface Book 3 for her design and 3d work. This sits on top of this beautiful felt pad, by Grovemade, which can slide out of the way quickly, if she needs to clear her desk. When the devices are not in use, they tuck away neatly inside her drawer.

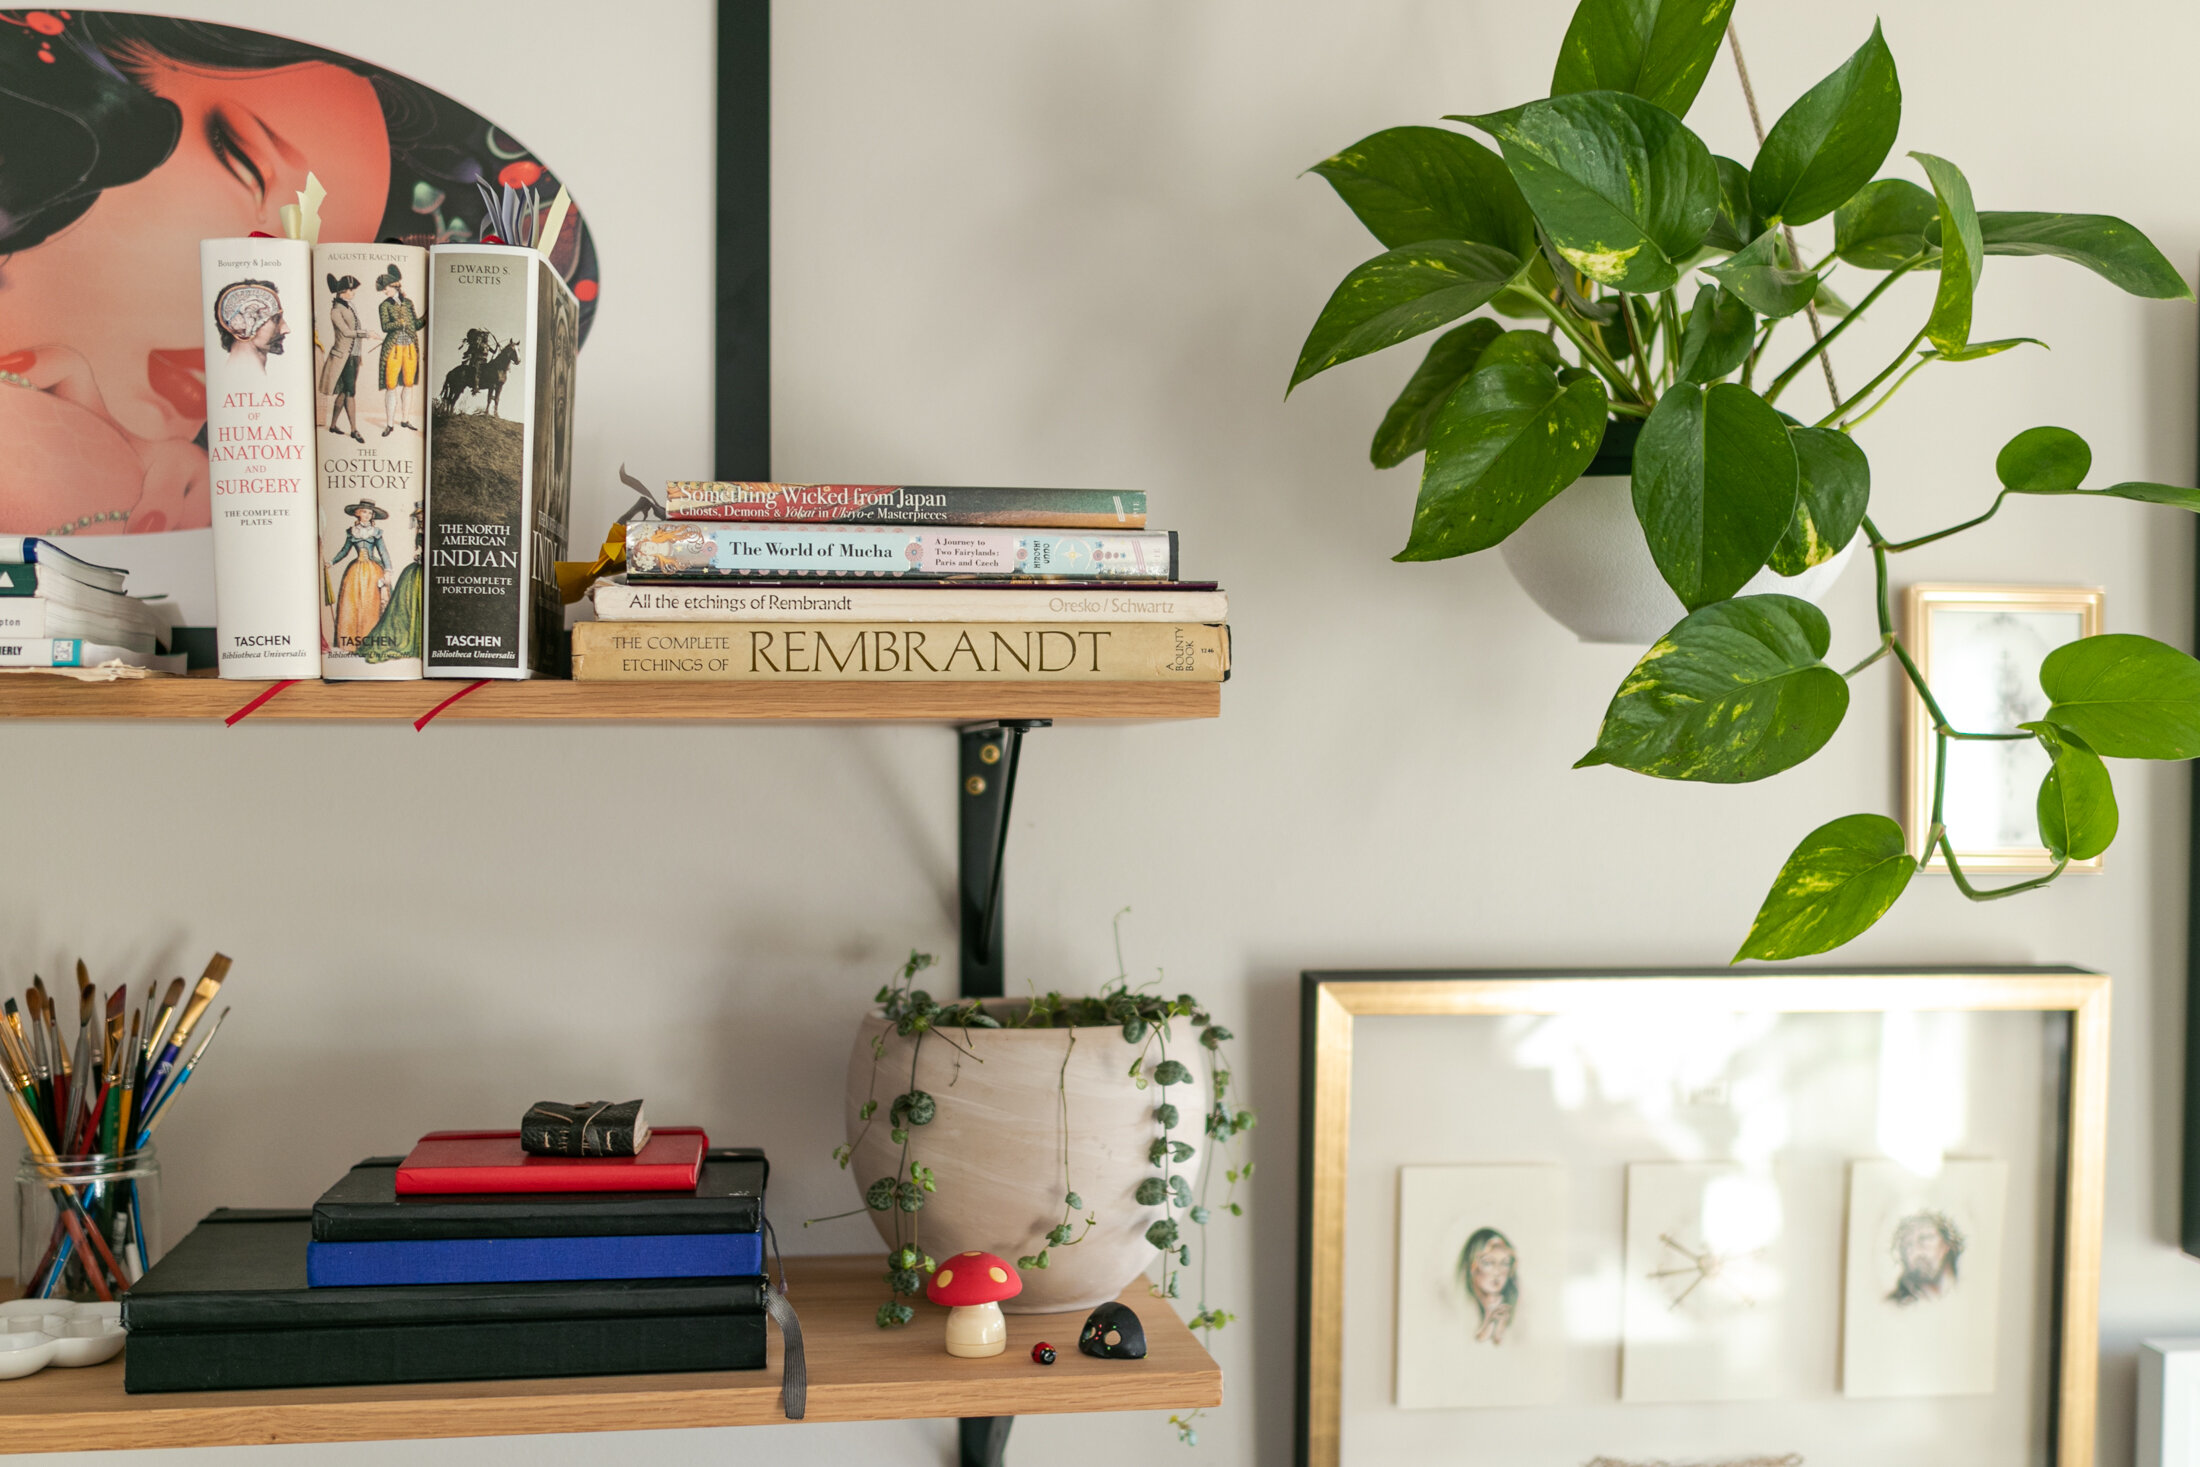
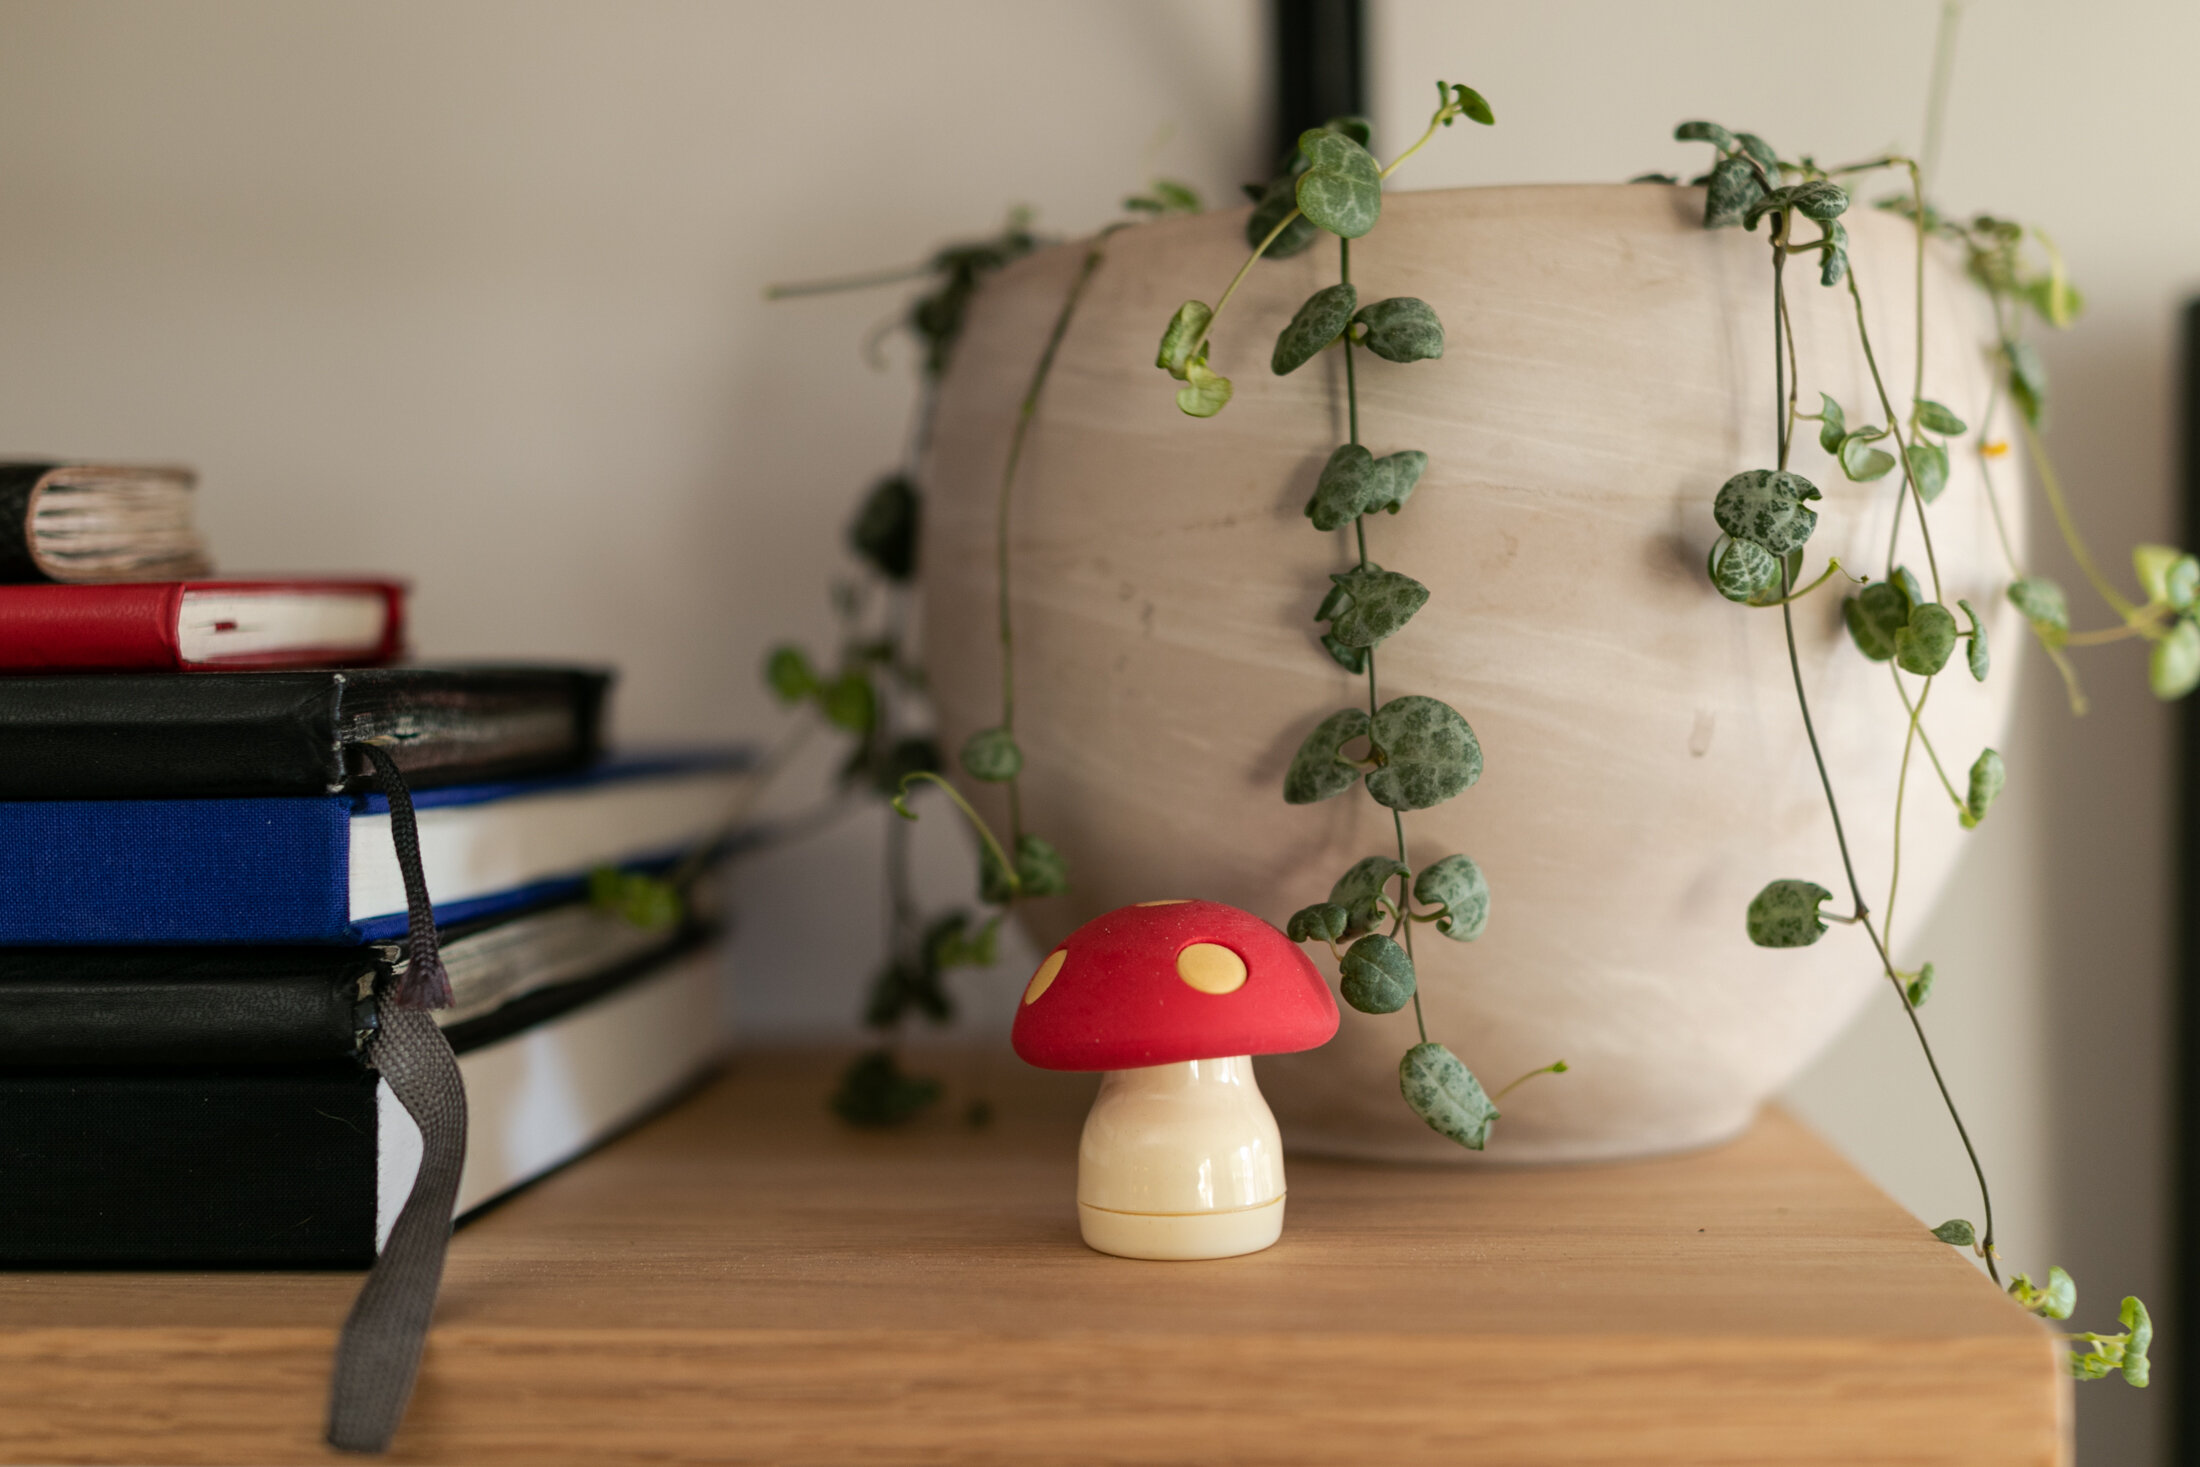
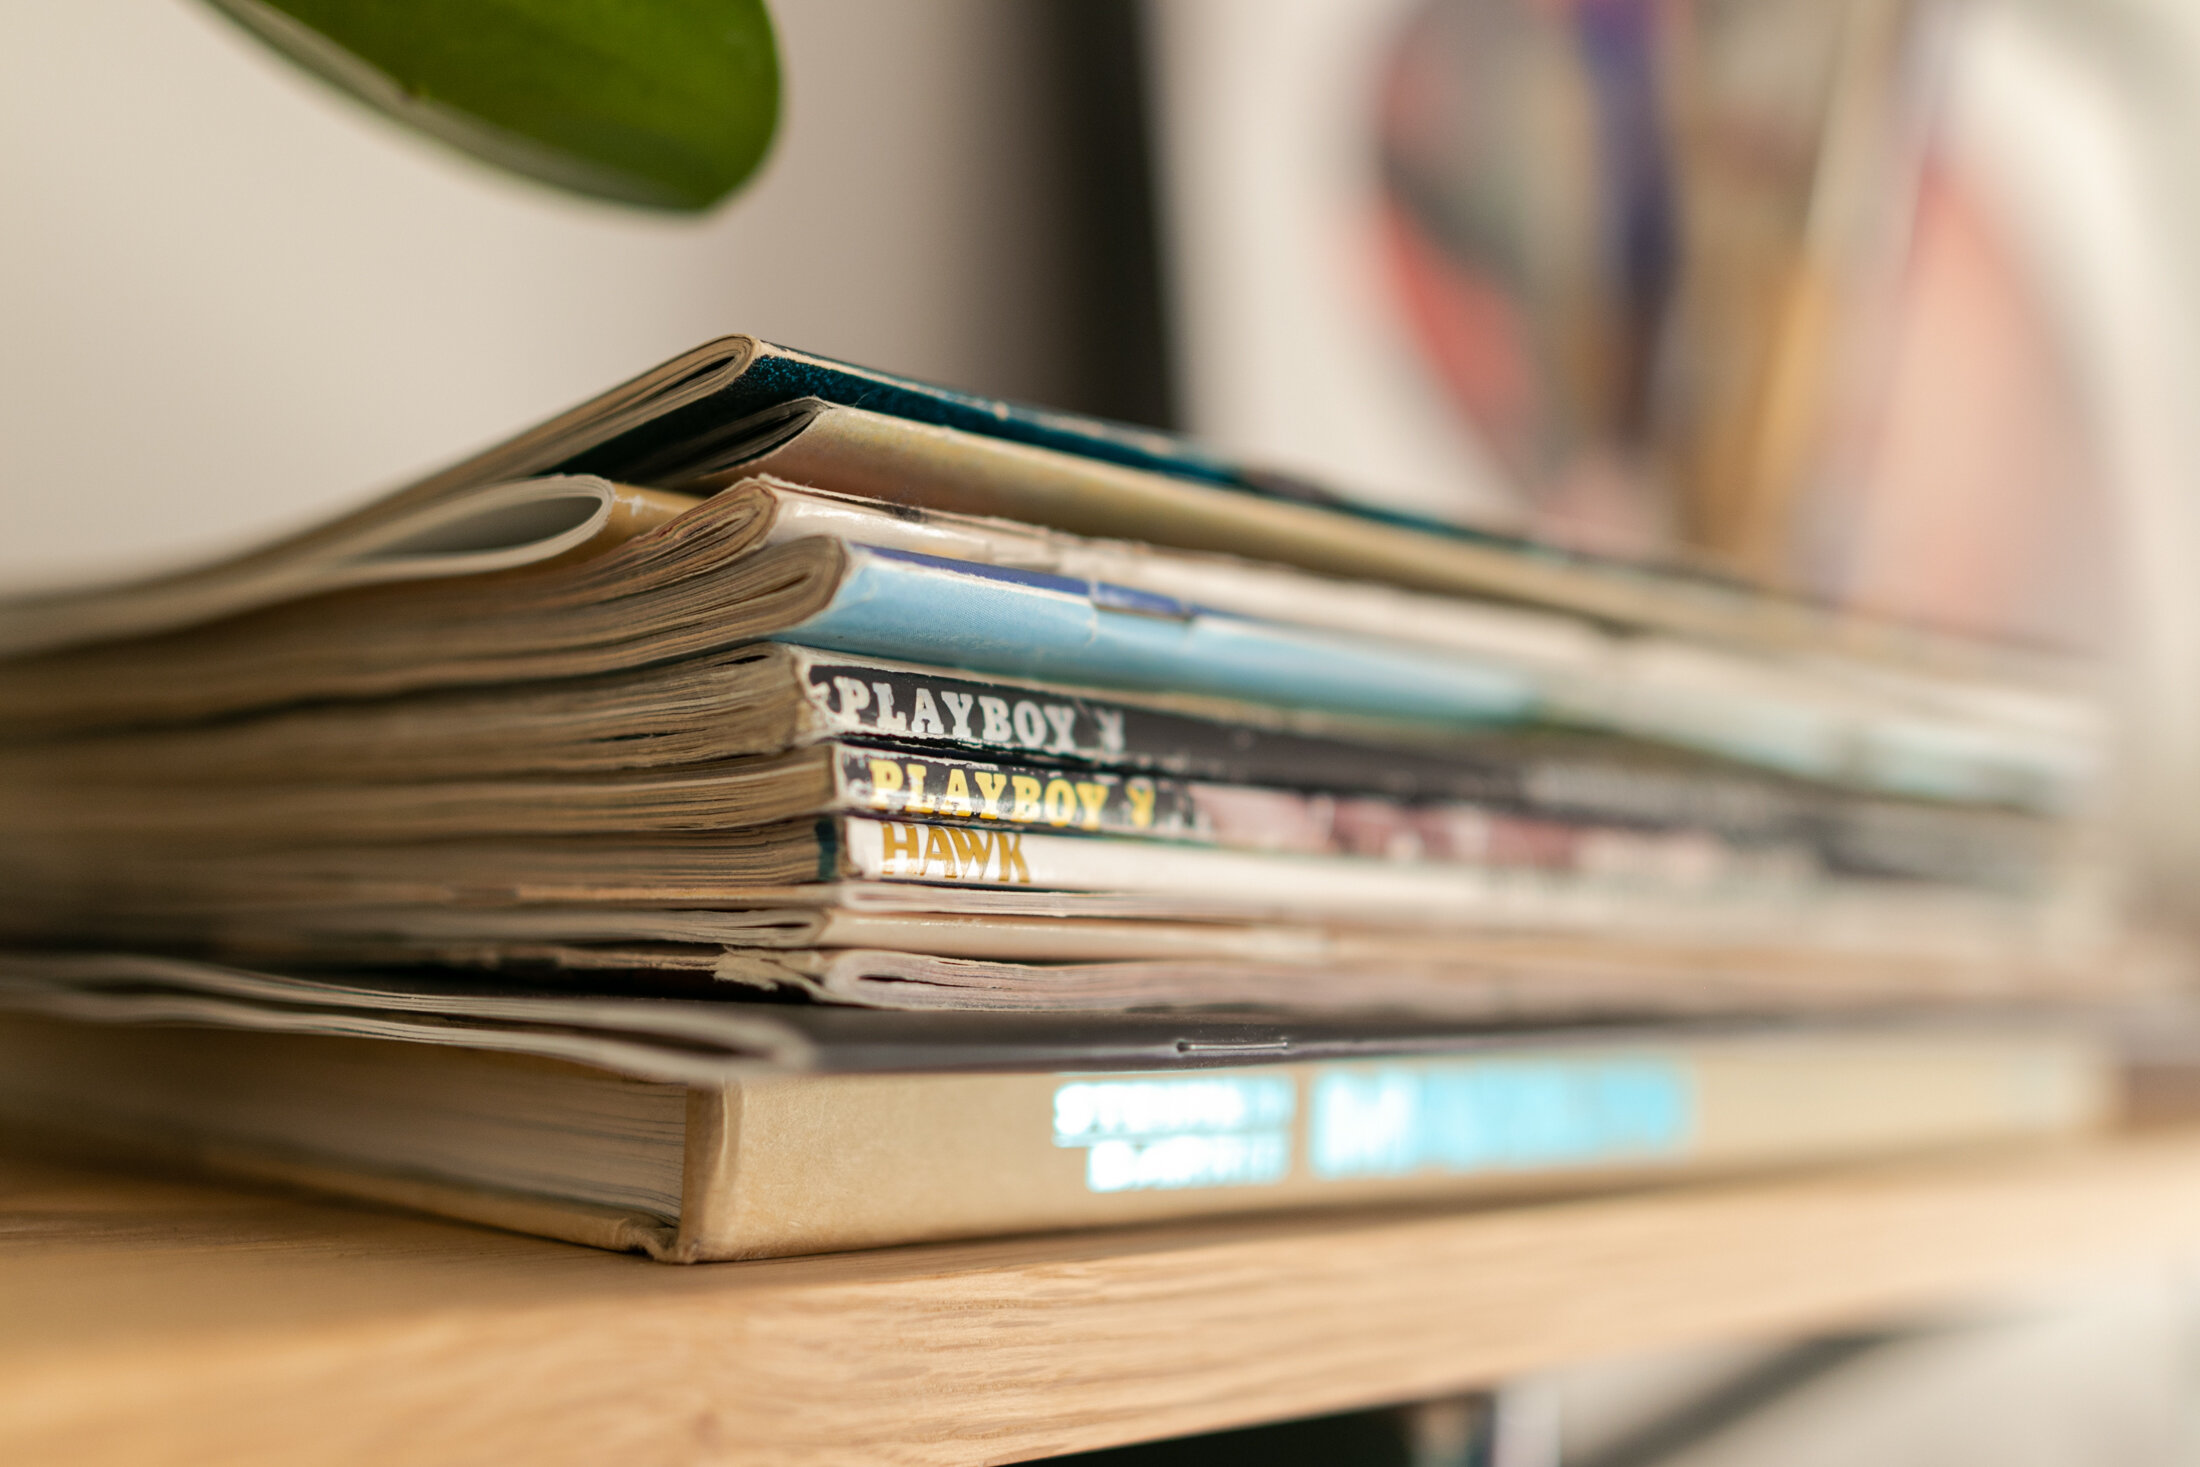
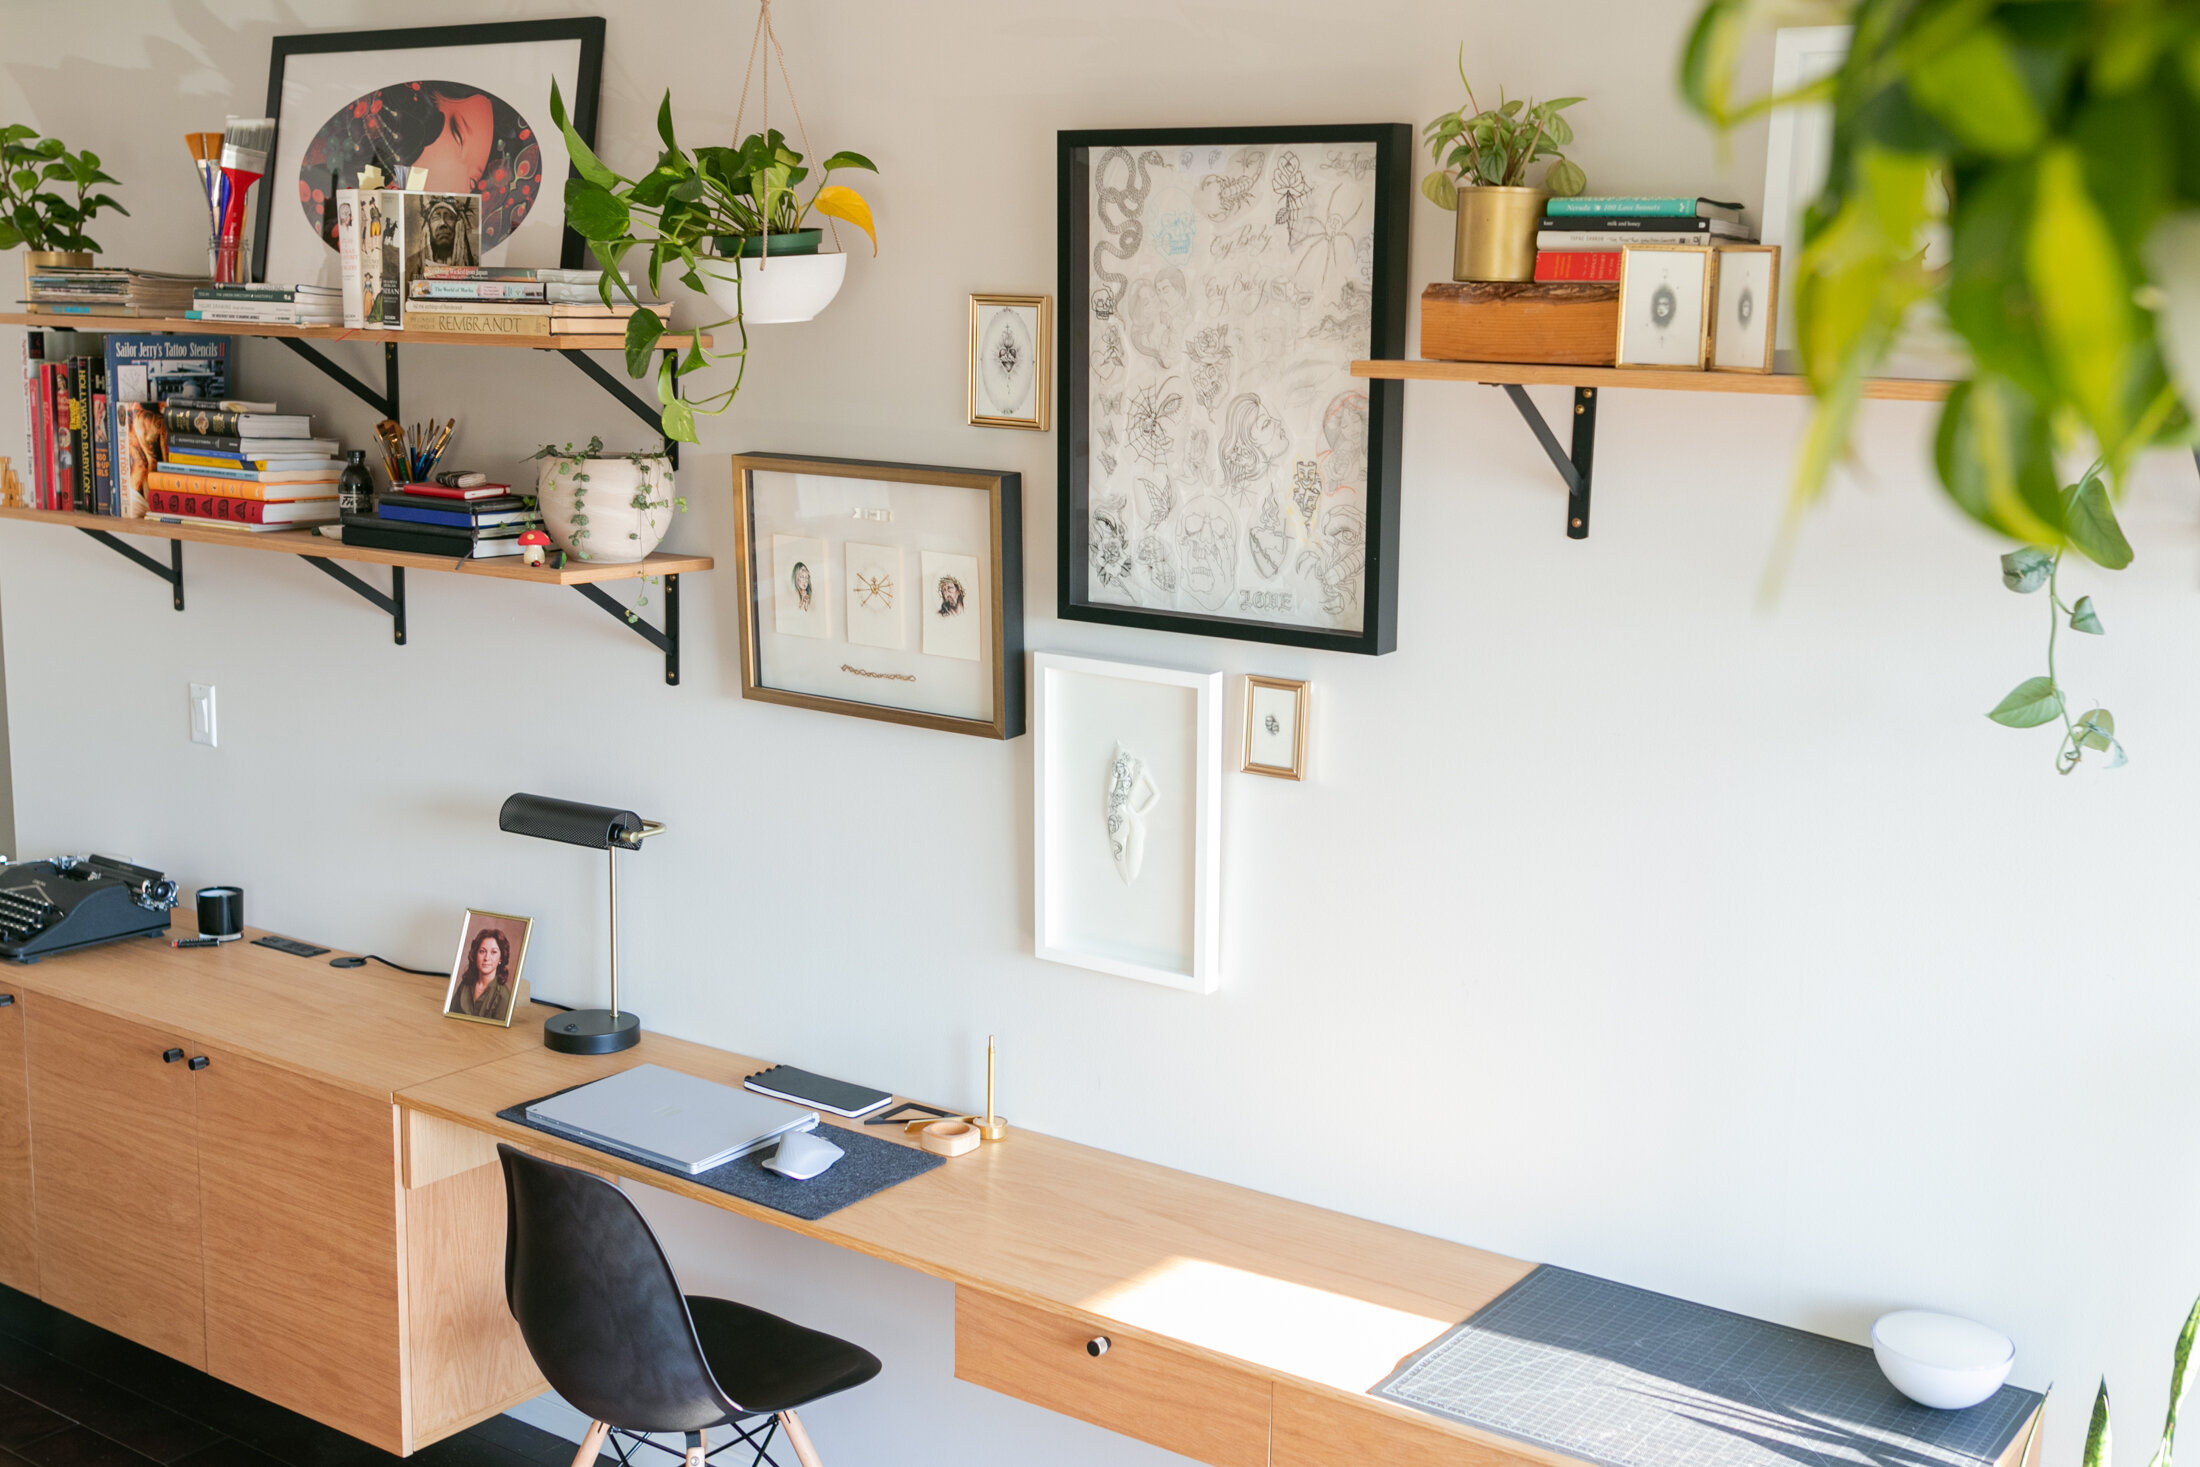
On the shelves
Above the desk, we decorated the shelves with Belinda's books, trinkets, and sketchbooks.

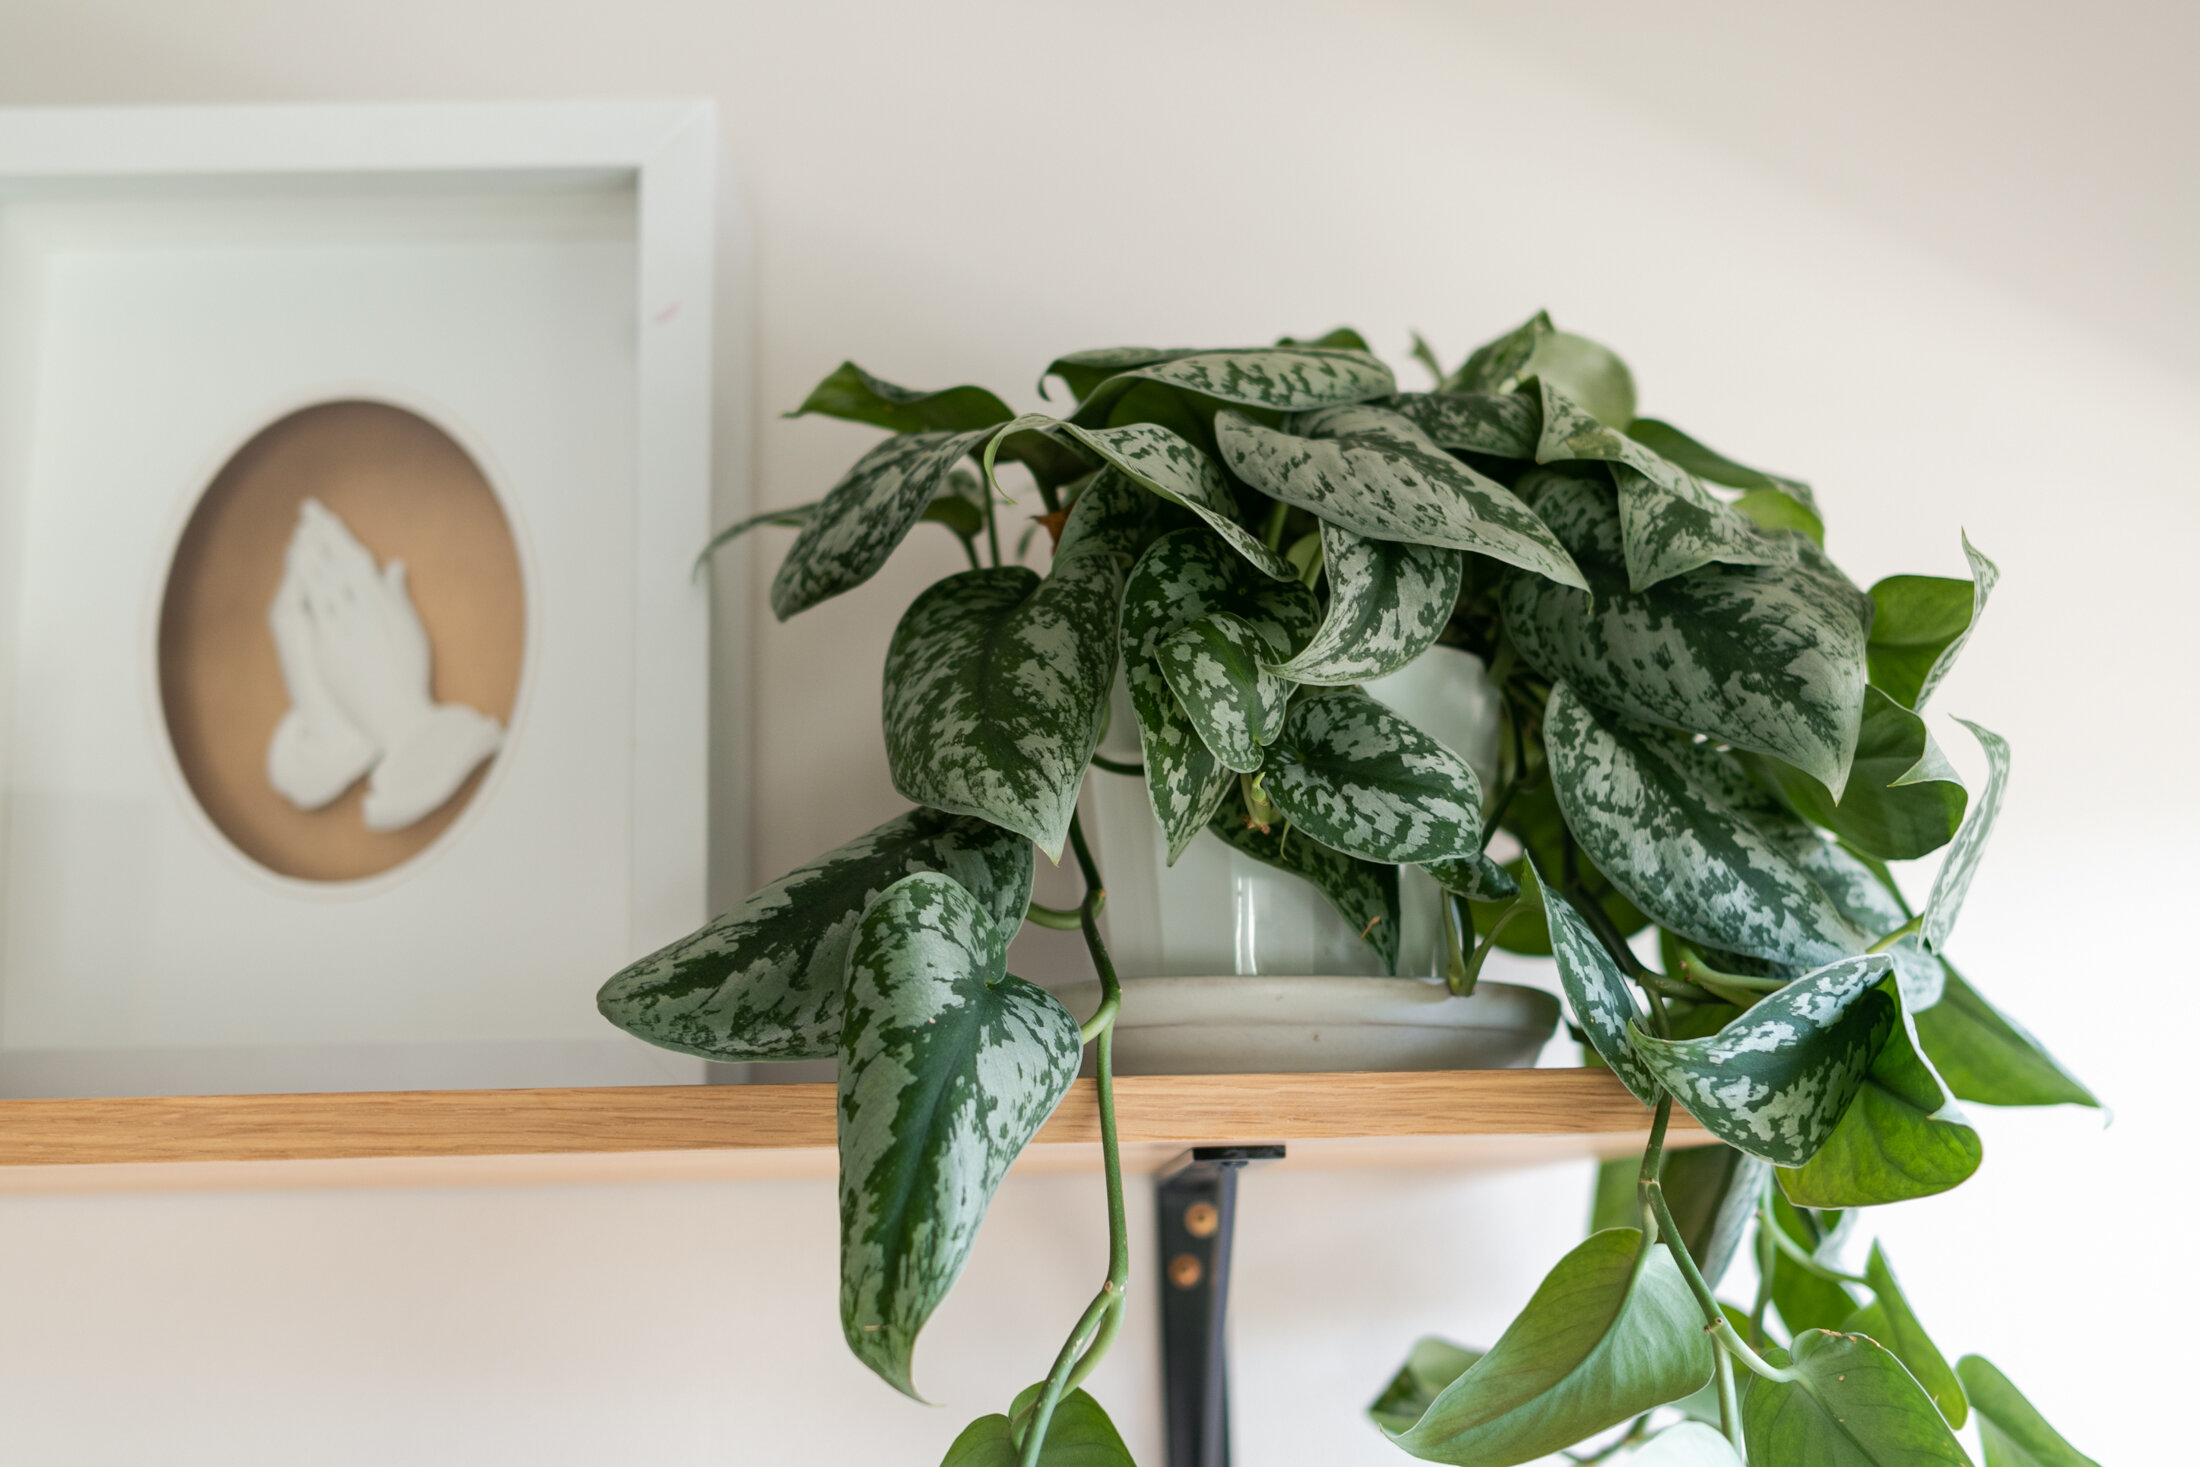
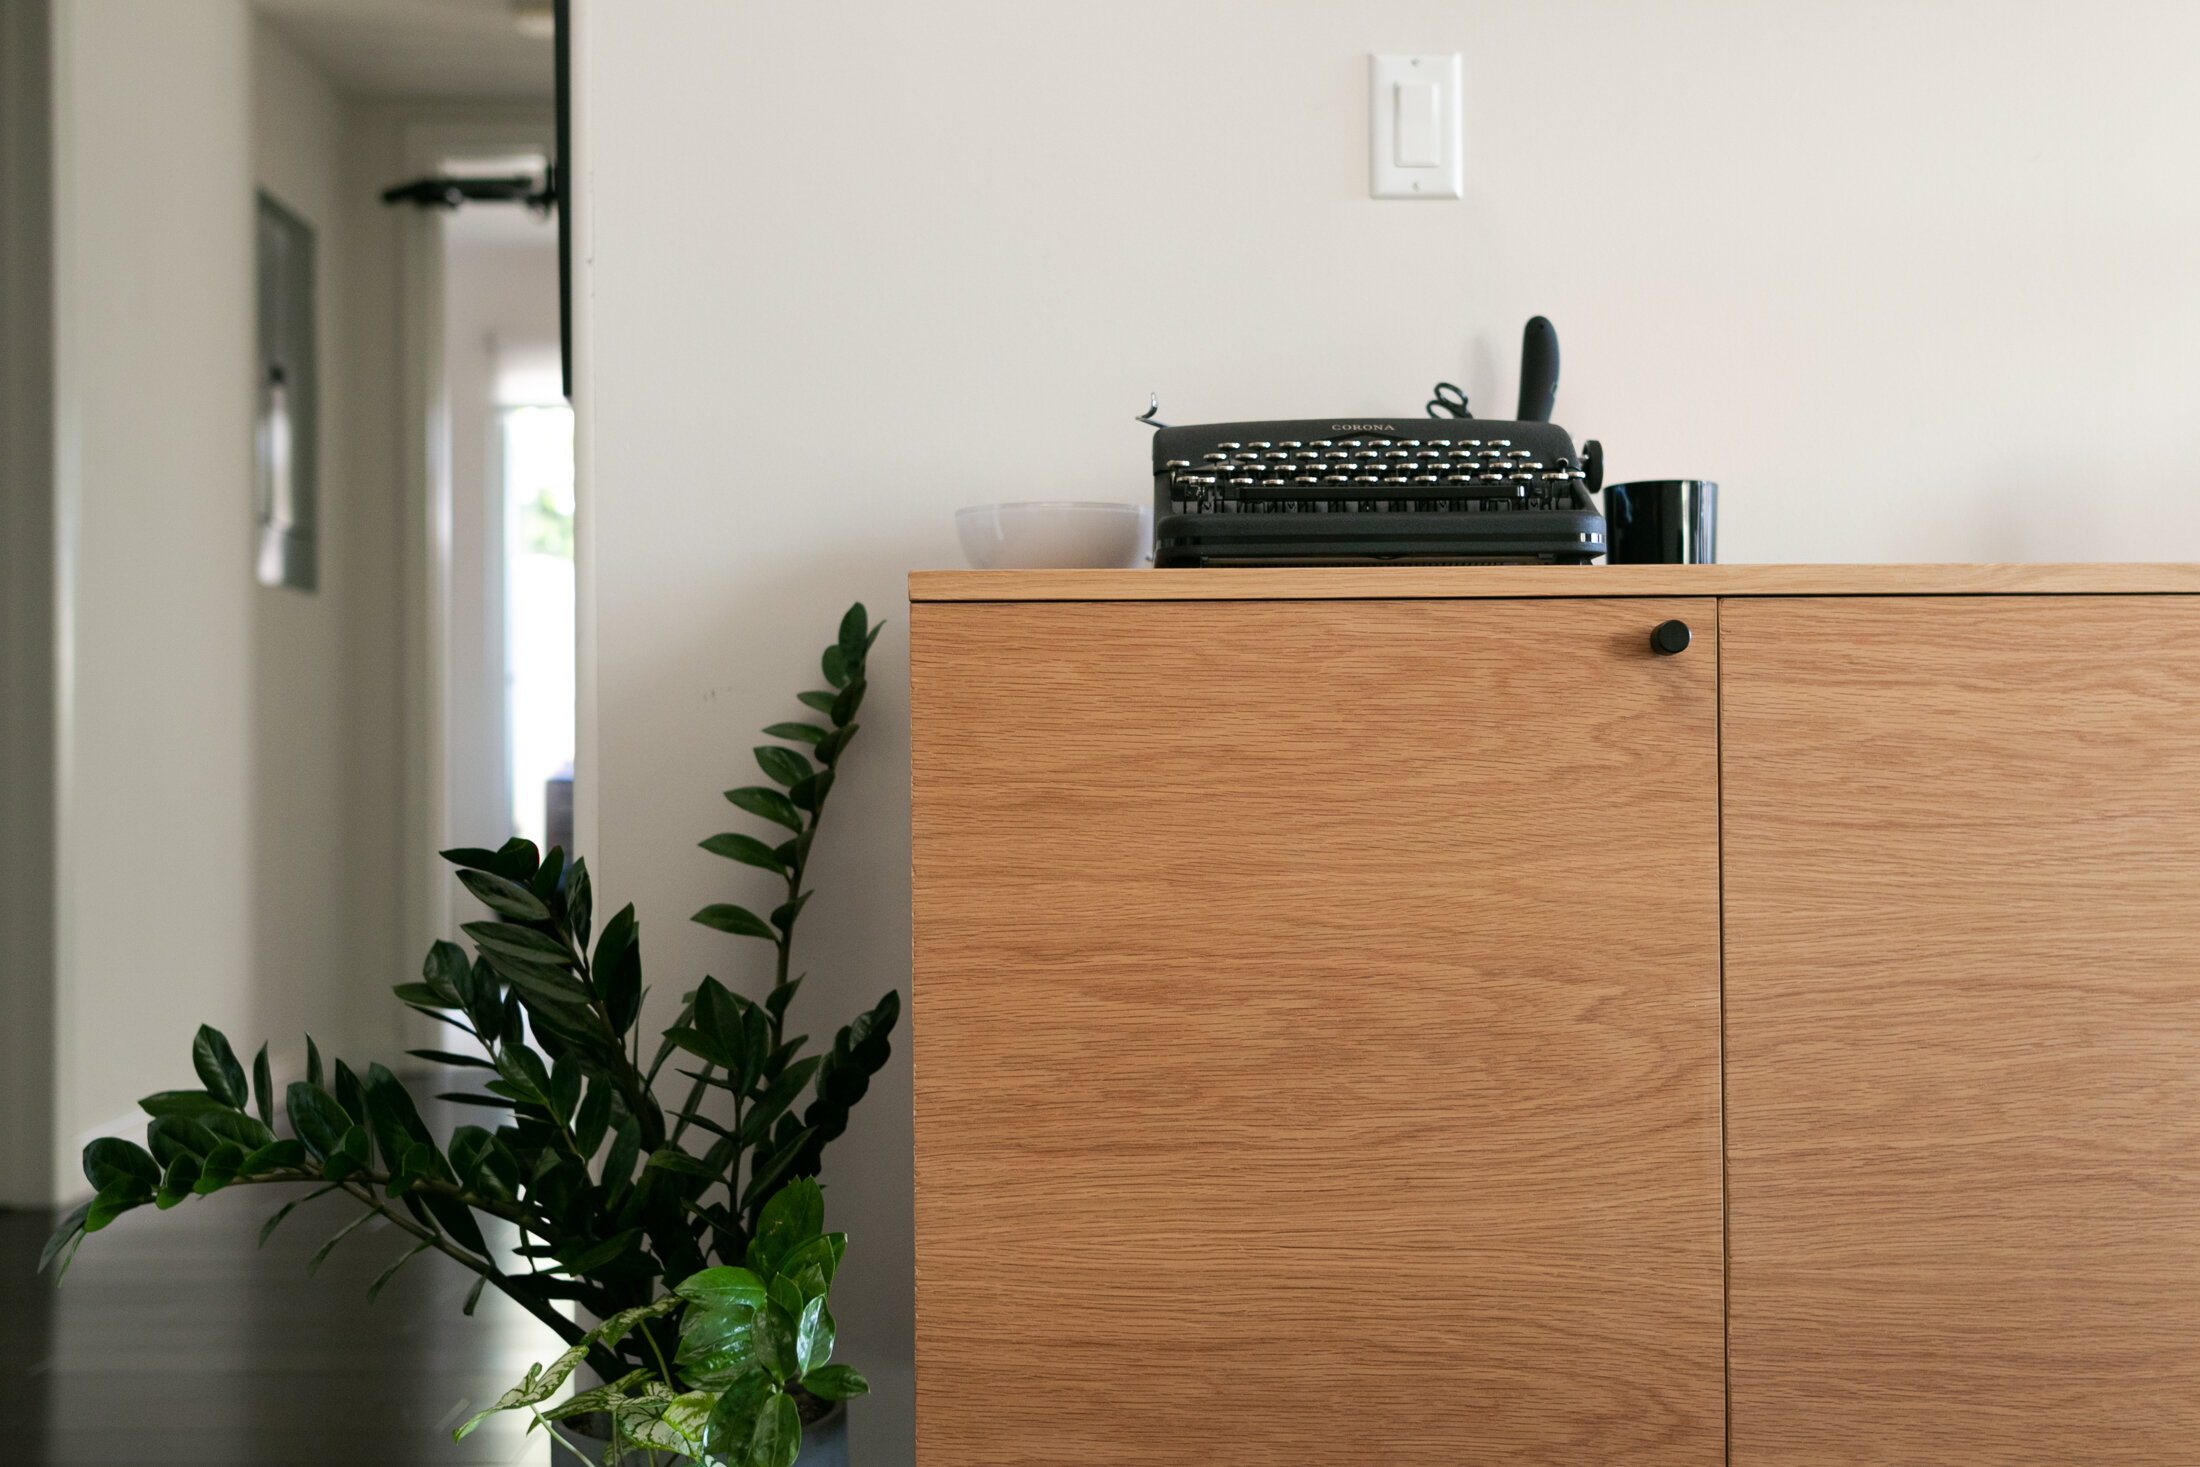
Brought to life with plants
To break up all of the rigid visual lines, we added indoor plants throughout the space. This brought a lot of life to the environment.
Supplies


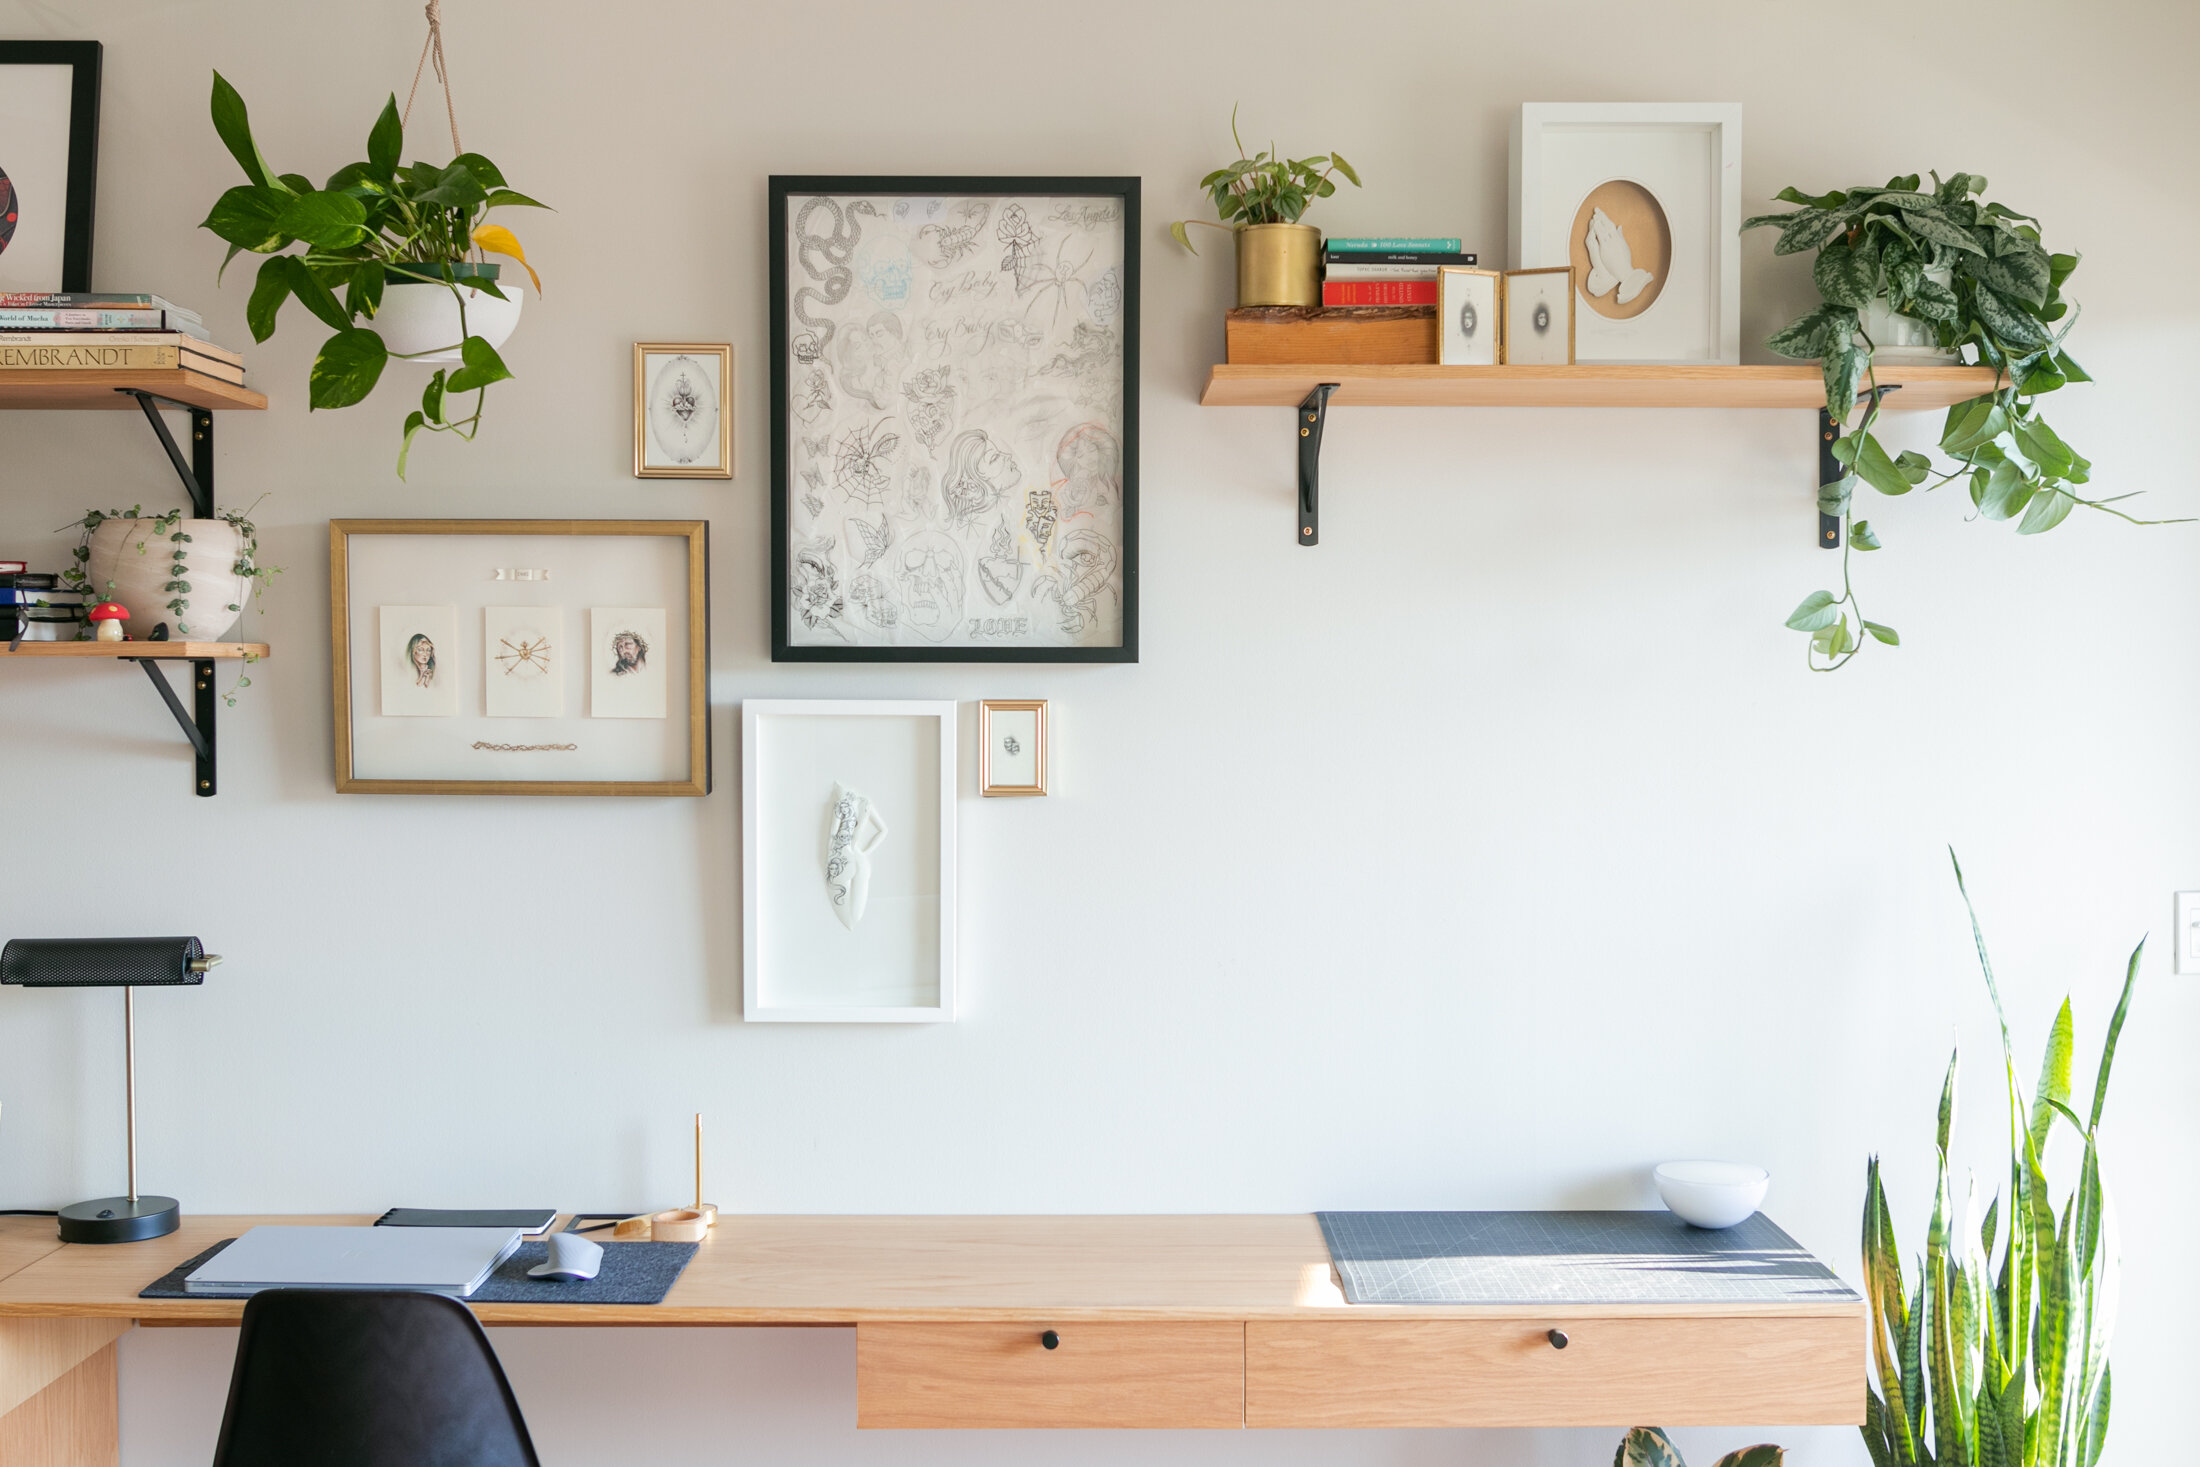
Art gallery wall
To personalize the space, we put up a few pieces of art in repurposed frames. We displayed some of Belinda's original works, as well as a few pieces from other artist she admired.
Supplies
If you want to put up your own gallery wall, I recommend laying everything out first as a sketch. Then pick one key frame as an anchor to develop an offset grid from– somewhere in the center of your wall. With that key piece in place, you can then arrange your other frames around it, and continue to add to your gallery as you collect more pieces. That way you have a flexible system to build from, in the future.

Lighting
To make things extra cozy at night, we added two Phillips Hue lamps at the ends of the desk. These smart lights help add ambient lighting to the space in the evening.
Lights

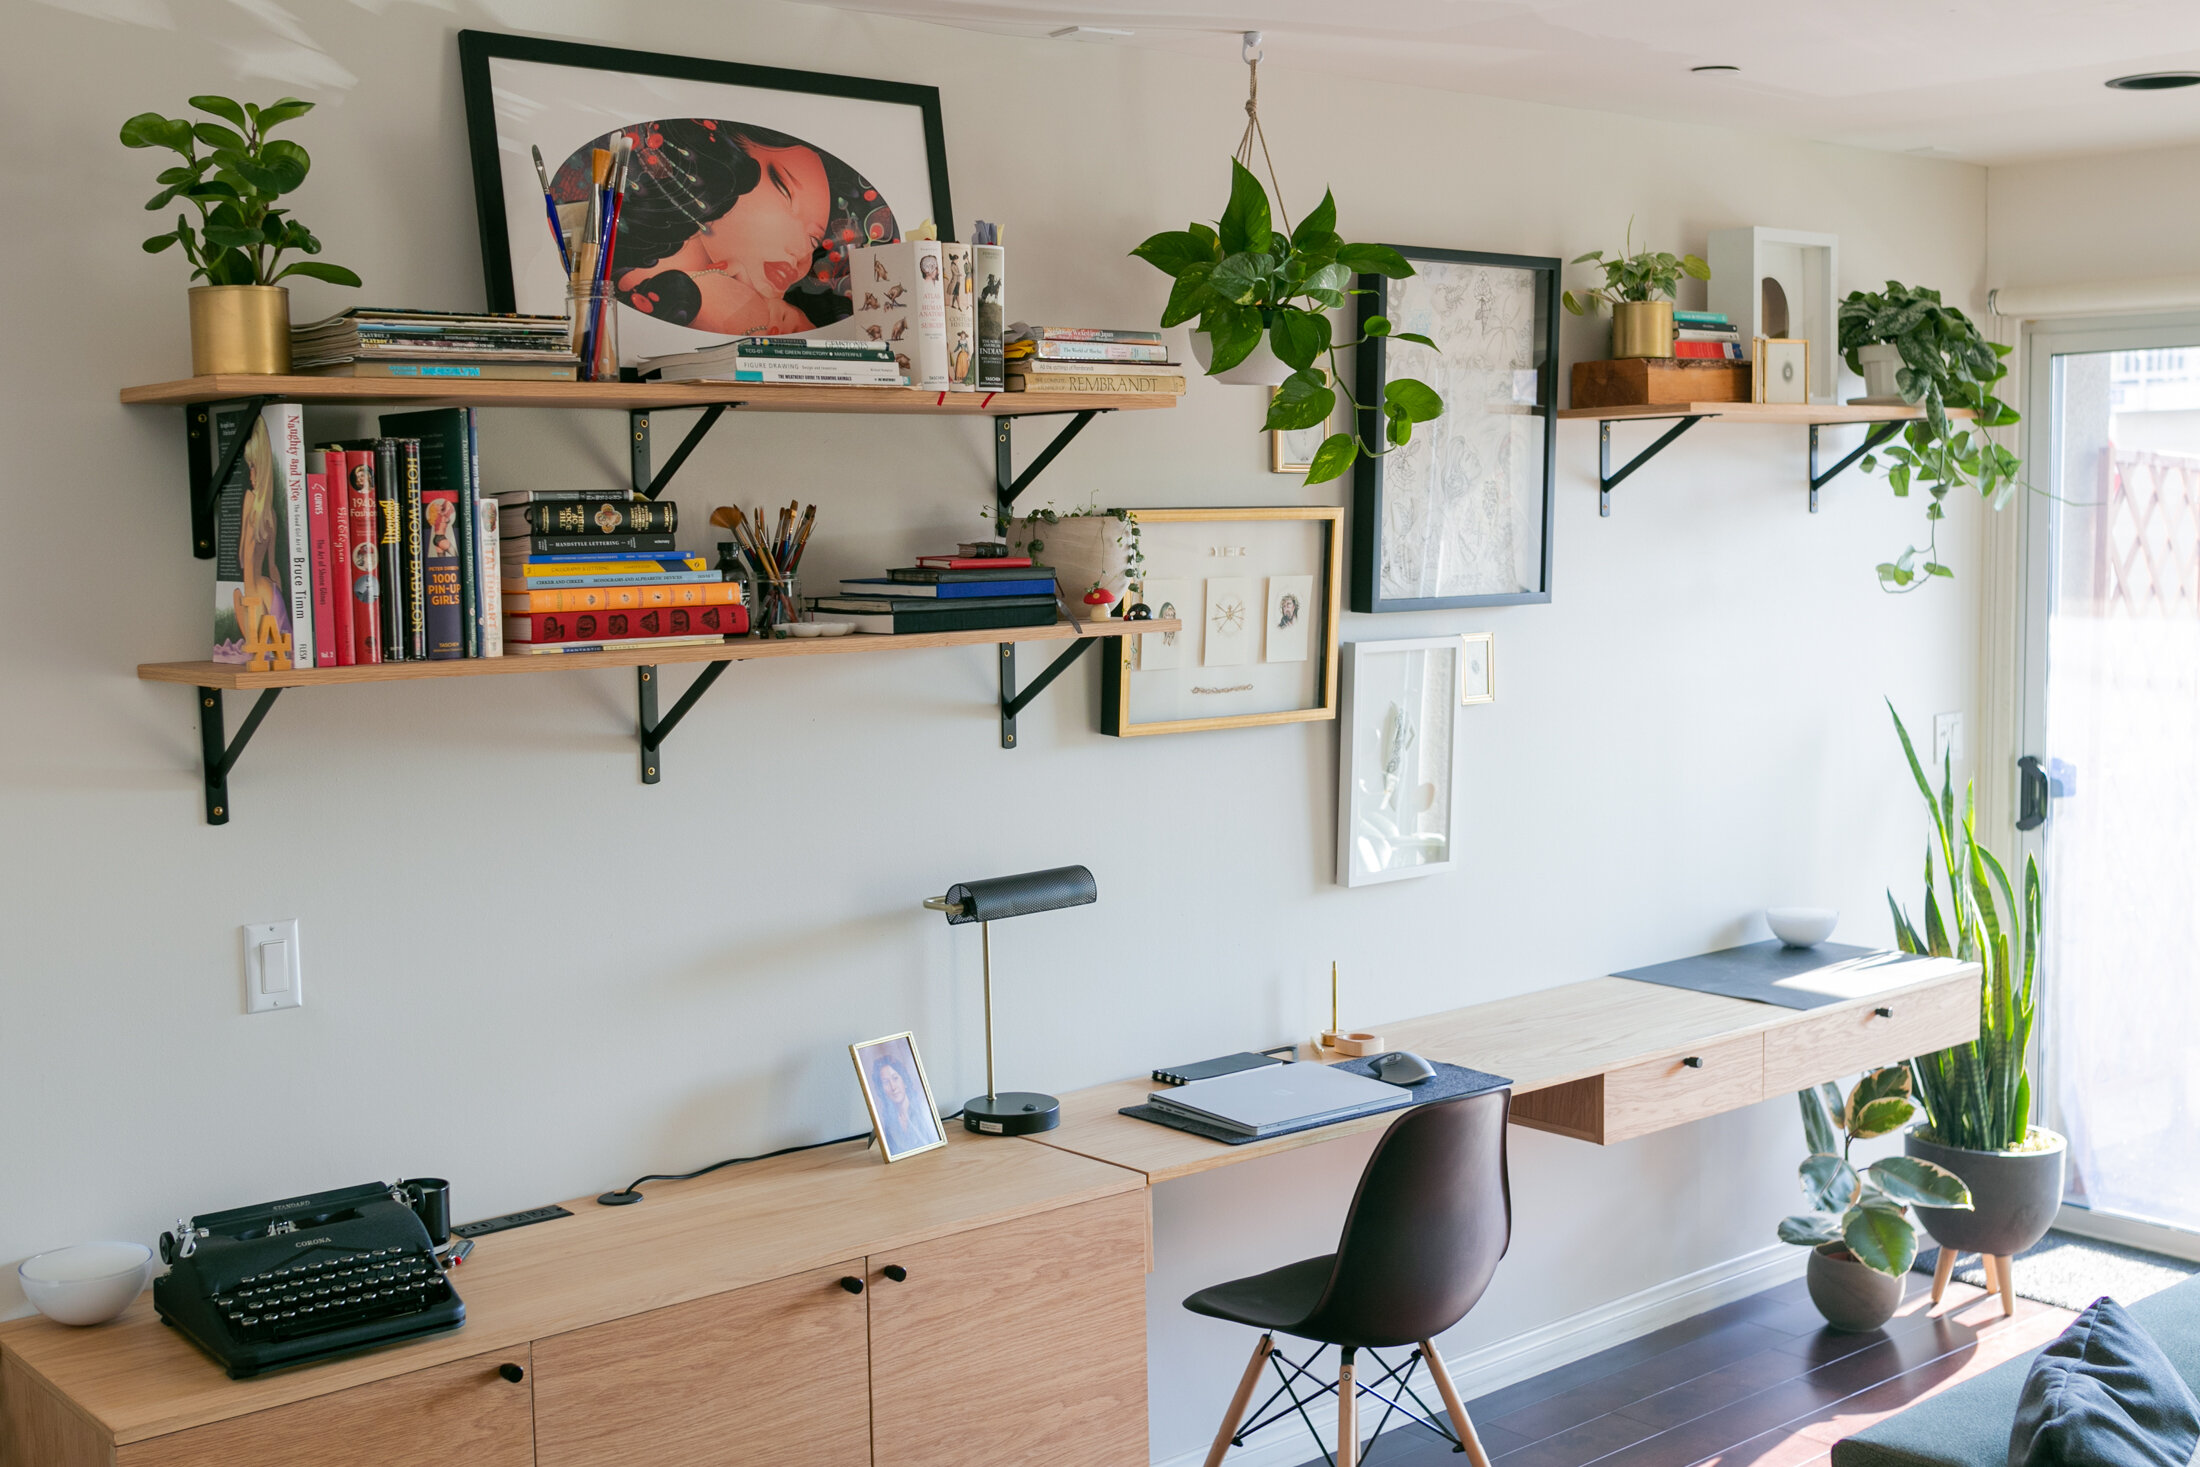
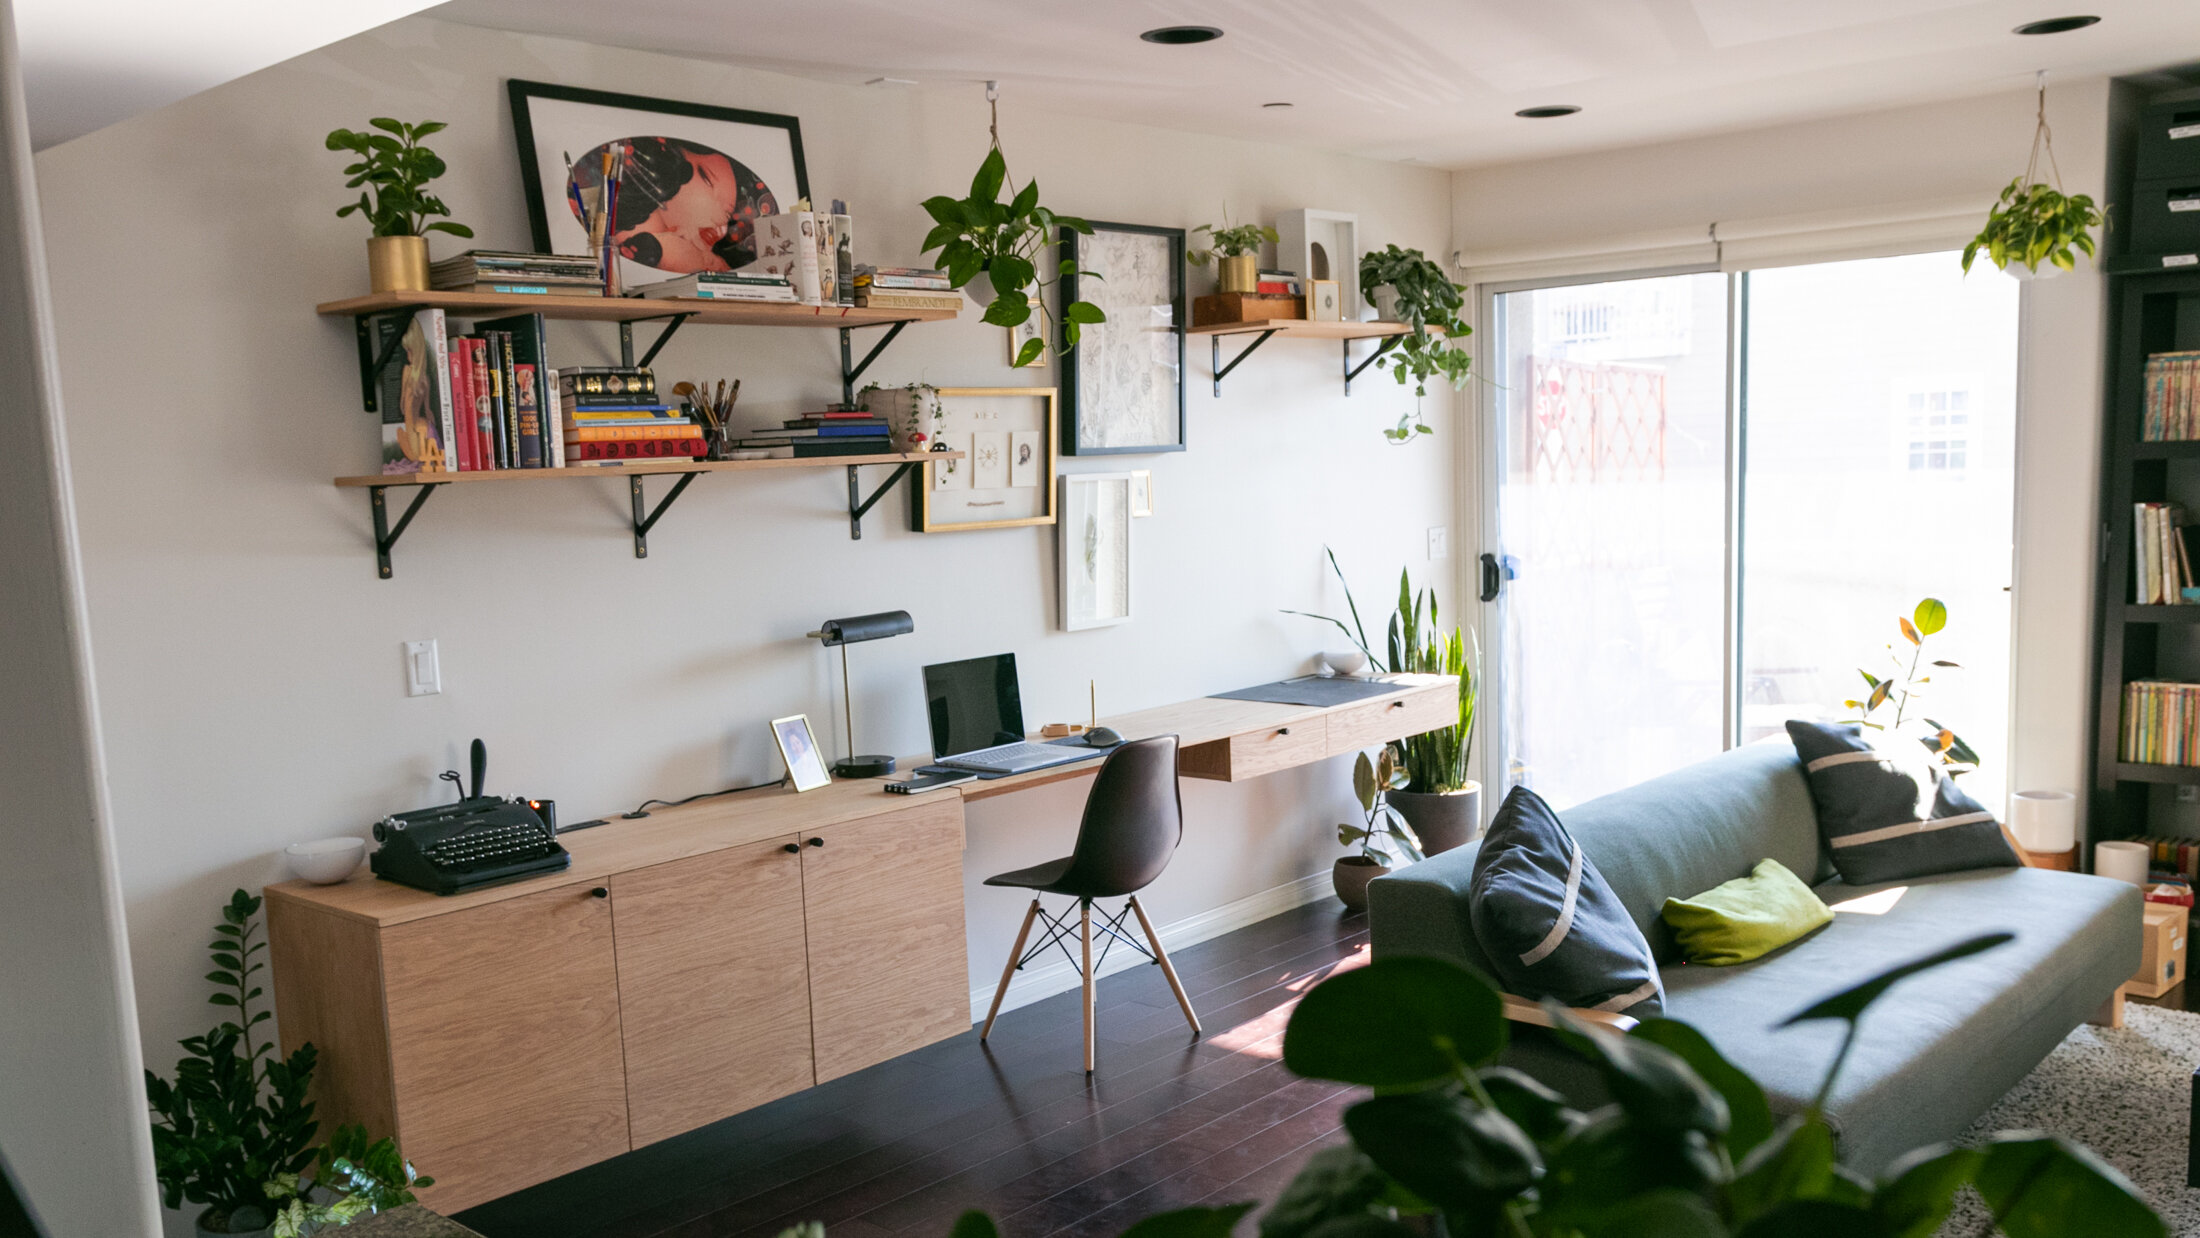
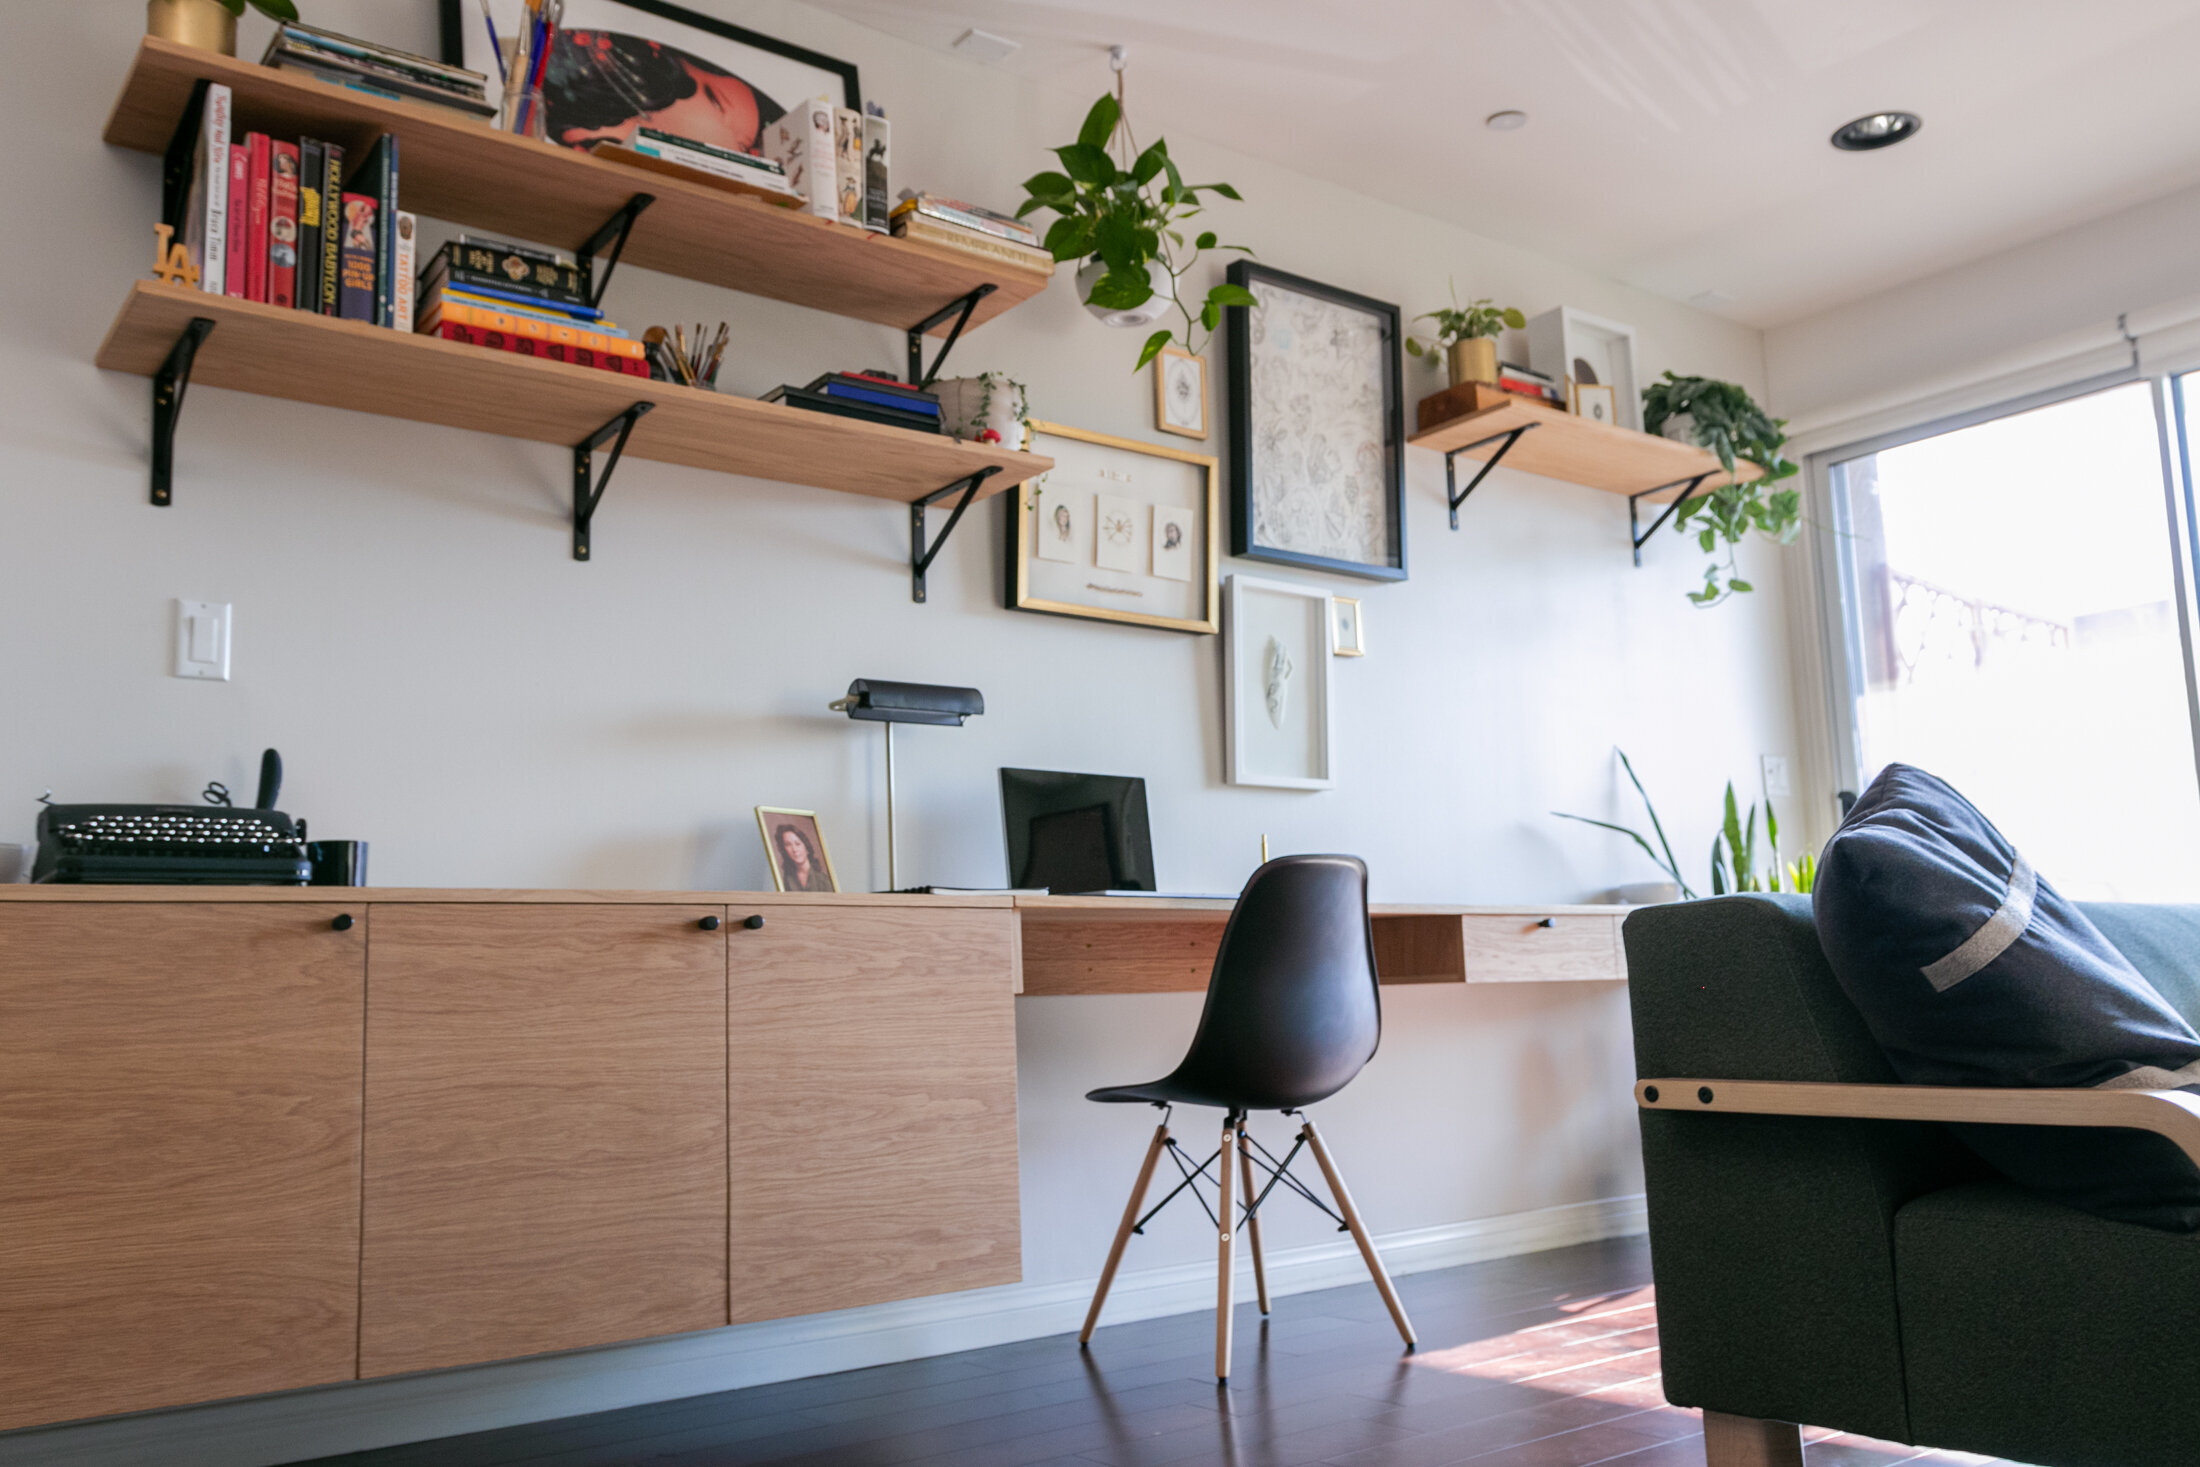
Studio complete
Before we started this project, Belinda wanted to refresh her work space, to suit her changing needs as an artist.
After 3 weeks of planning, 6 weekends of work, and many splinters later, we created the perfect setup for her. One that's open, full of sun light, and allows her to do all of the different kinds of projects she's into.
I hope by sharing our story here, it might encourage some of you to start your own DIY project.
When we first started, we were nervous, intimidated, but excited. We made a ton of mistakes, but learned so much in the process. It wasn't easy, but it was absolutely worth the effort. Getting this huge project finished has inspired us to start a few more.
Additional links
If you want to follow along our other projects, check out my instagram, which I update frequently.
If you want links to everything featured in the space, check out the Kit page.
Check out more photos and my in-depth interview with Grovemade.