
My DIY Coffee Bar Setup
Coffee is a big part of my daily routine. Starting with the morning ritual to the afternoon pick-me-up. My journey with coffee has evolved from instant coffee at home to discovering the nuances of specialty coffee. And now, I’ve taken it a step further by building out my own coffee bar at my studio. In this blog post, I'll give you an overview of my mobile coffee cart, espresso, and filter setup and share all the components I use. Some of the links included in this post are my affiliate links, which I receive a small commission for at no extra cost. Thanks for supporting my content.
Building a Custom Coffee Cart
While building my office space, I planned to have a modest filter coffee setup. My friend Xris, a coffee content creator, offered to help me level up my coffee setup by providing an espresso machine and accessories. I said yes. I didn’t have a place for everything, so I had to build one.
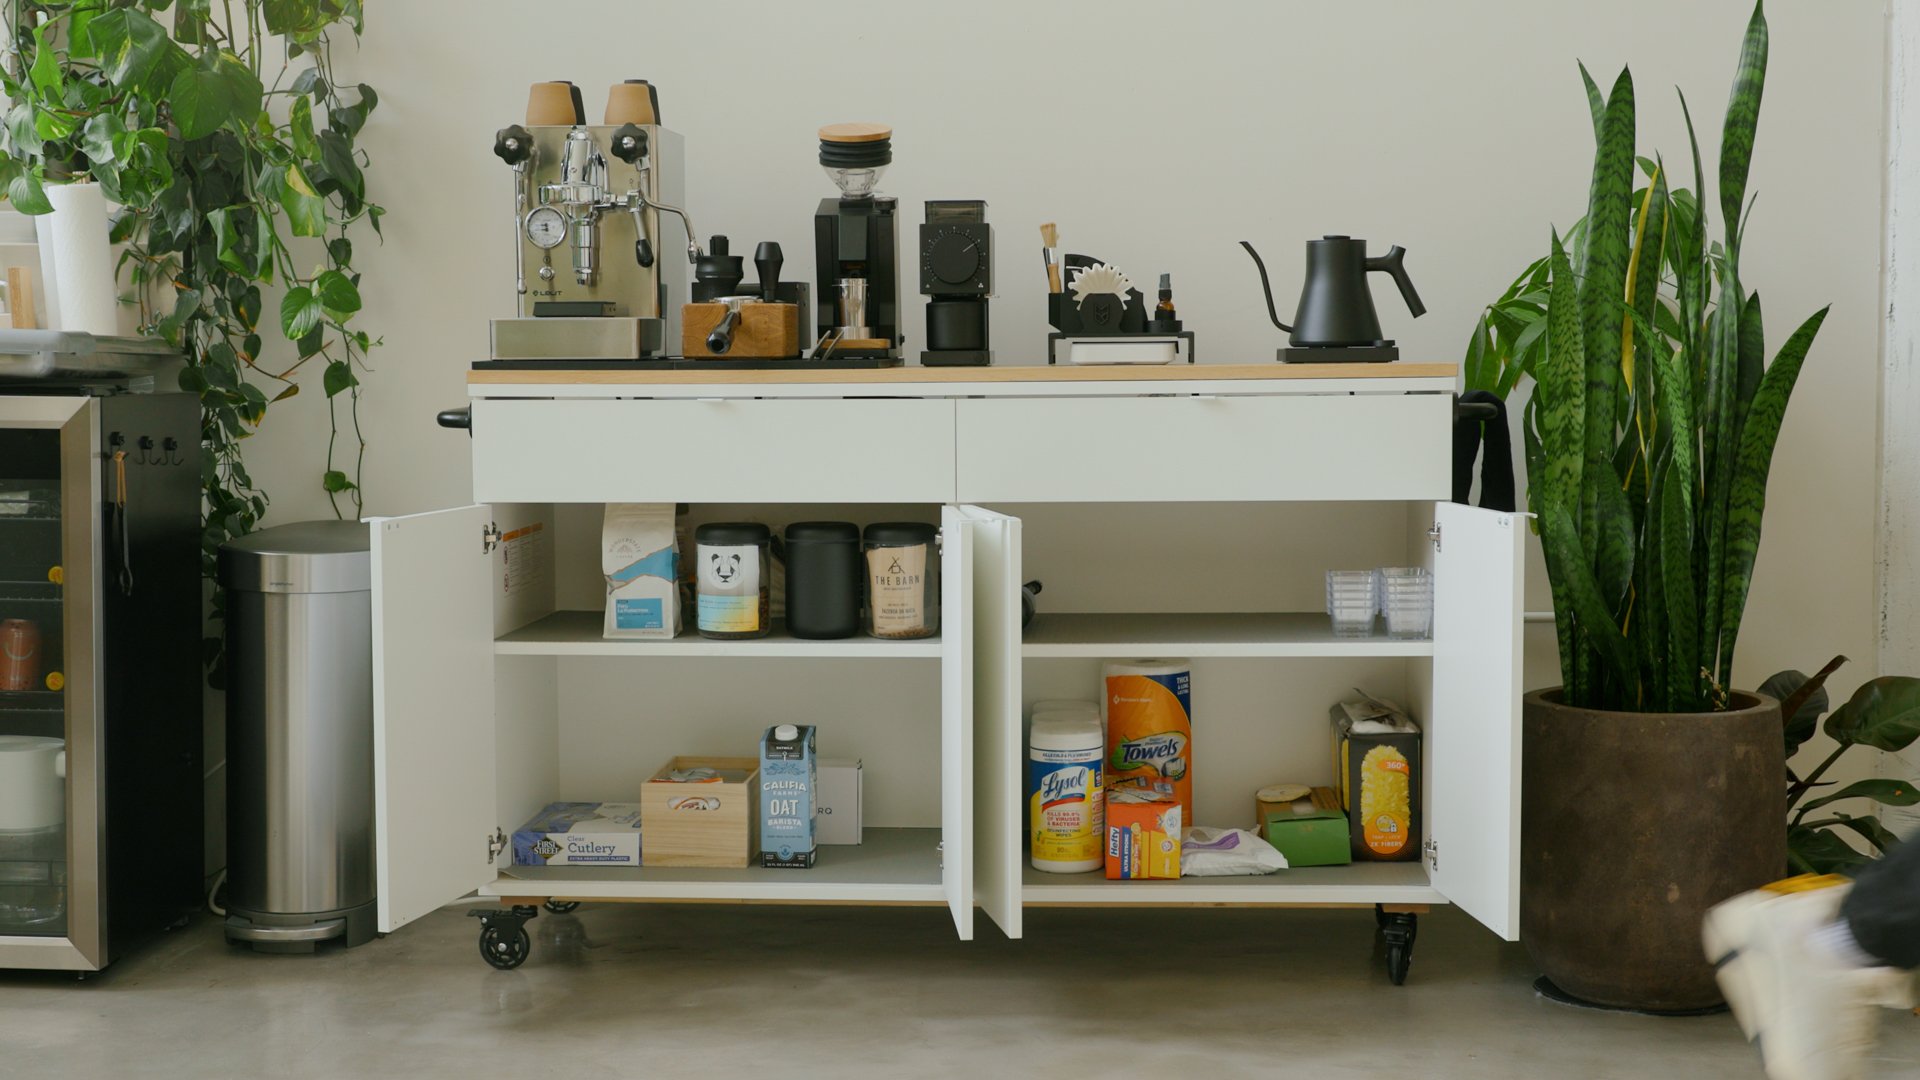
After some research and ideation, I decided to build a DIY mobile coffee cart that accommodates a filter and espresso setup. The cart needed ample work surface, storage, built-in power, and the ability to be easily moved around.
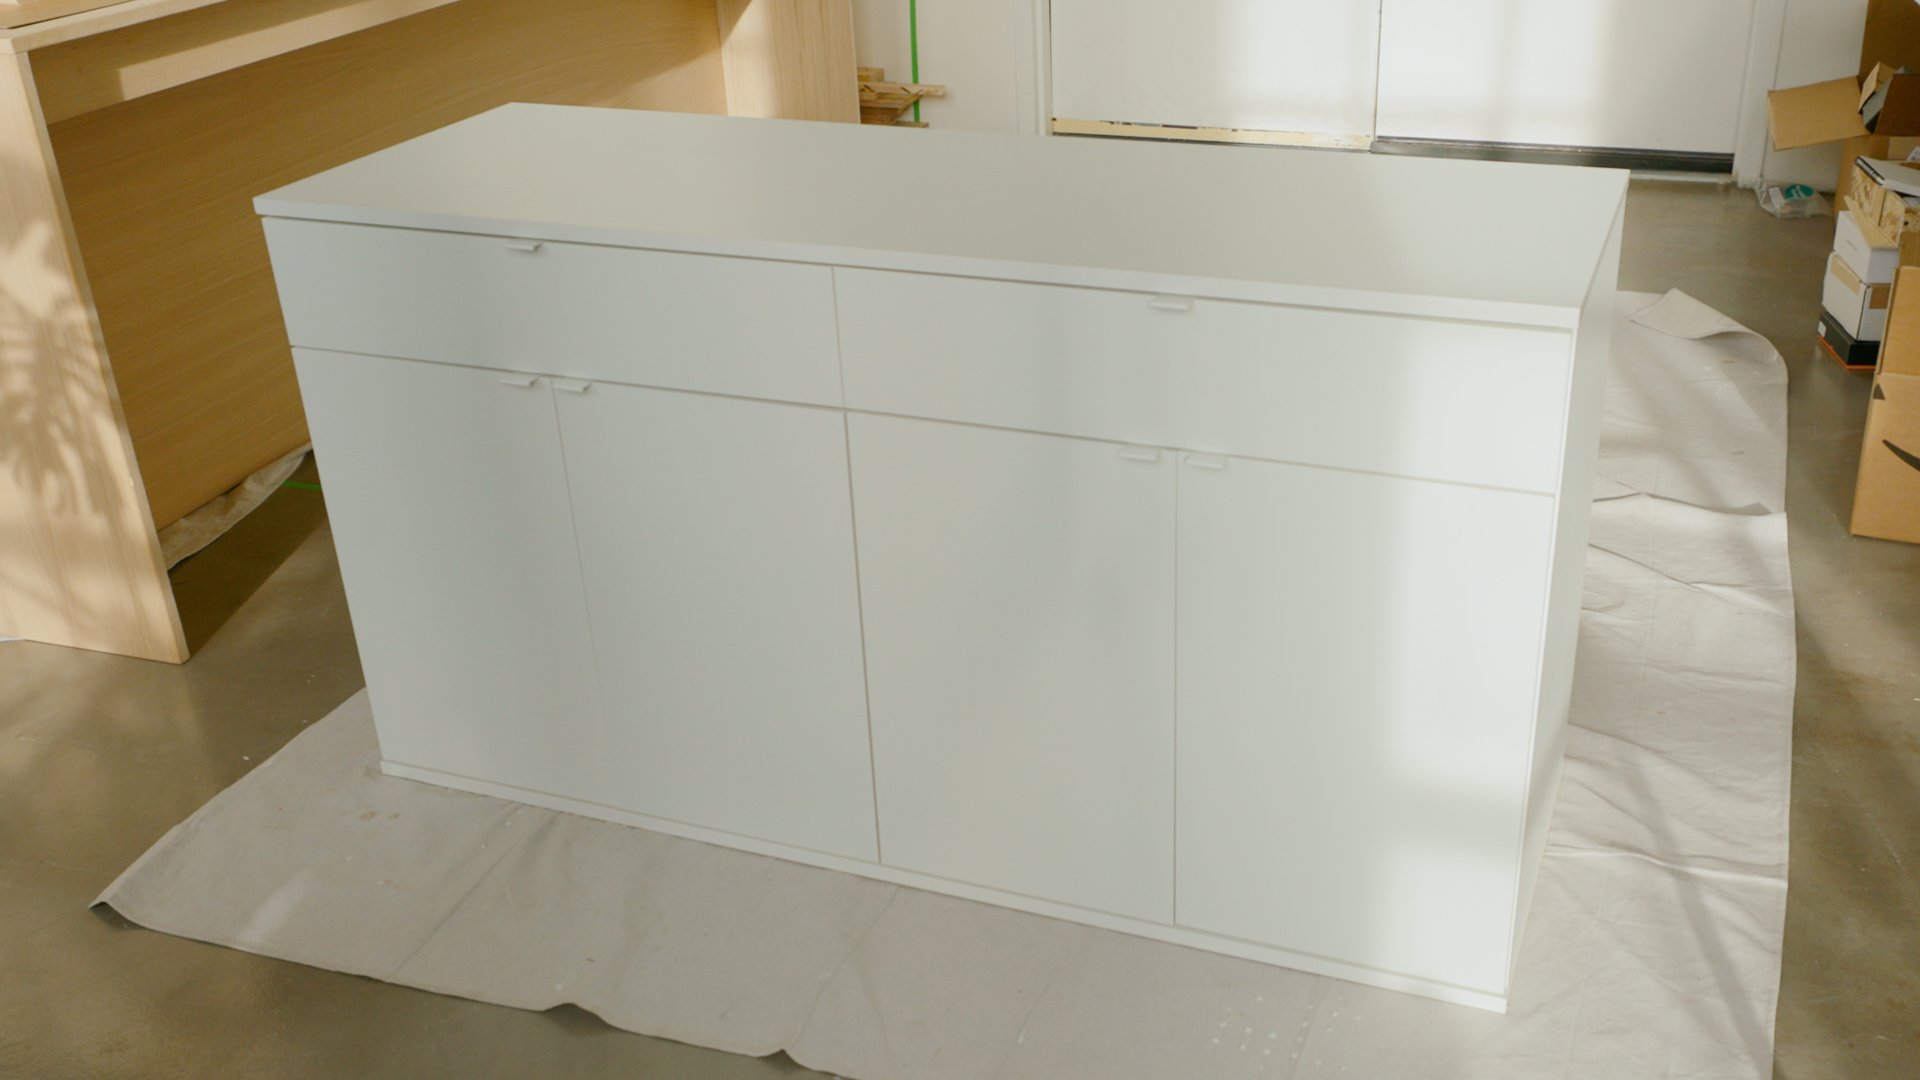
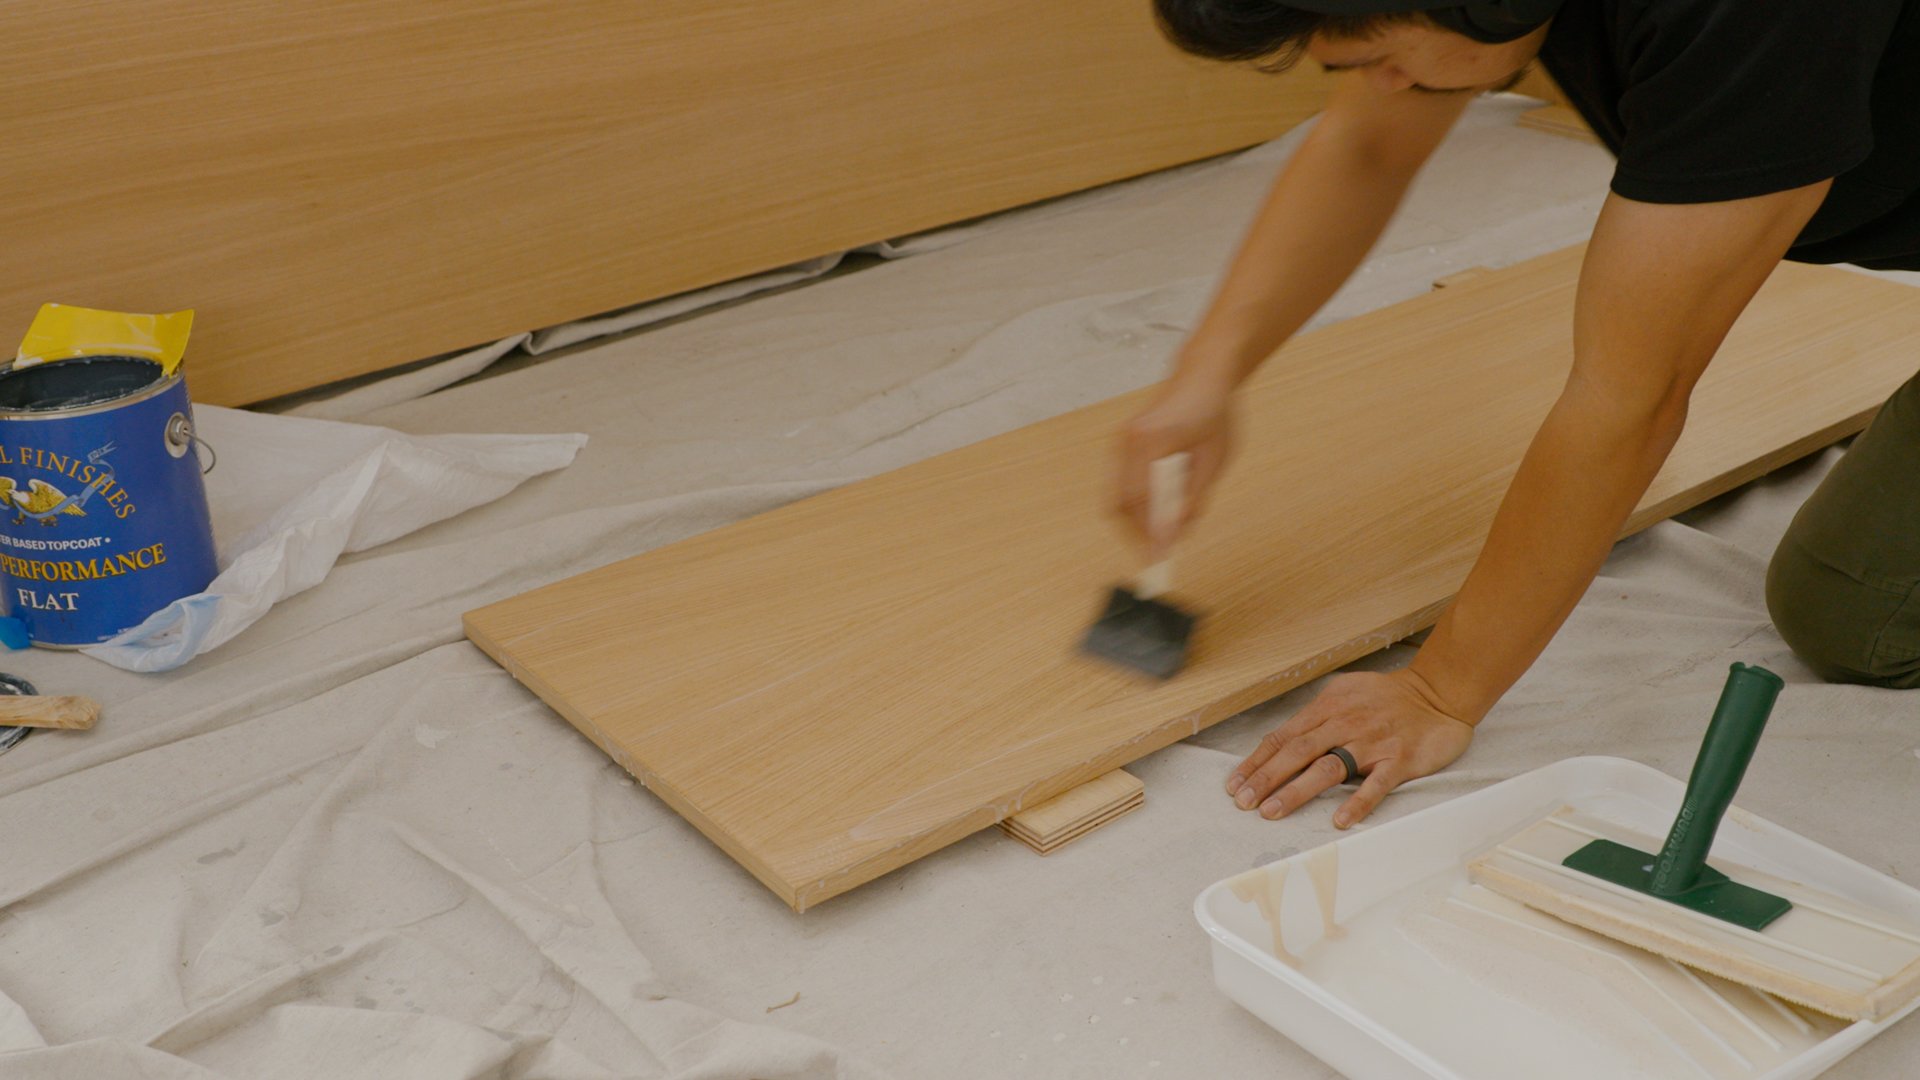
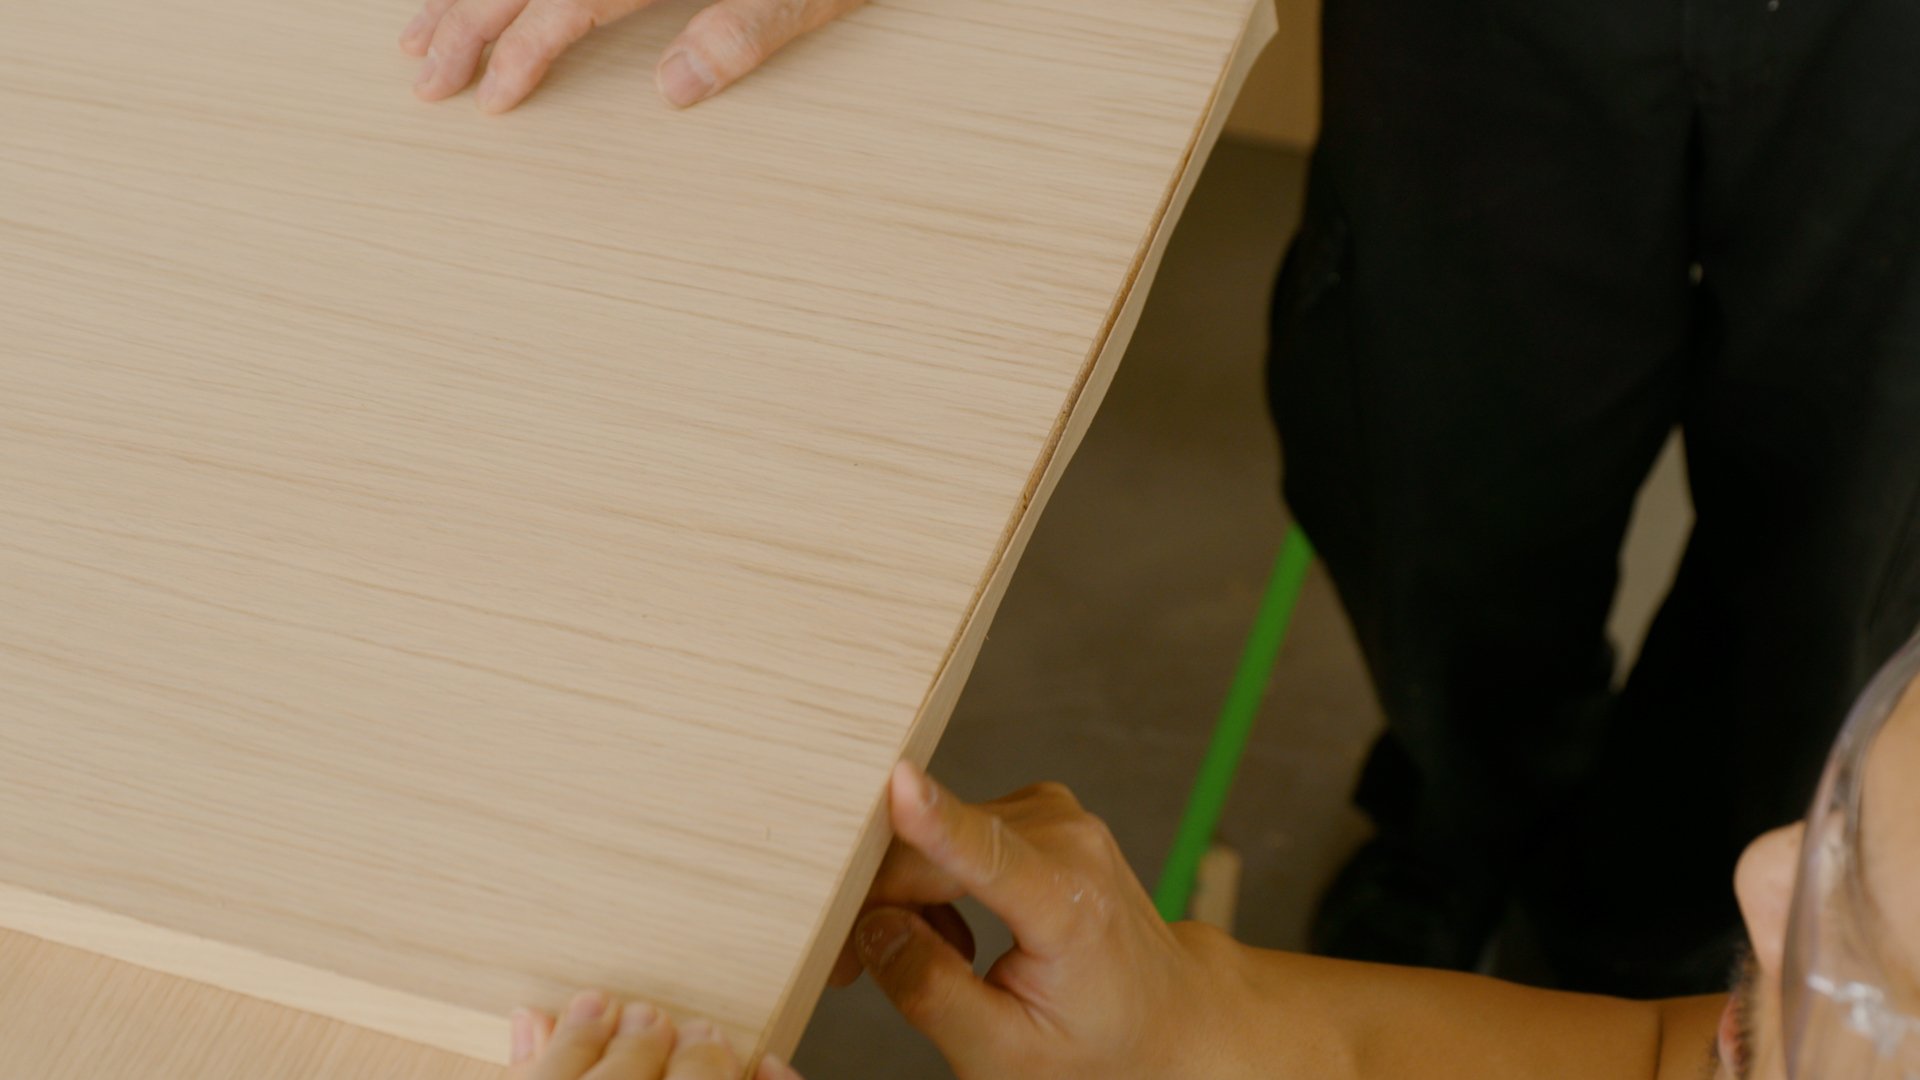
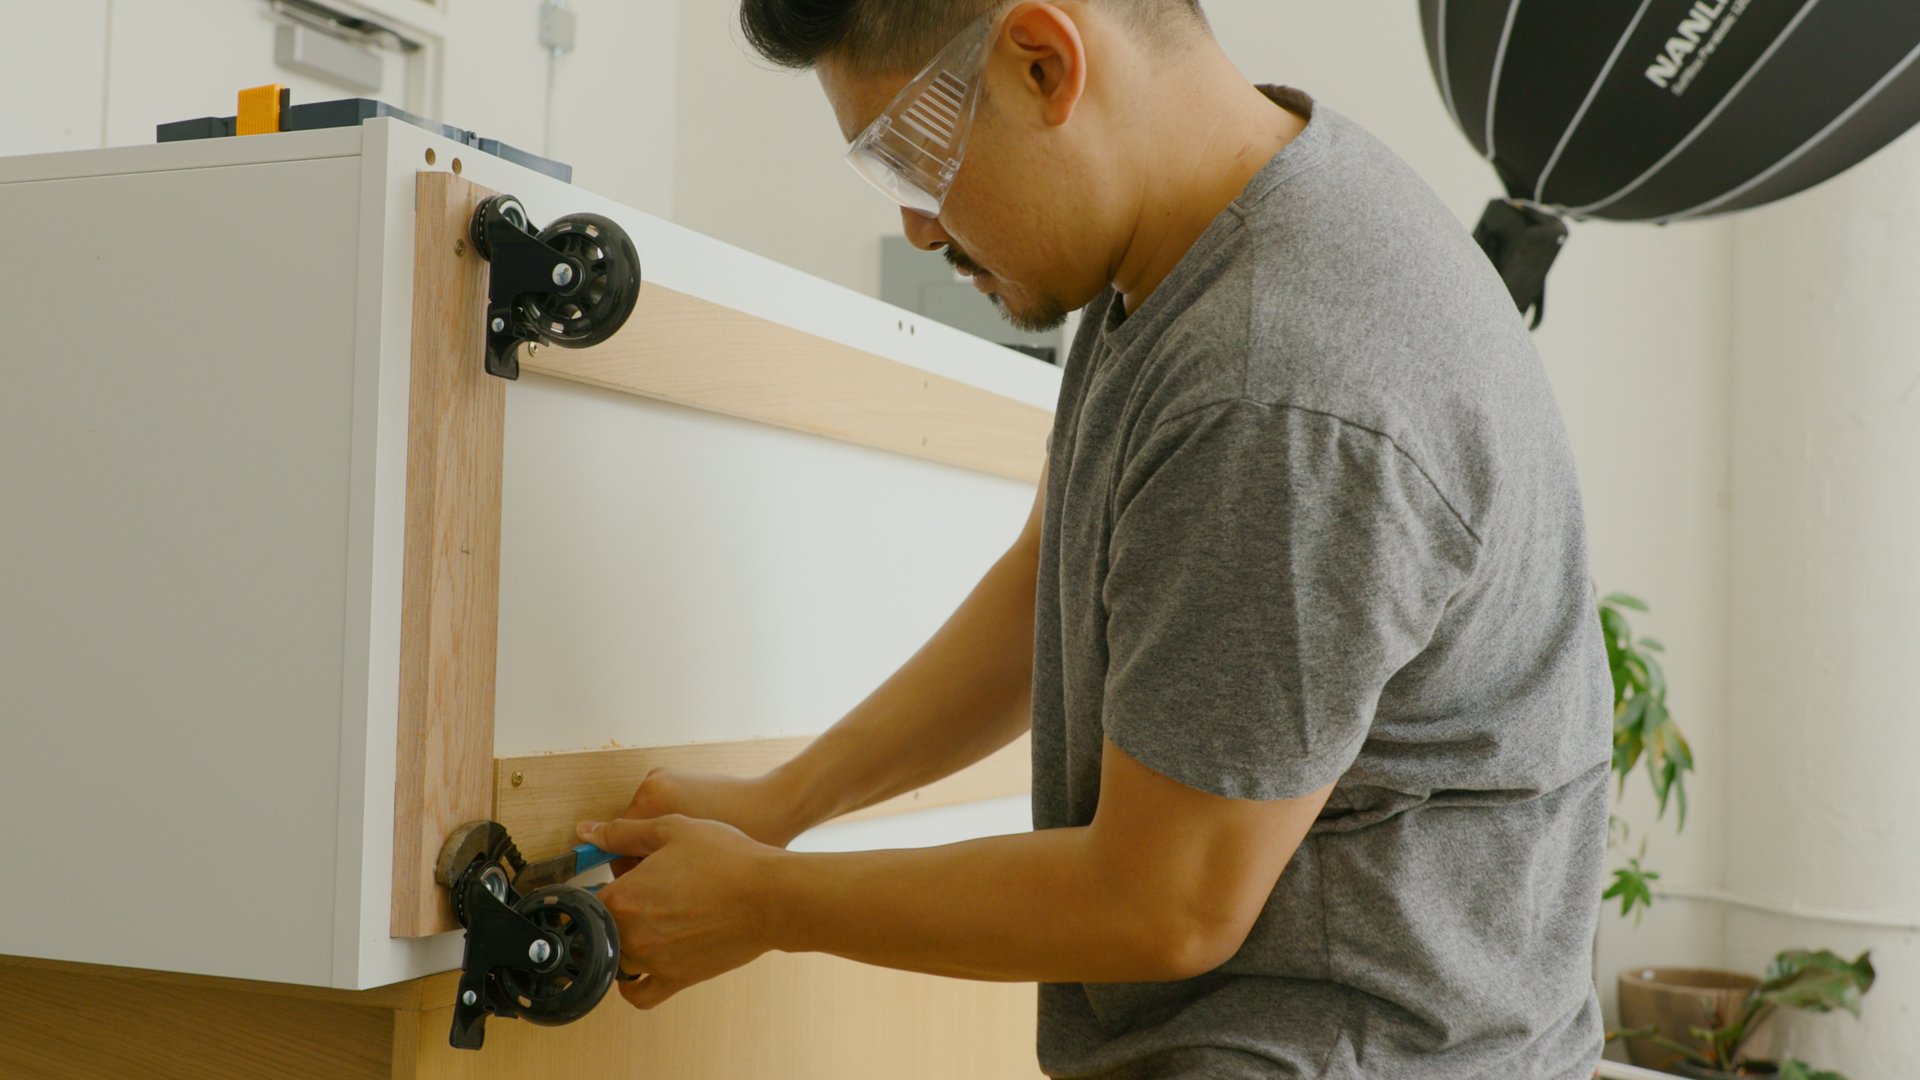
I opted to modify the Vihals Sideboard from IKEA, making it the perfect starting point for my coffee cart. With the assistance of my dad and brother, I assembled the cart and made slight modifications to suit the aesthetic of my studio. I added a sheet of white oak plywood that I had left over and covered the edges with banding. To mount the wood top to the sideboard, I cut up some drawer grip liner and used it in between the top and the wood. That plus the weight of the equipment holds it in place.
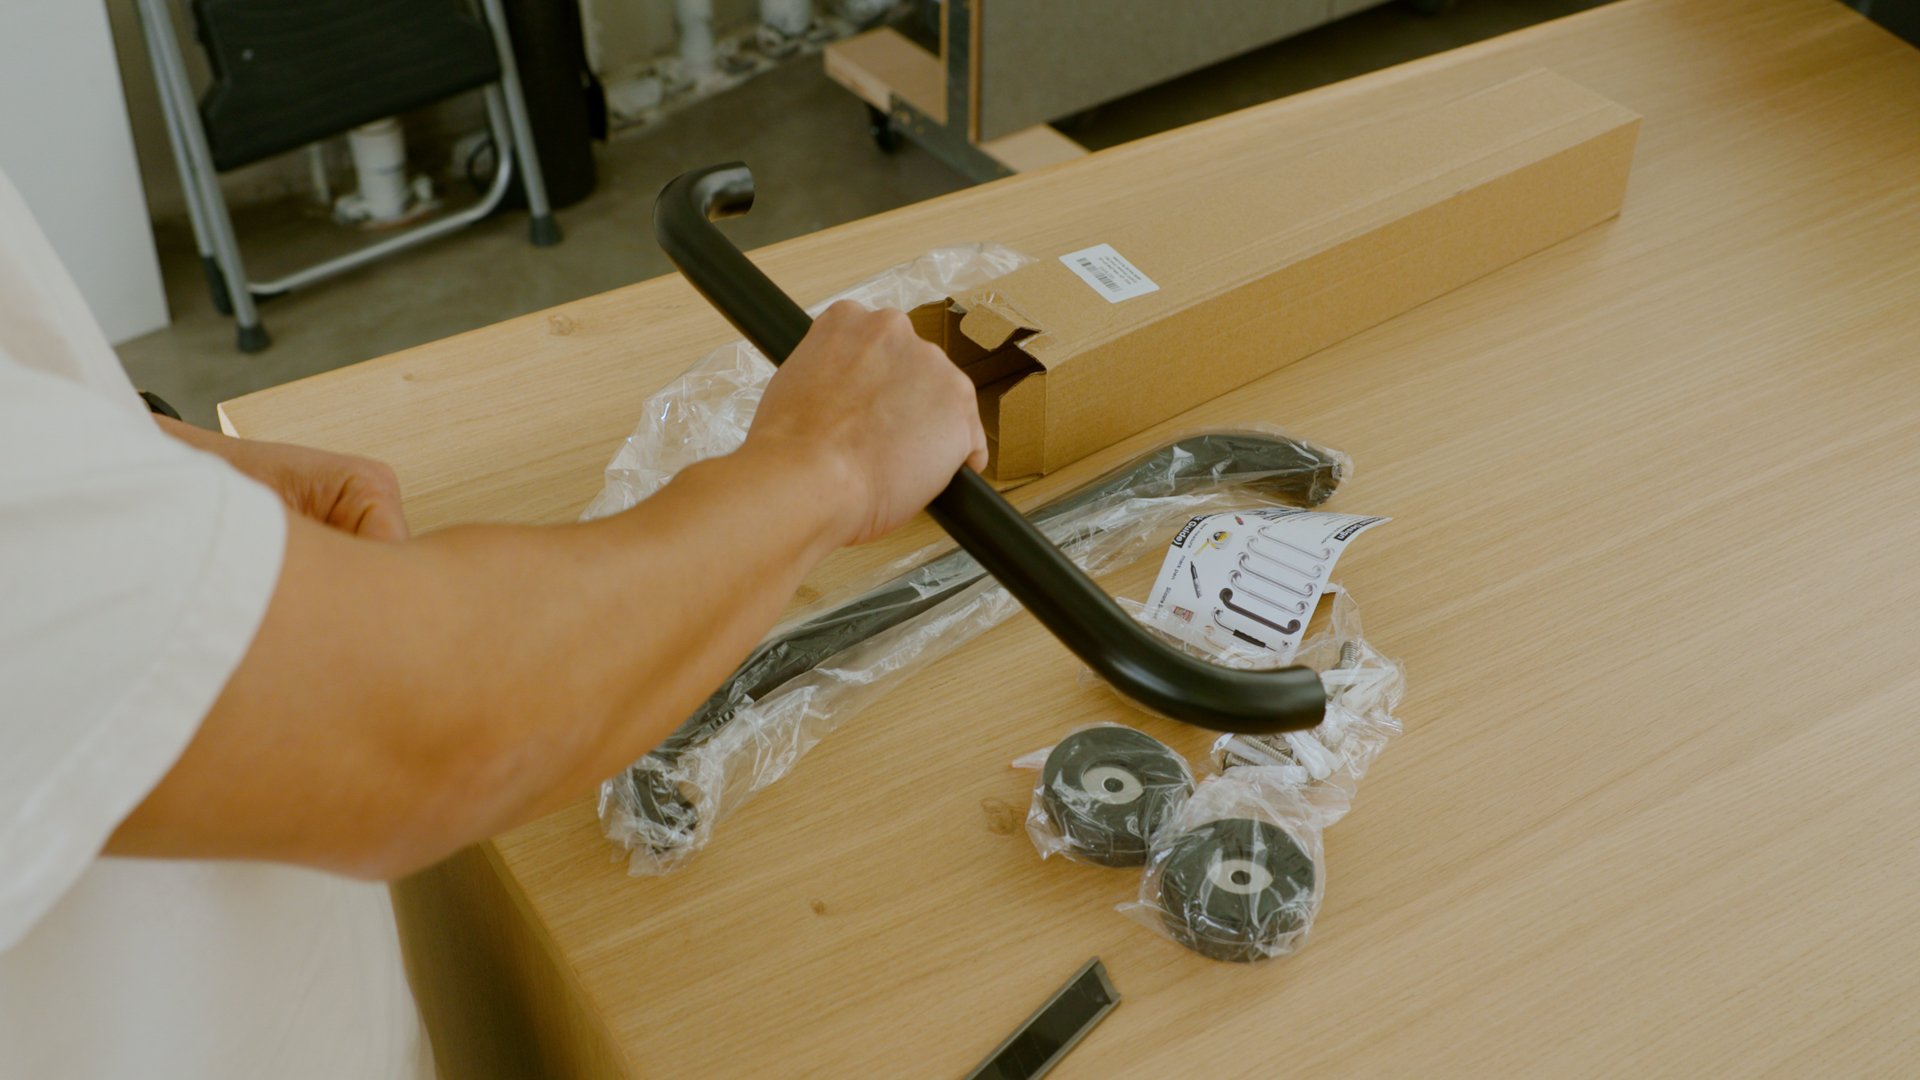
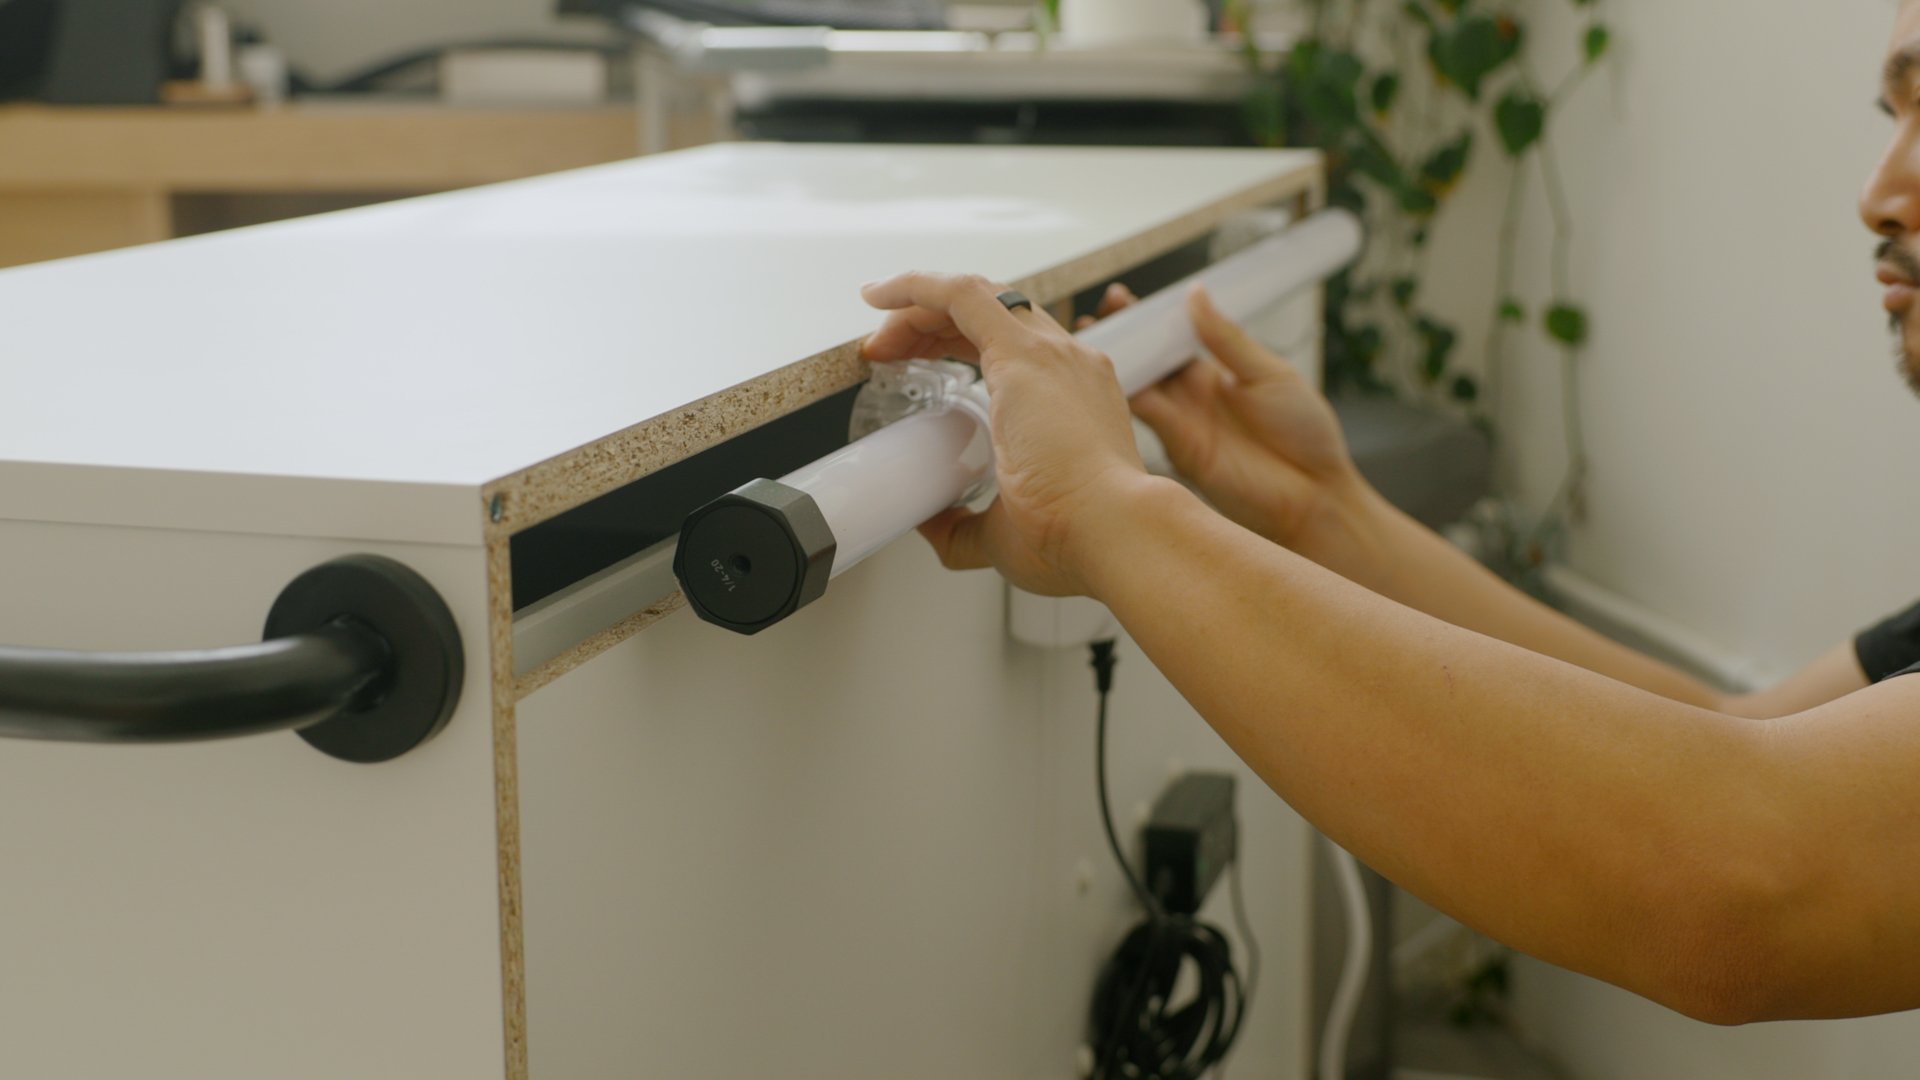
To reinforce the cart and make it mobile, I added solid red oak strips at the base and installed smooth and quiet roller skate wheels to make it mobile. To make the cart easier to move, I added black handle bars (intended for bathrooms).
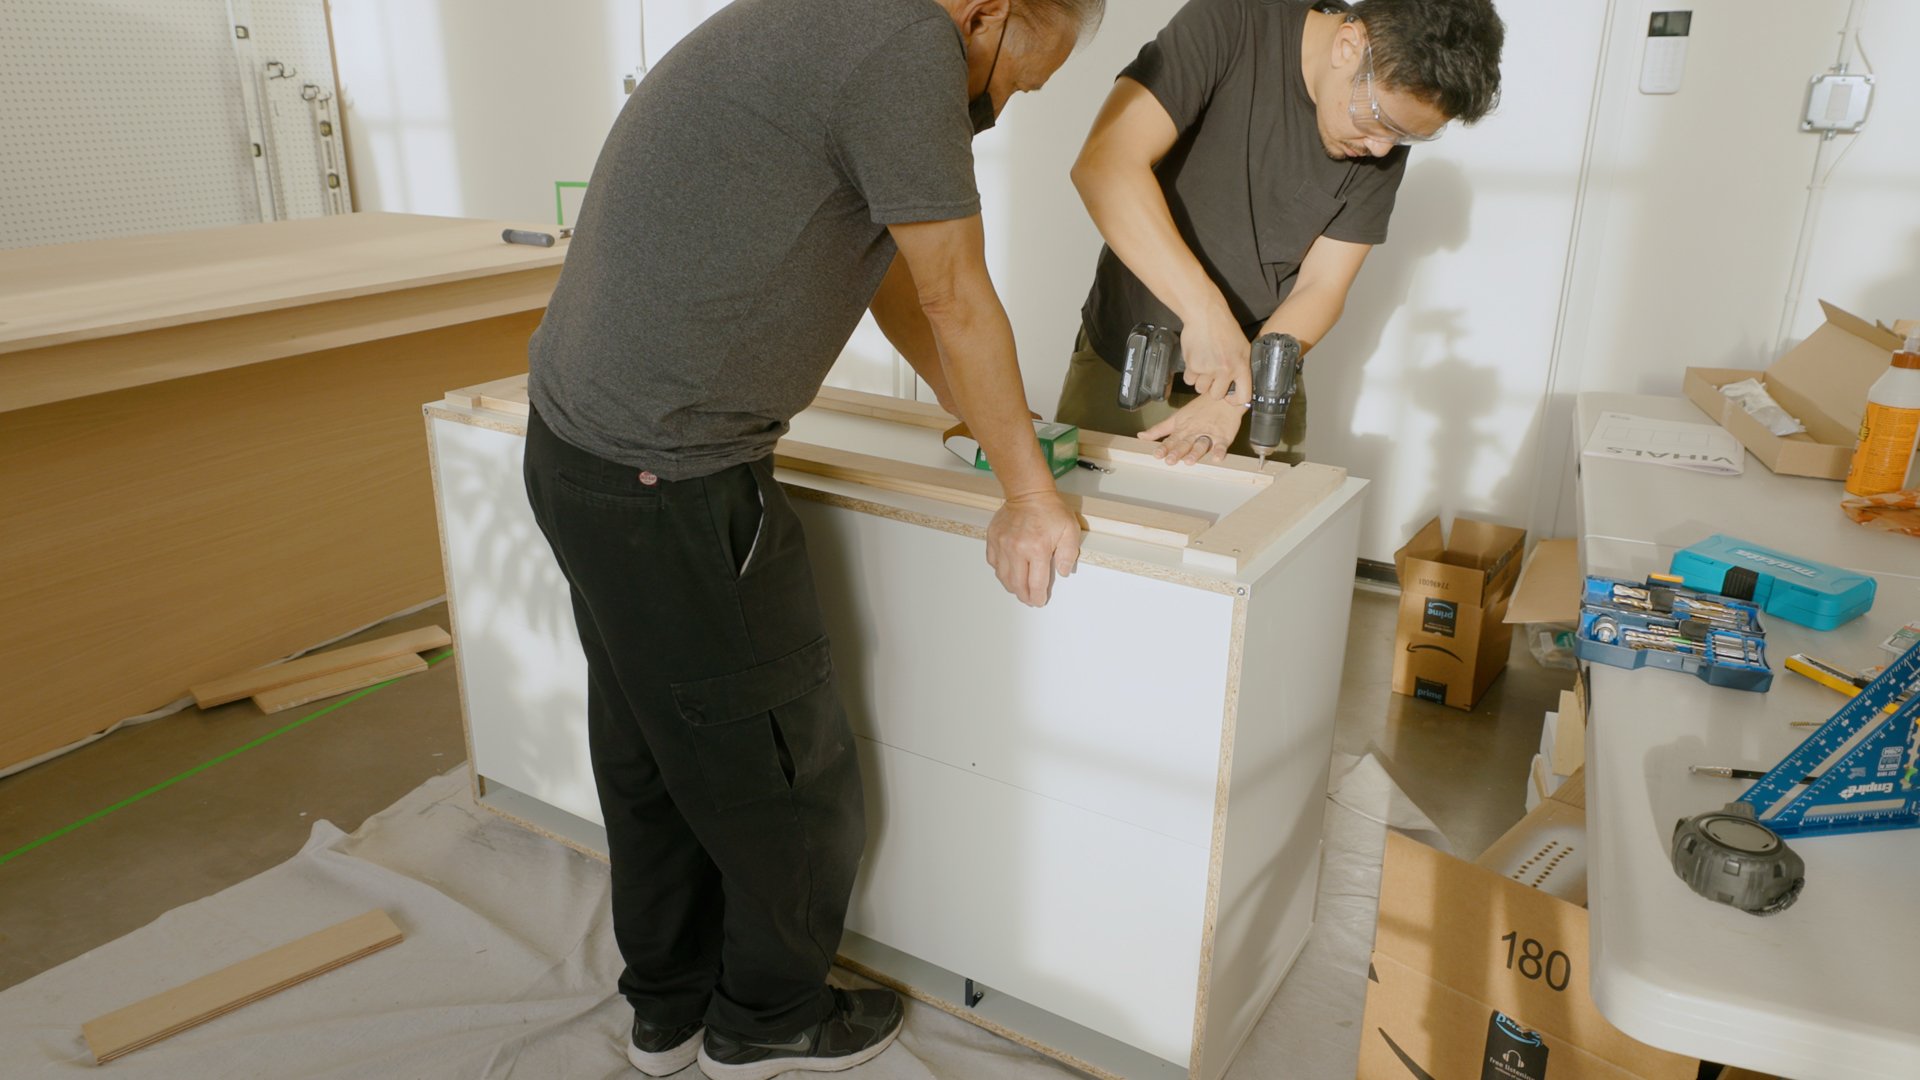

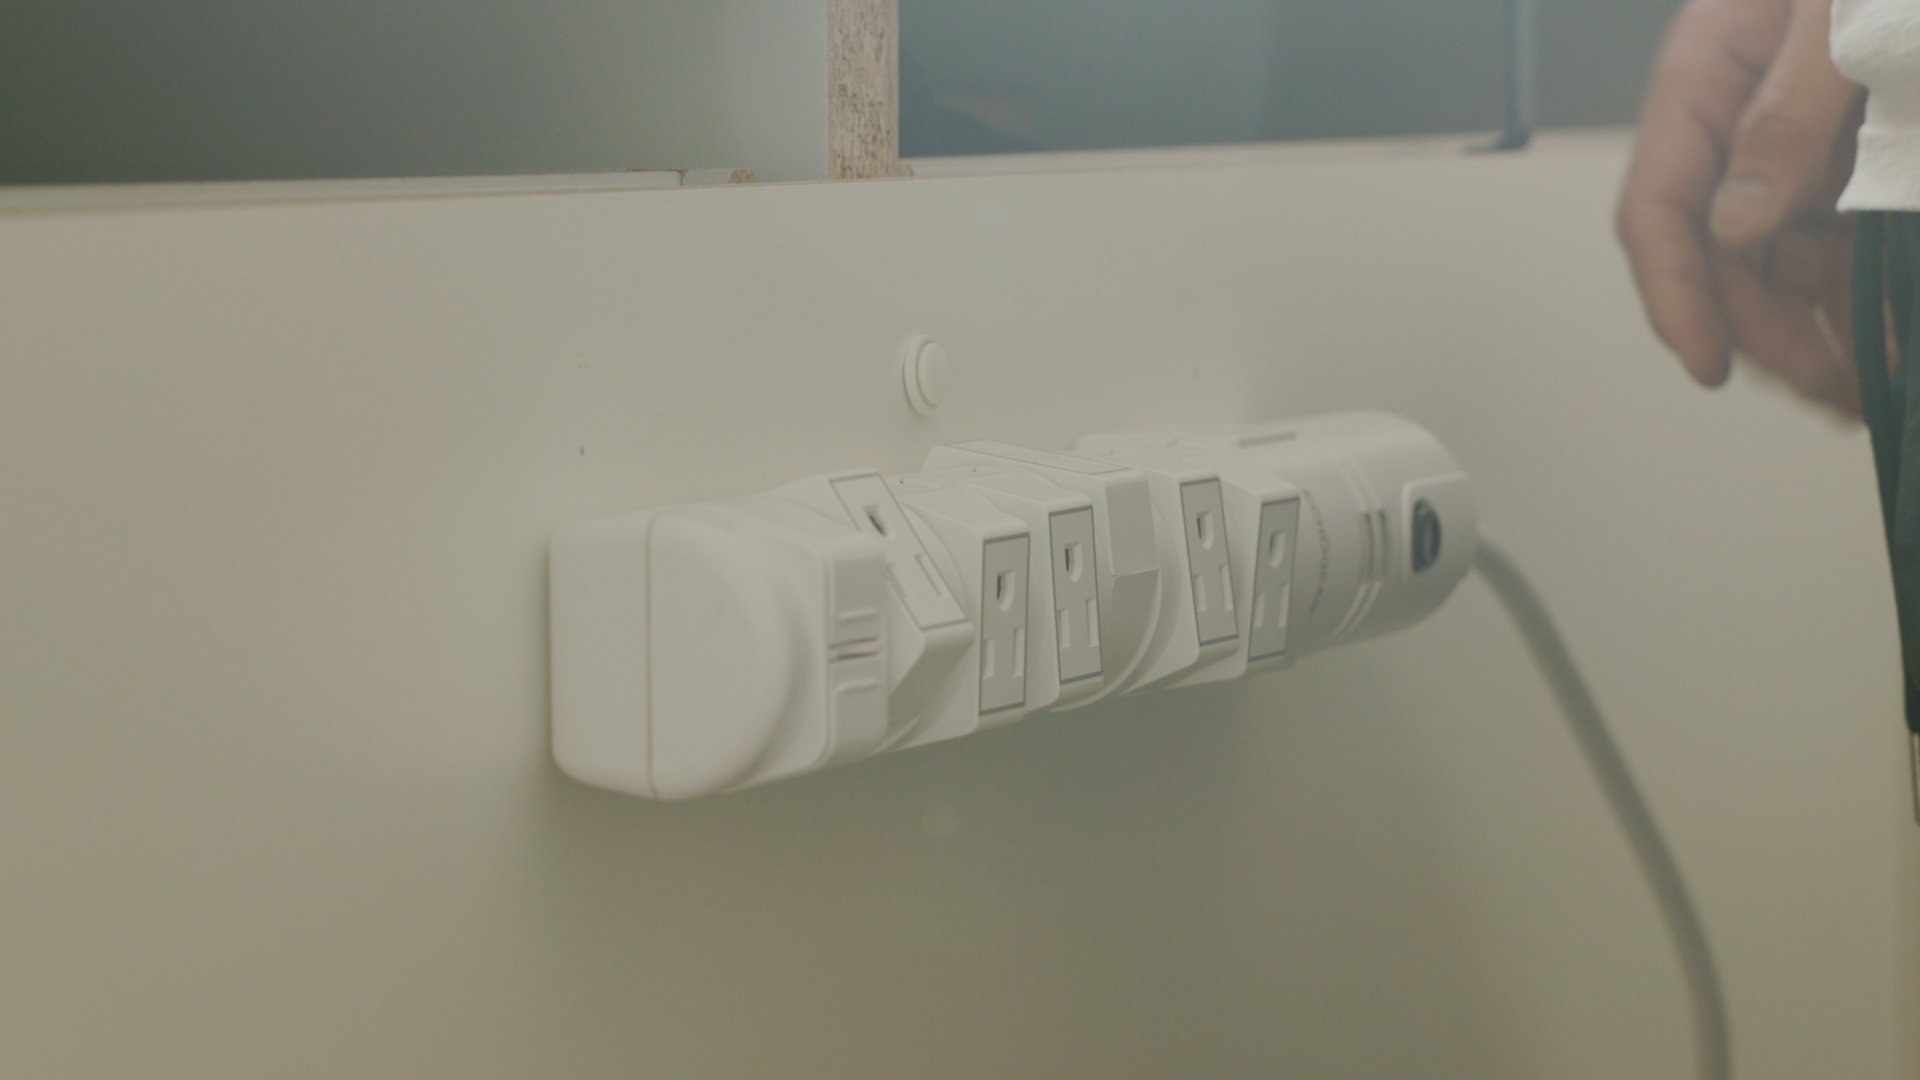
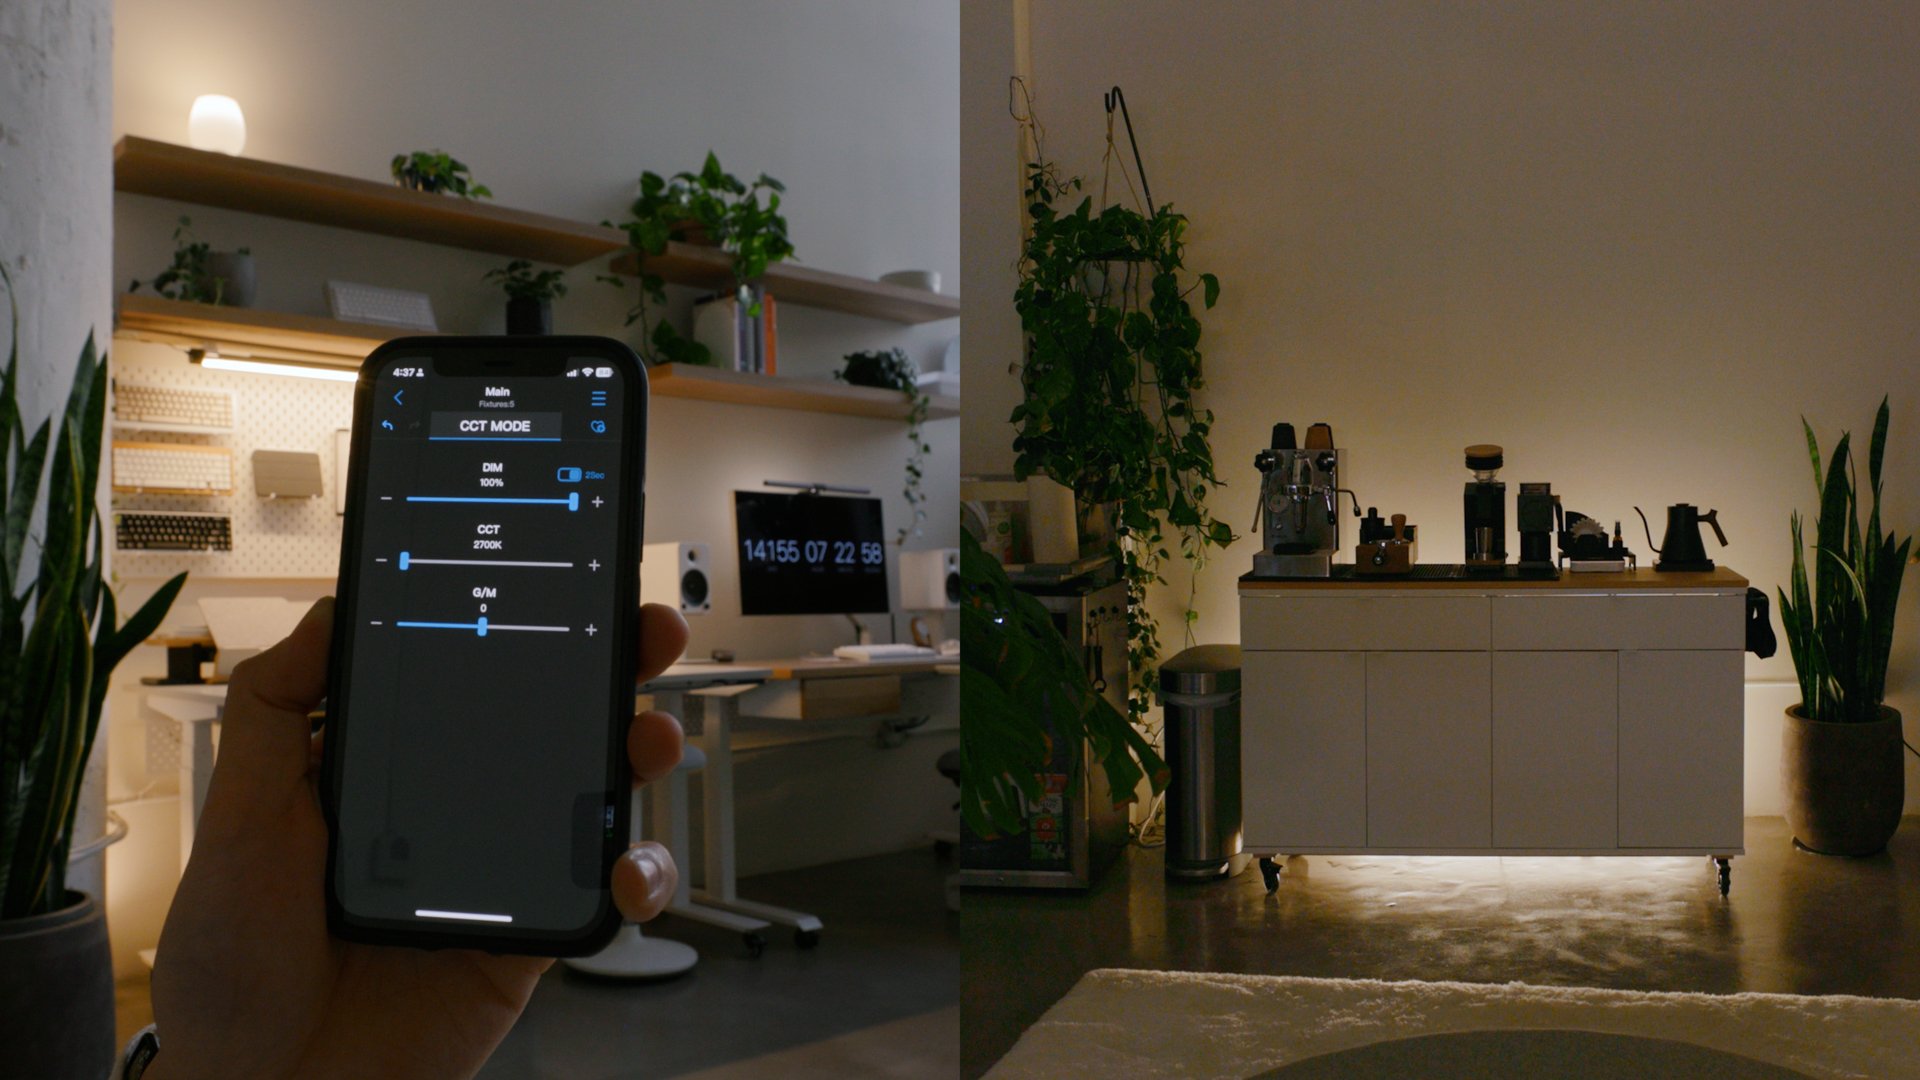
For power, I added a surge protector with rotatable sockets to power all of my equipment on the cart. This makes it so I only need to unplug one cord if I want to move the whole cart around. To finish it off, I attached a Pavotube (light bar) on the back with magnetic clips, to give setup some back ambient lighting. I can control the light for this and my entire studio with the Nanlink app.

Links to coffee cart parts
Magnetic Pavotube Clips
*Though If I were to build again, I’d probably use casters that attaches at four points instead of one because there’s so much weight on a single point.
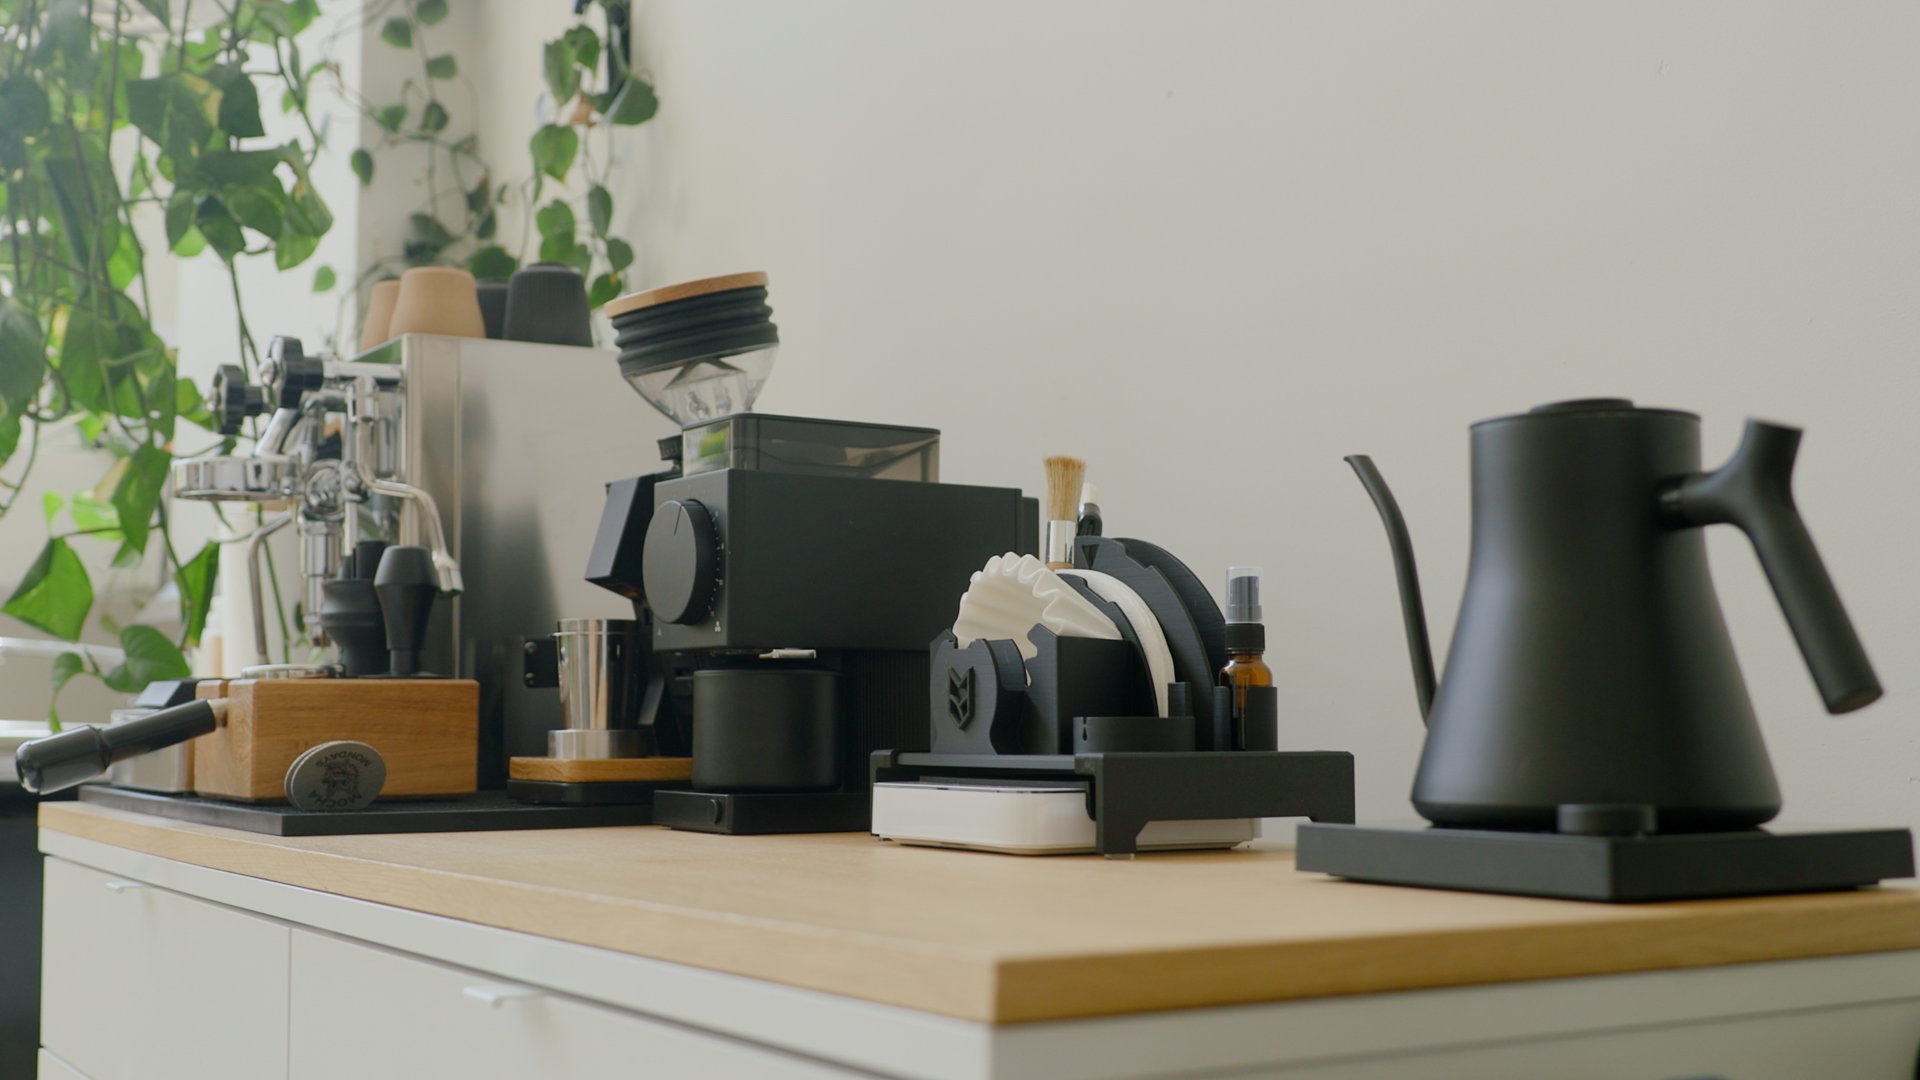
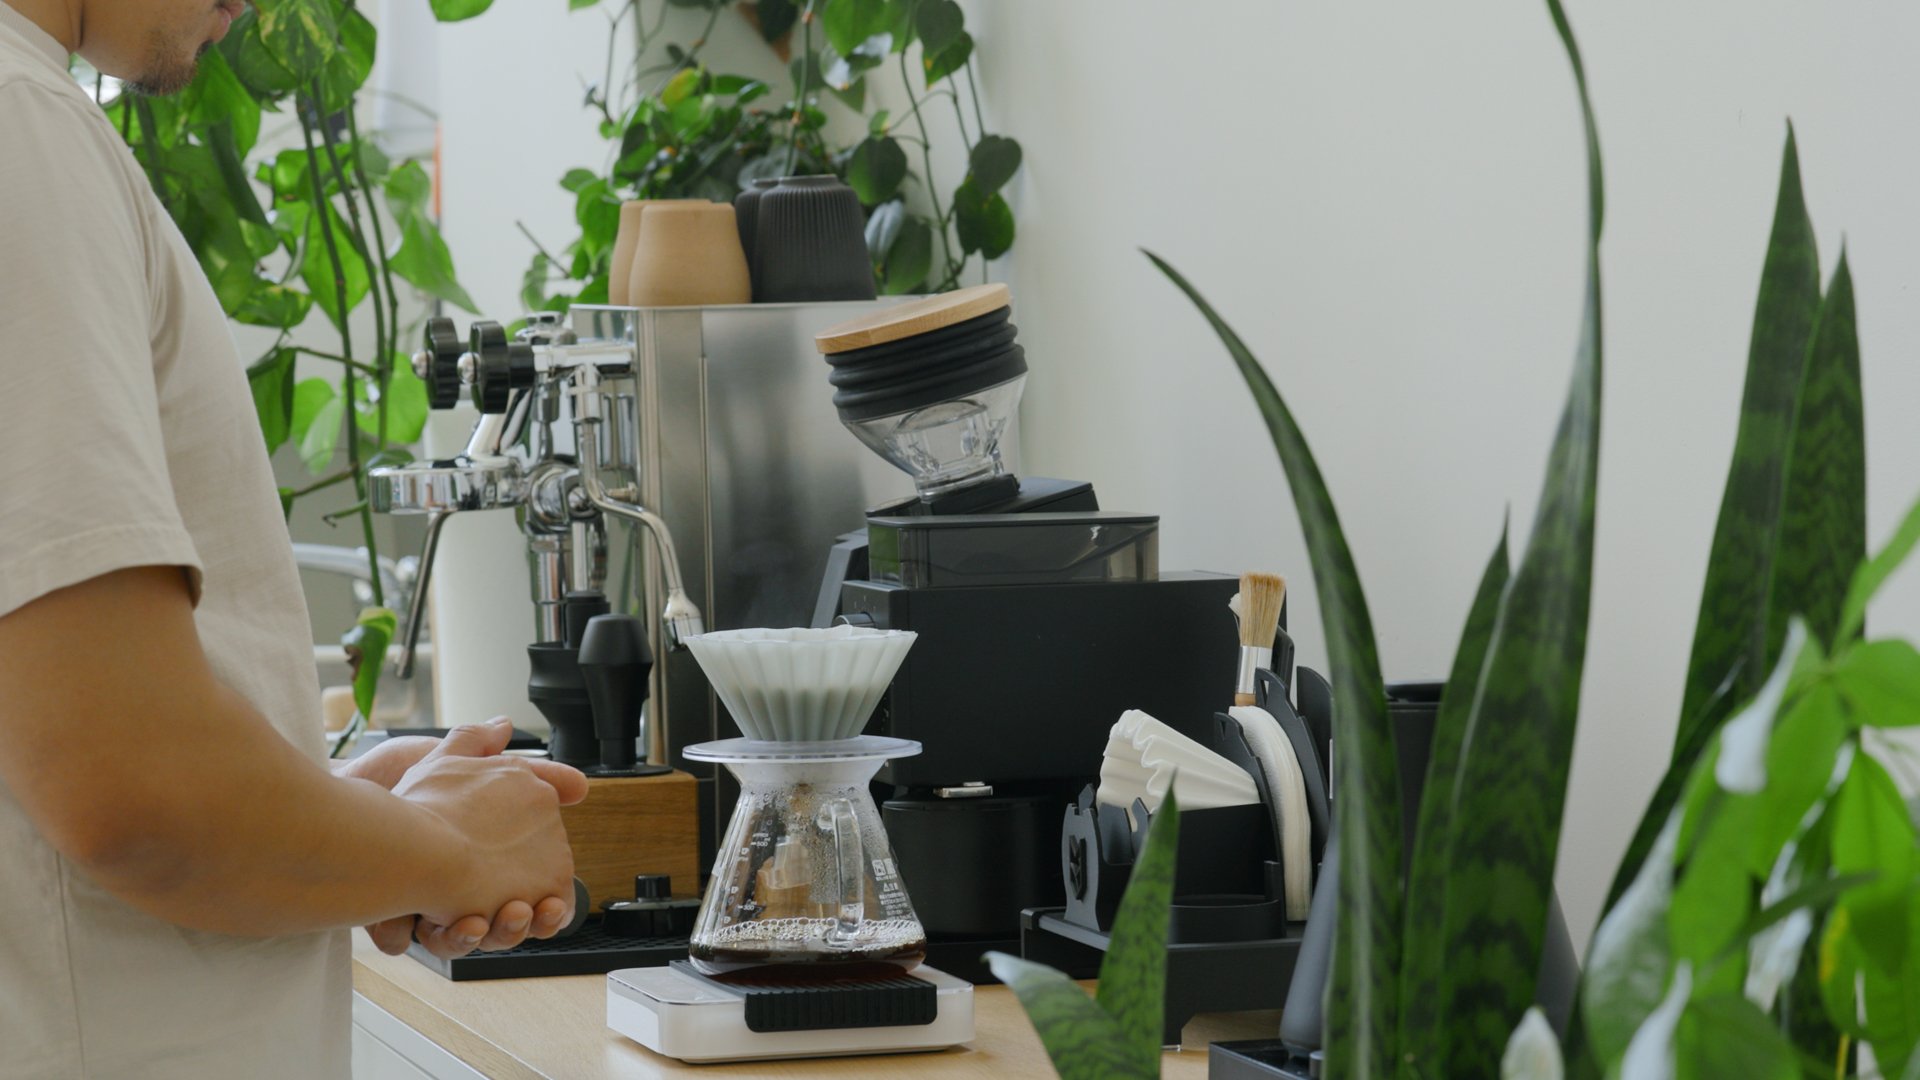
Equipment Layout
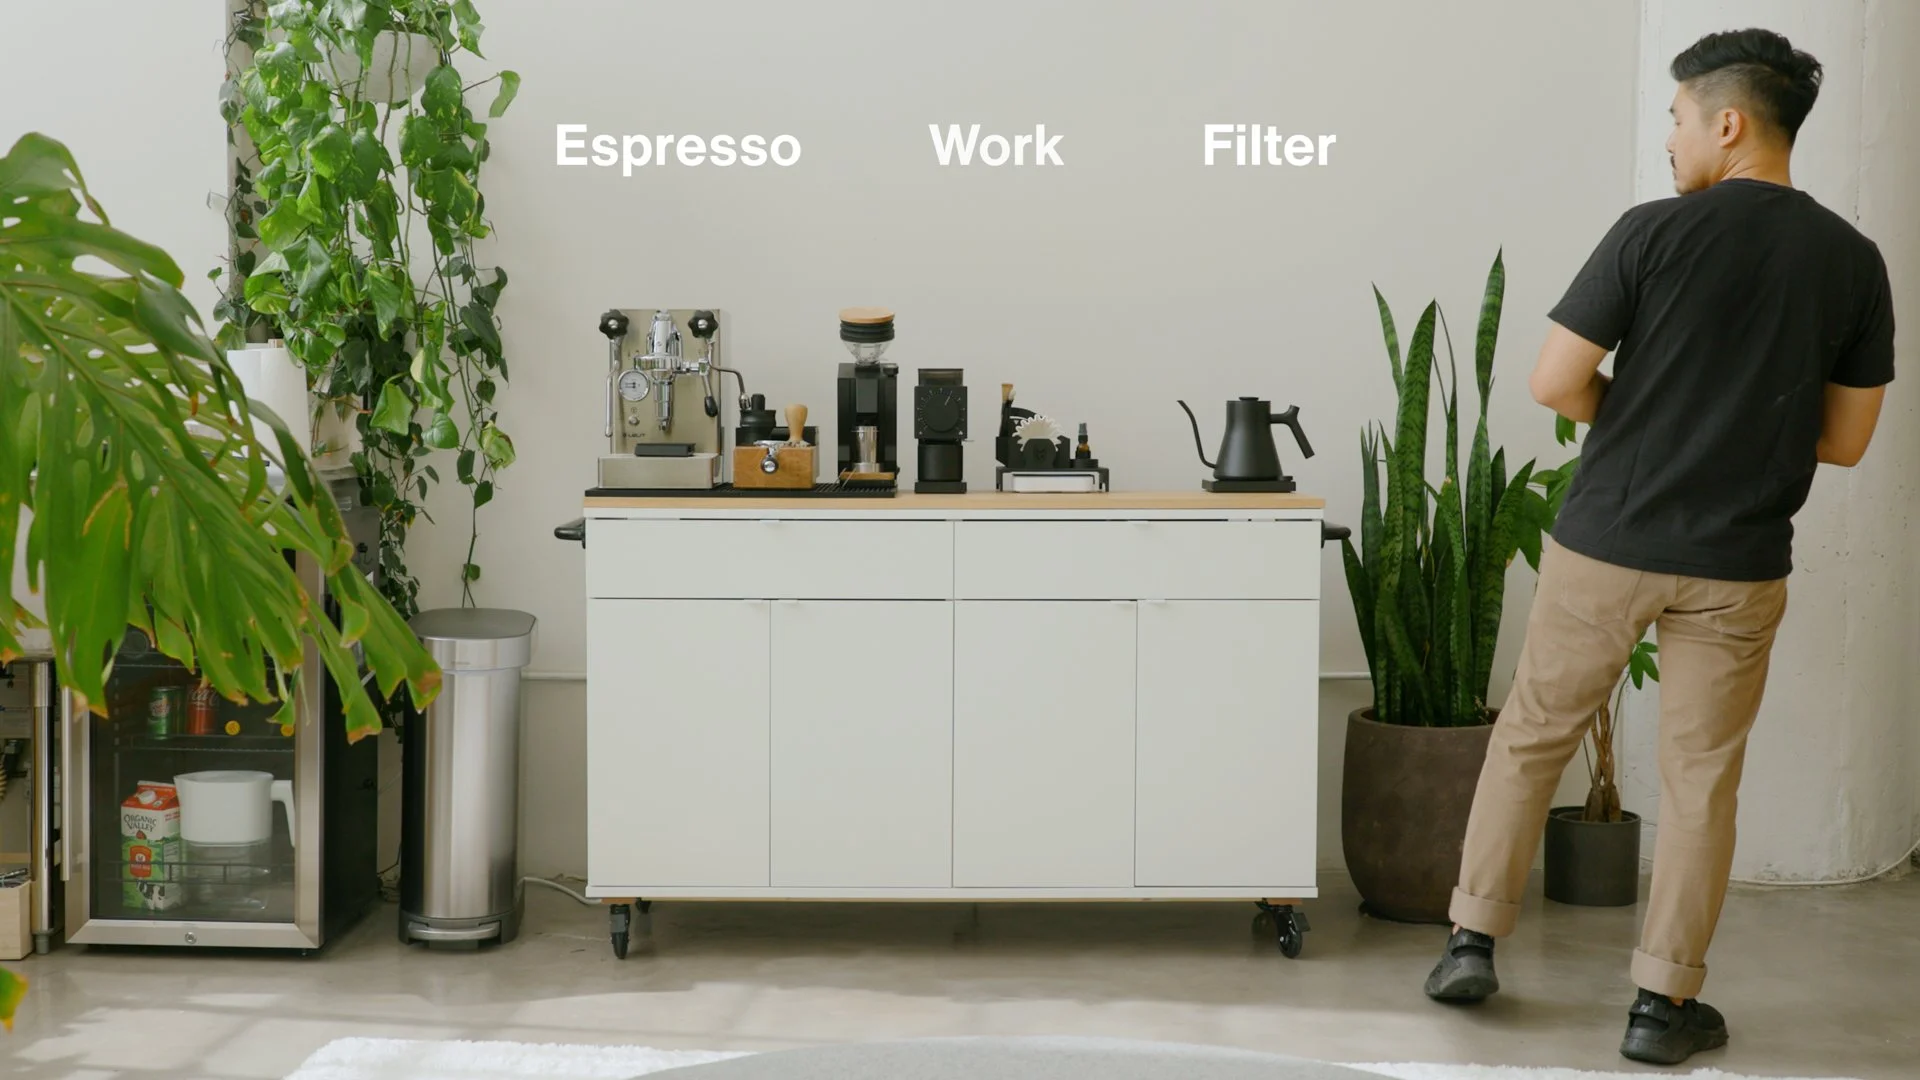
With the coffee cart built, I carefully laid out my equipment to optimize workflow and functionality. The espresso setup found its place on the left side of the cart, conveniently situated near the sink, fridge, and waste bin. On the right side, I arranged my filter setup. The central area of the cart serves as a versatile work area for both setups. Now, let's delve into the equipment I use for both filtered coffee and espresso.
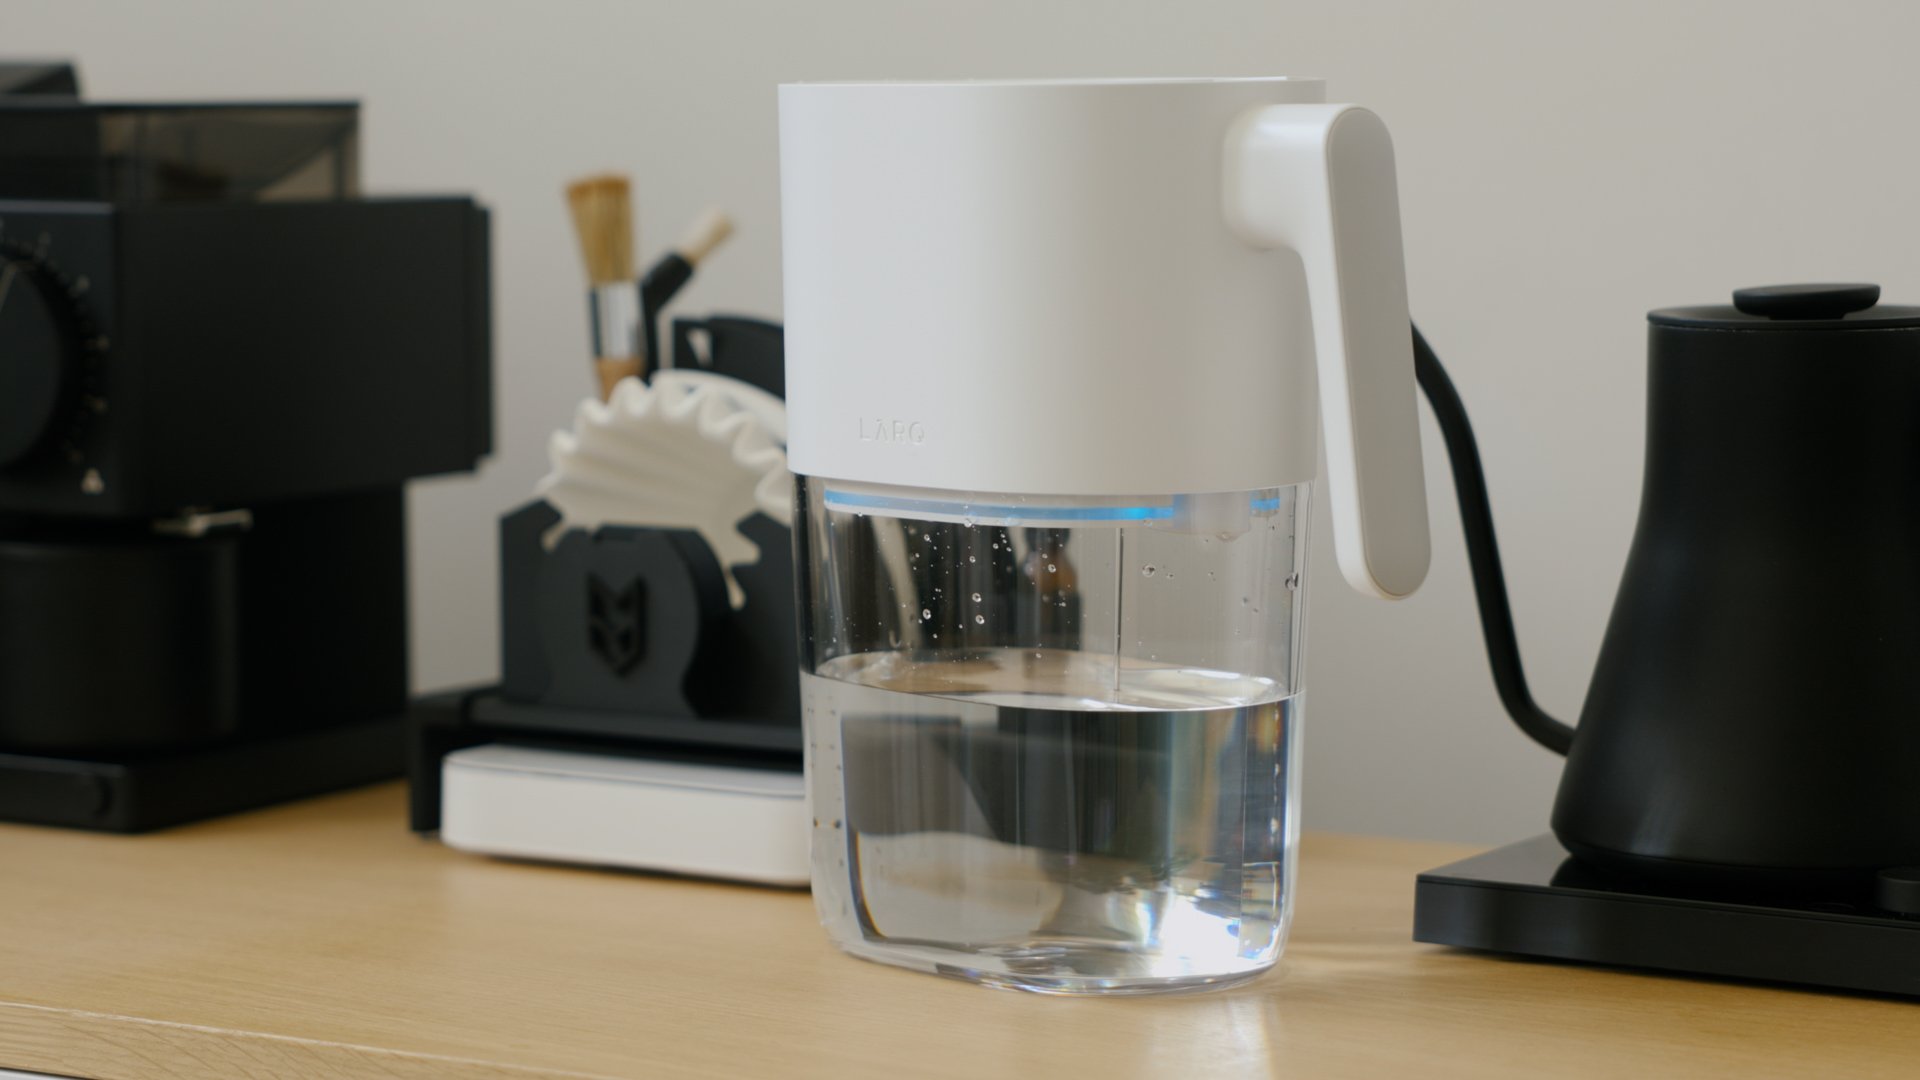
Water
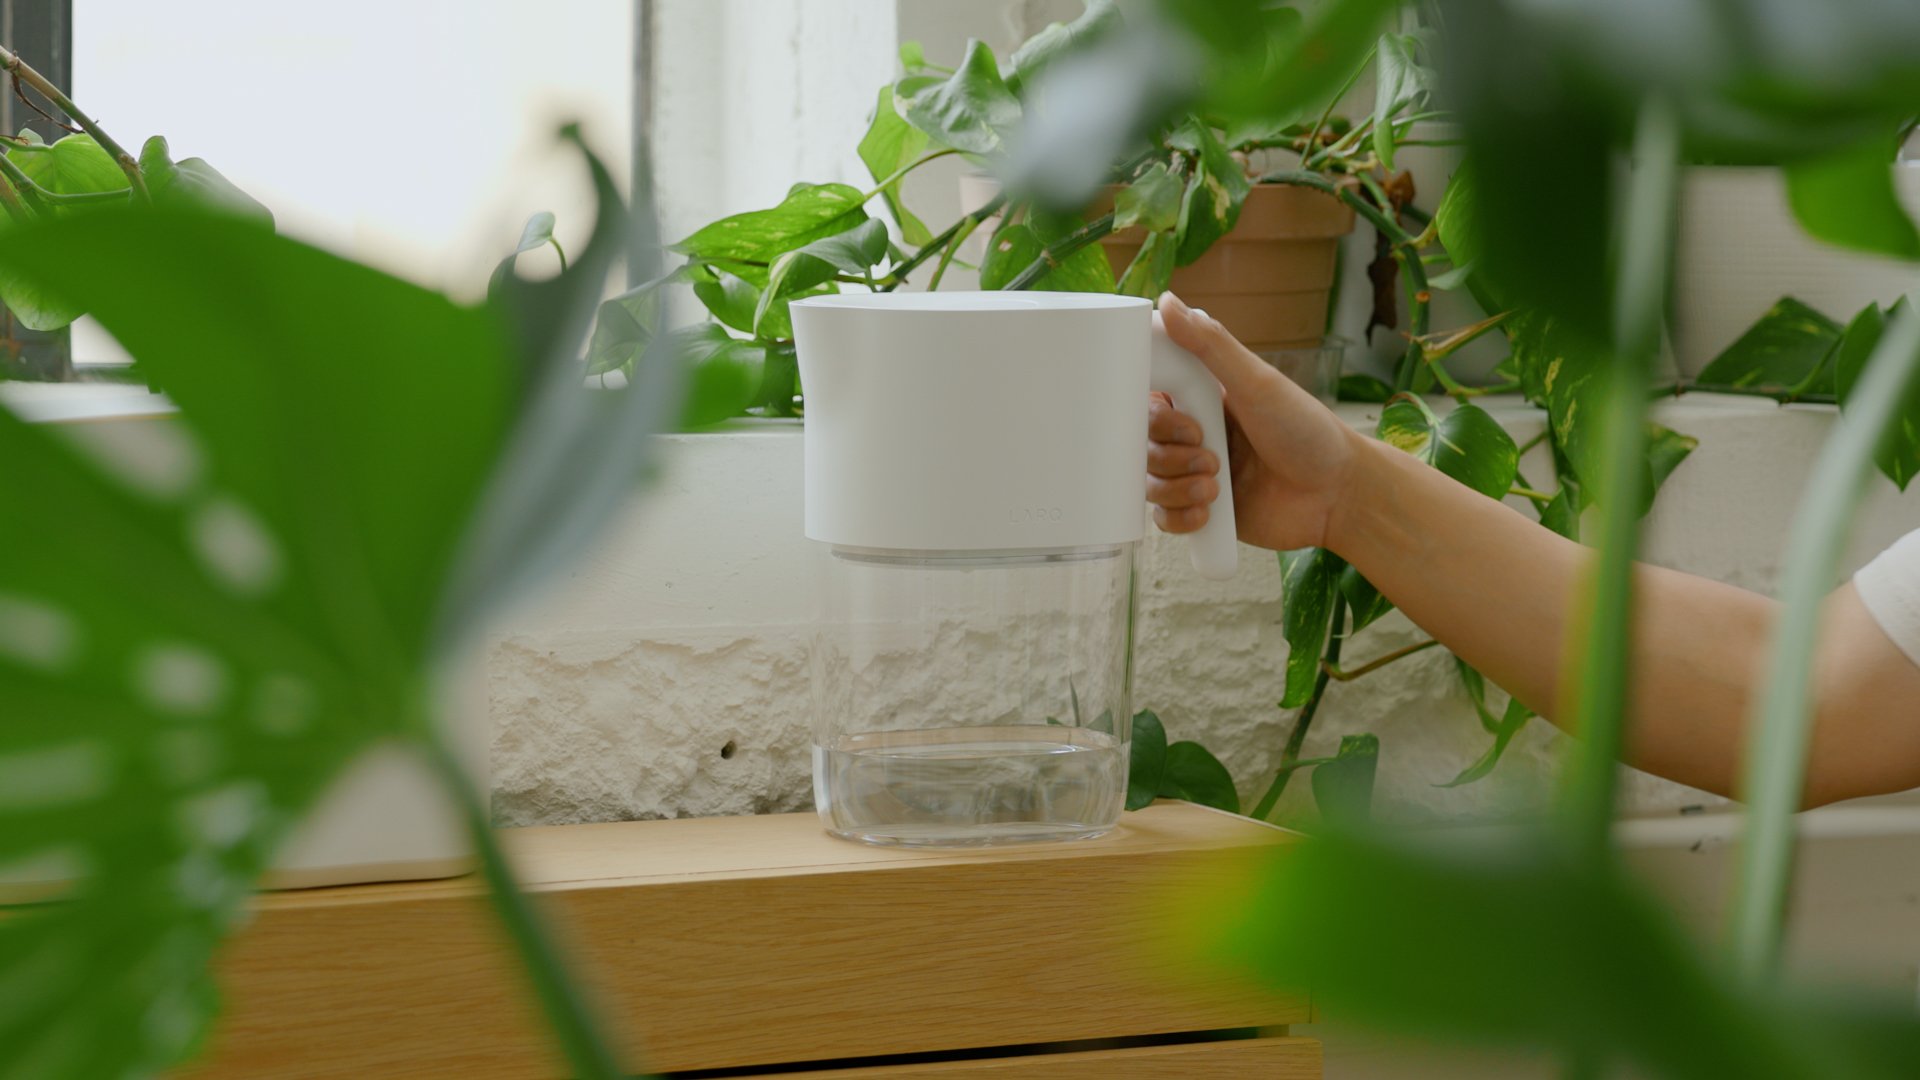
Water quality plays a vital role starting with the foundation of any brew. While the coffee-obsessed will recommend a reverse osmosis system plus mineral additives as the best water, I’m not there yet.
Instead, I wanted to find a simpler solution that would help soften my water, filter out the bad stuff, and in the end, taste great. I use the LARQ PureVis Pitcher at home and work because it filters tap water using advanced technology, including UV-C light. This pitcher removes many pollutants and eliminates bacteria, resulting in odor-free and great-tasting water—an excellent start for any brew.
Filter Coffee Setup
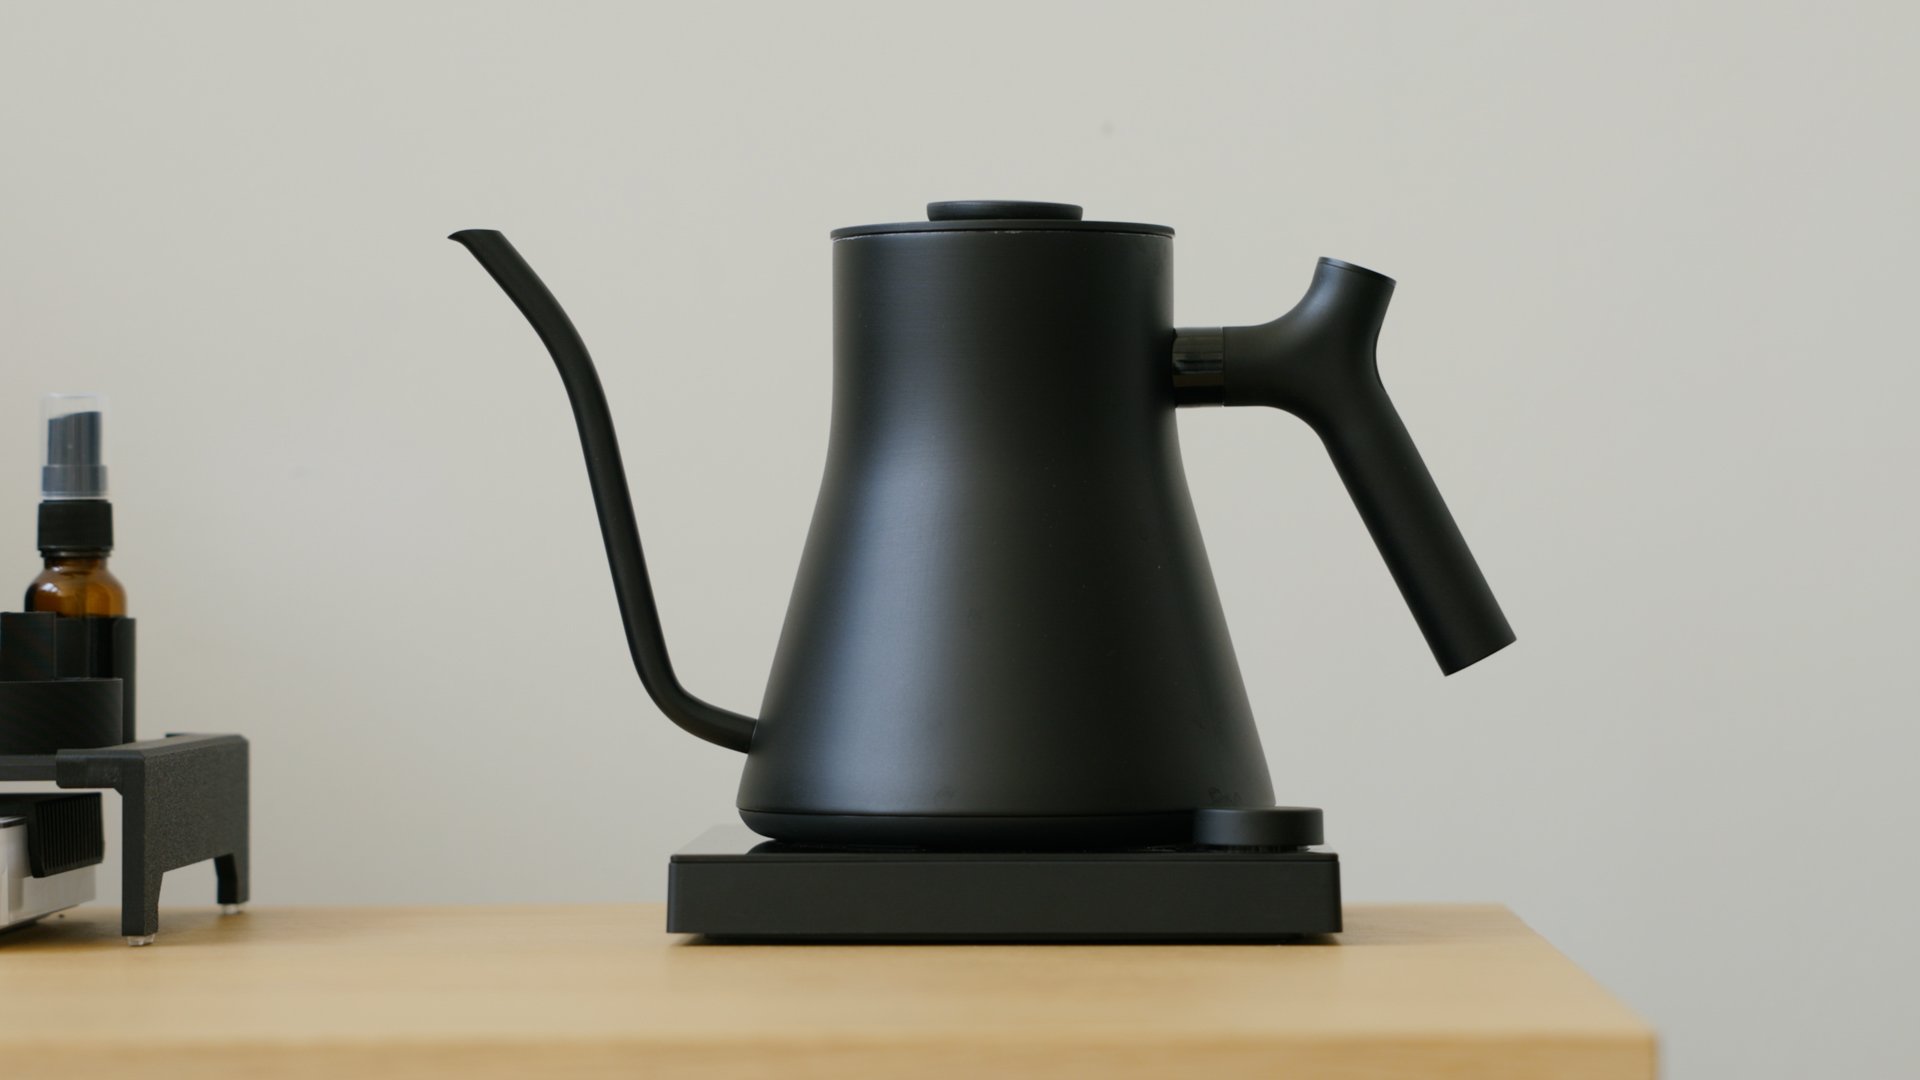
I use the Stagg EKG Pro Studio electric kettle to heat my water, which is ideal for pour-over coffee with its fast heating and temperature-holding capabilities. The Ode Gen 2 grinder offers precise grind settings and a magnetic base to prevent coffee grounds from spilling.
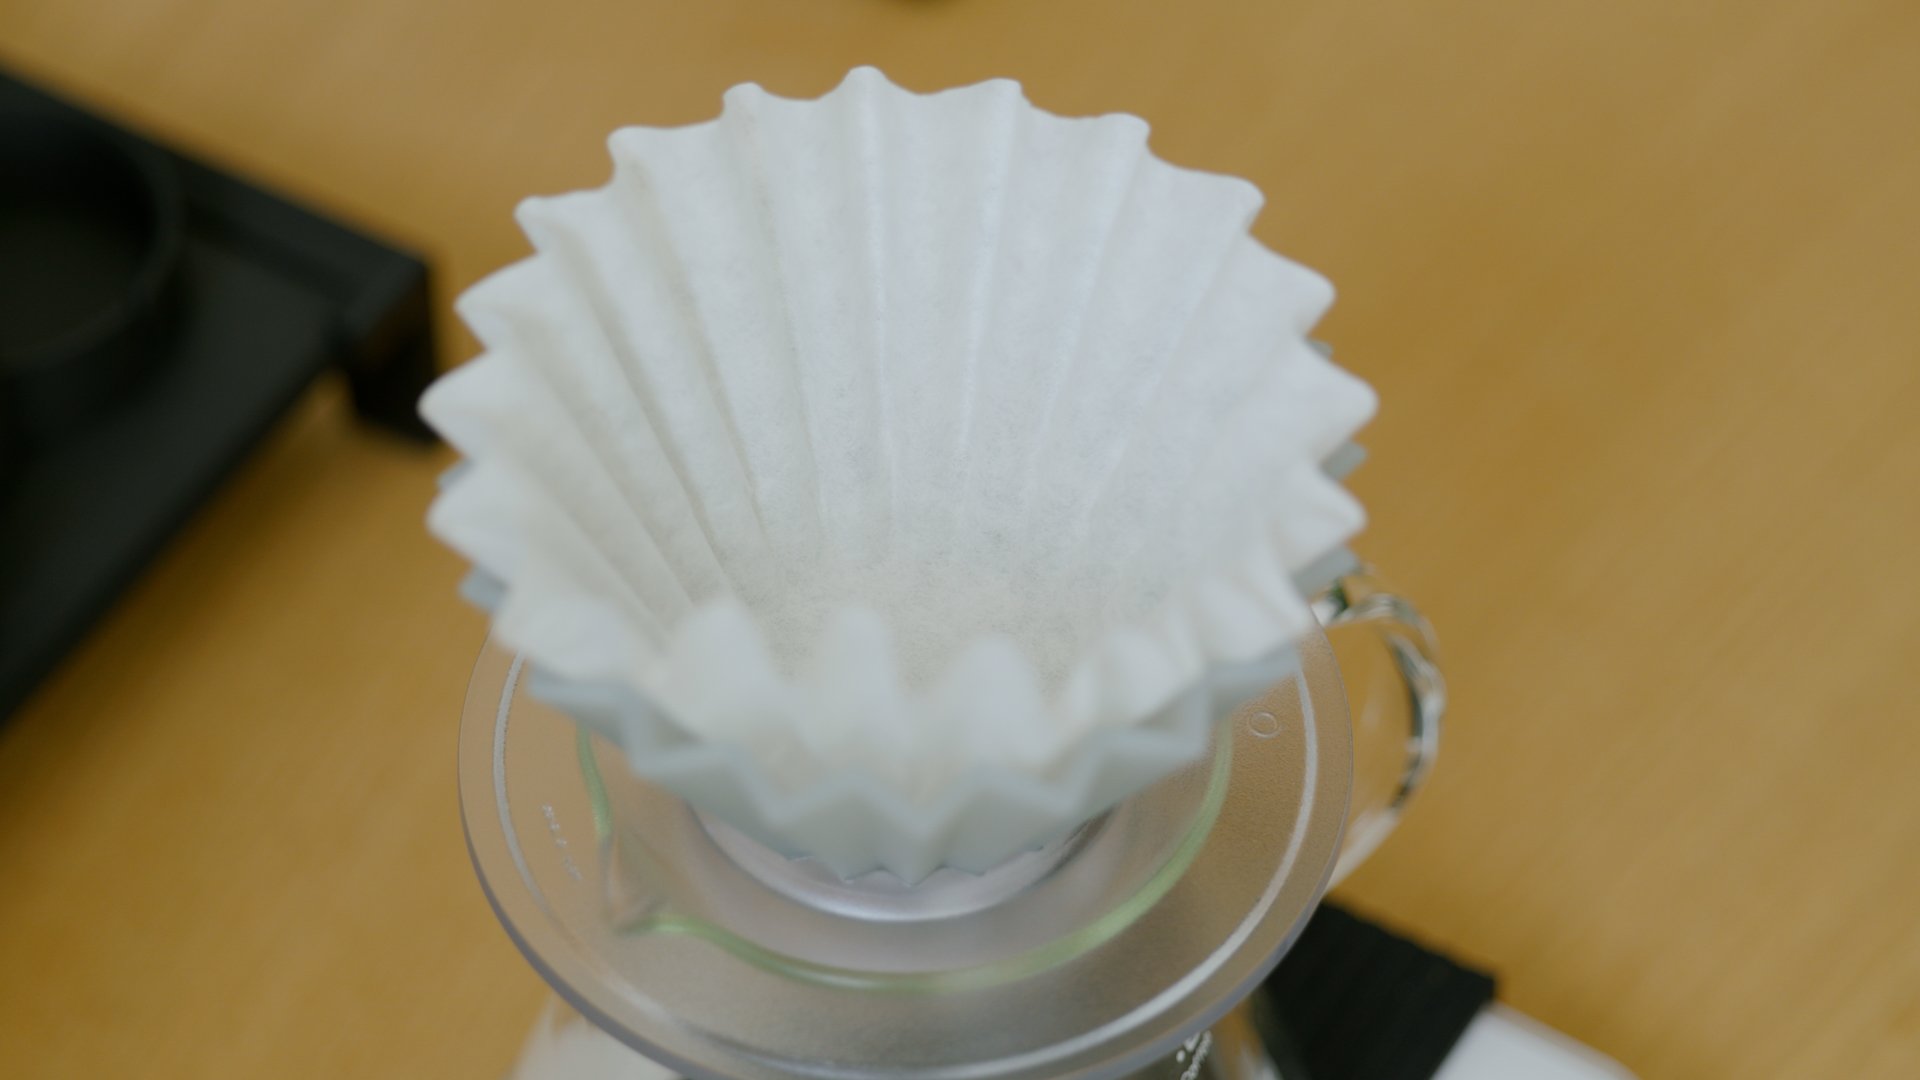
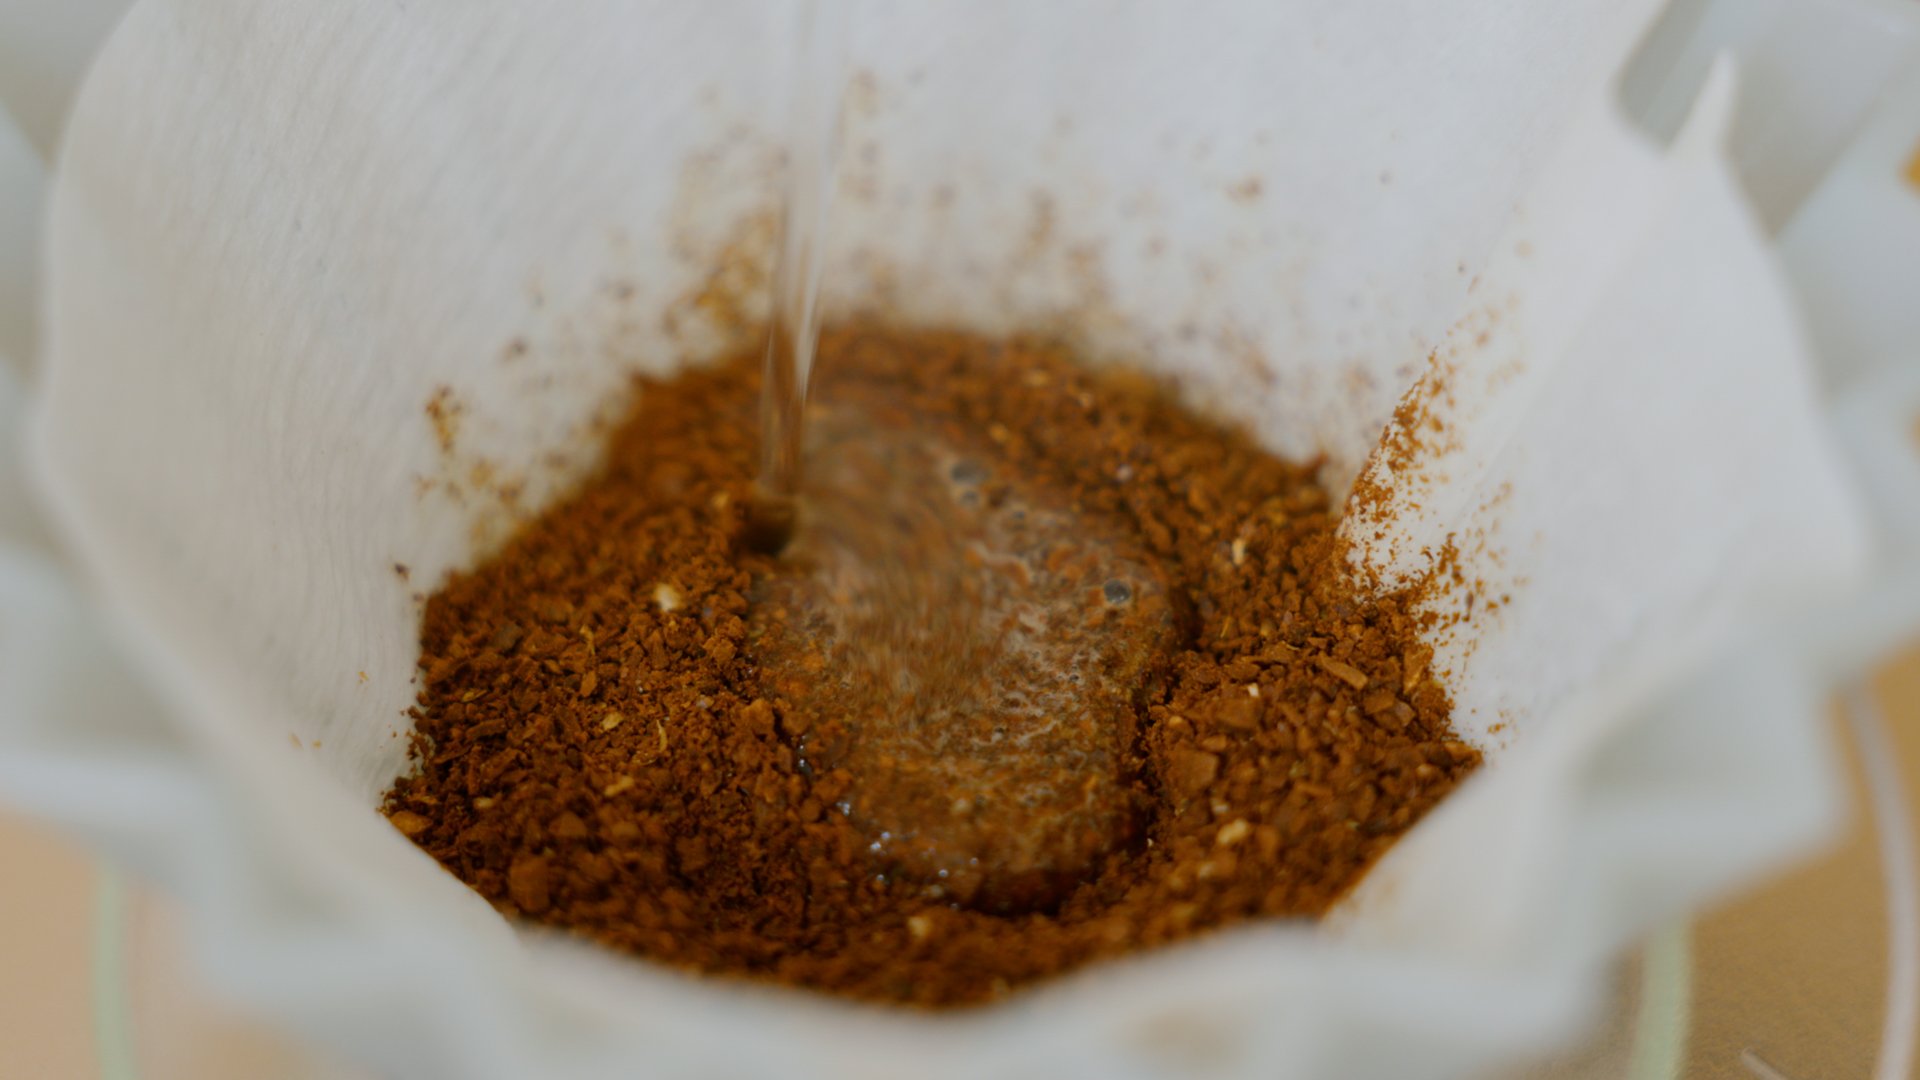
For small coffee servings, I use the Origami Air S plastic dripper. It’s nice because it doesn’t need preheating like ceramic drippers and is compatible with flat-bottom and cone-style filters. Offering a lot of versatility to experiment with different recipes. This sits on top of a Kalita glass server, which I weigh out on an old Acaia Pearl scale I’ve had for years.
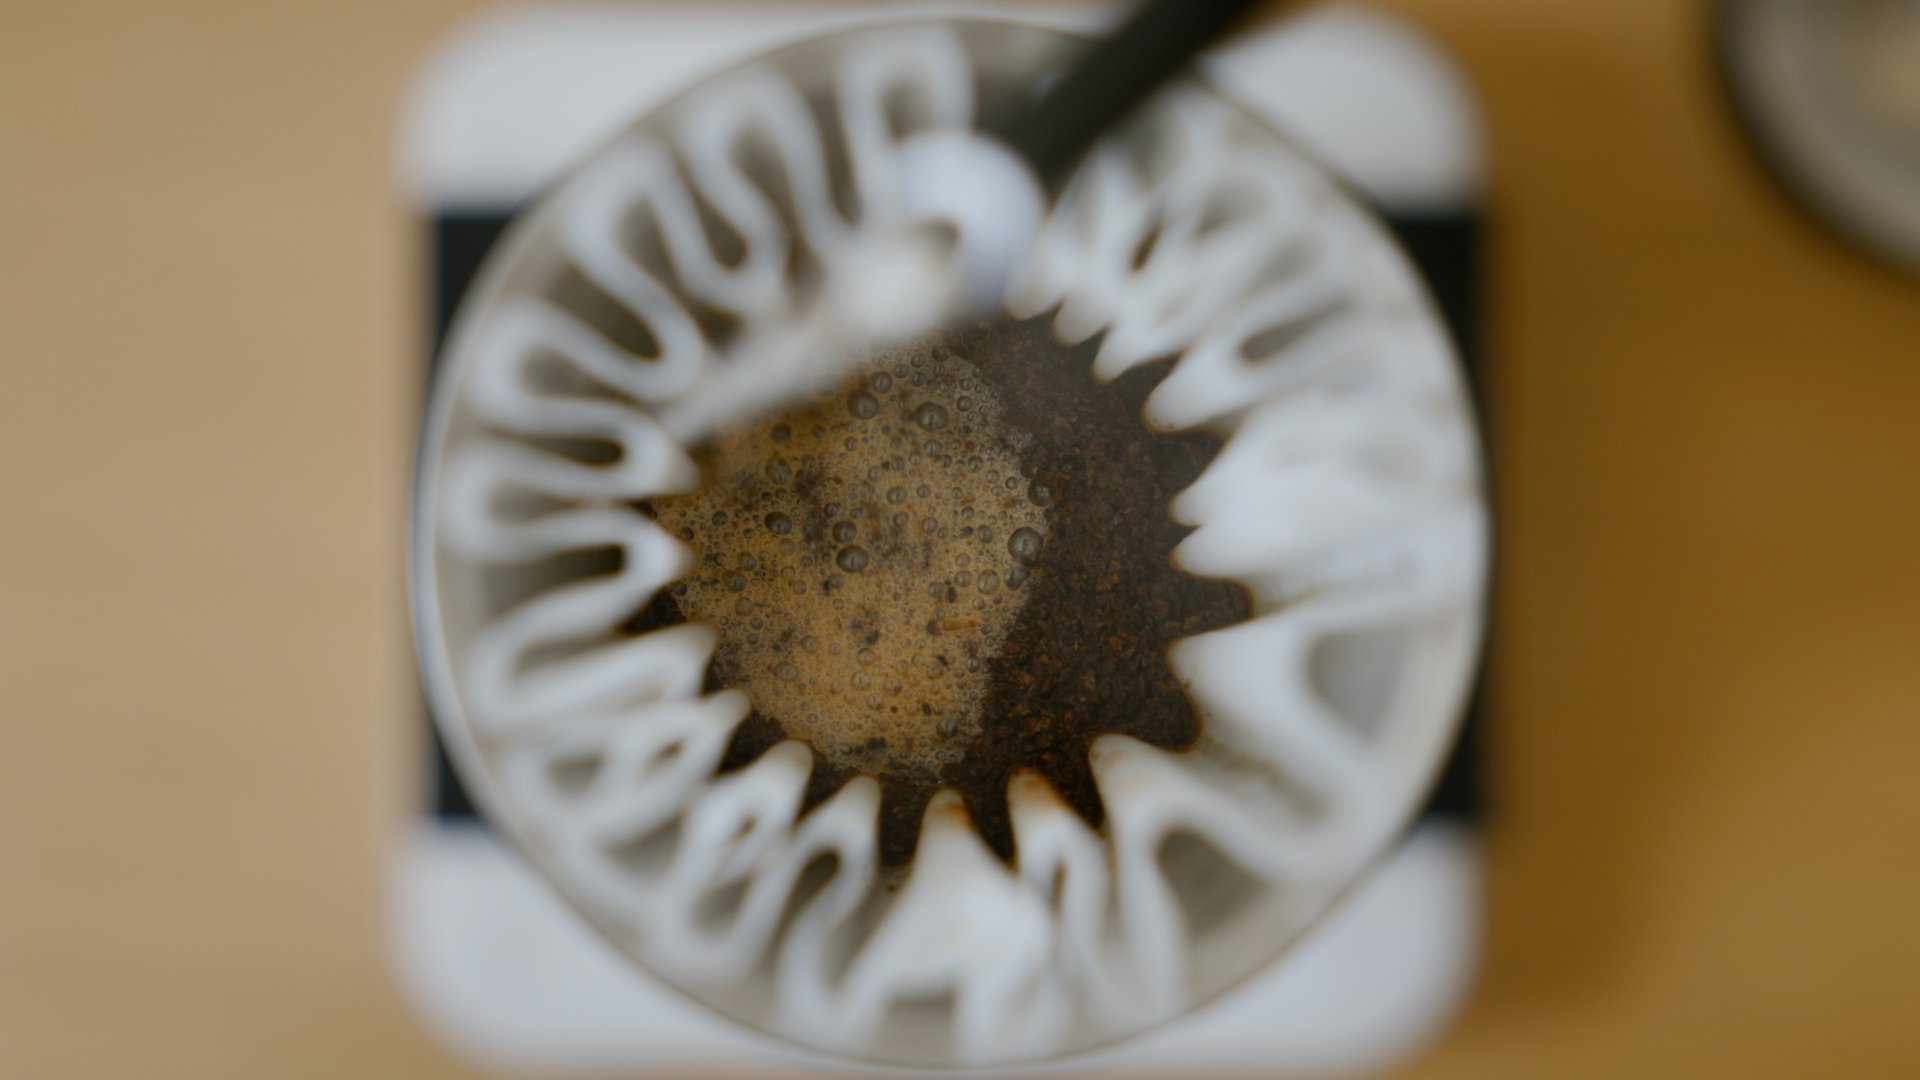
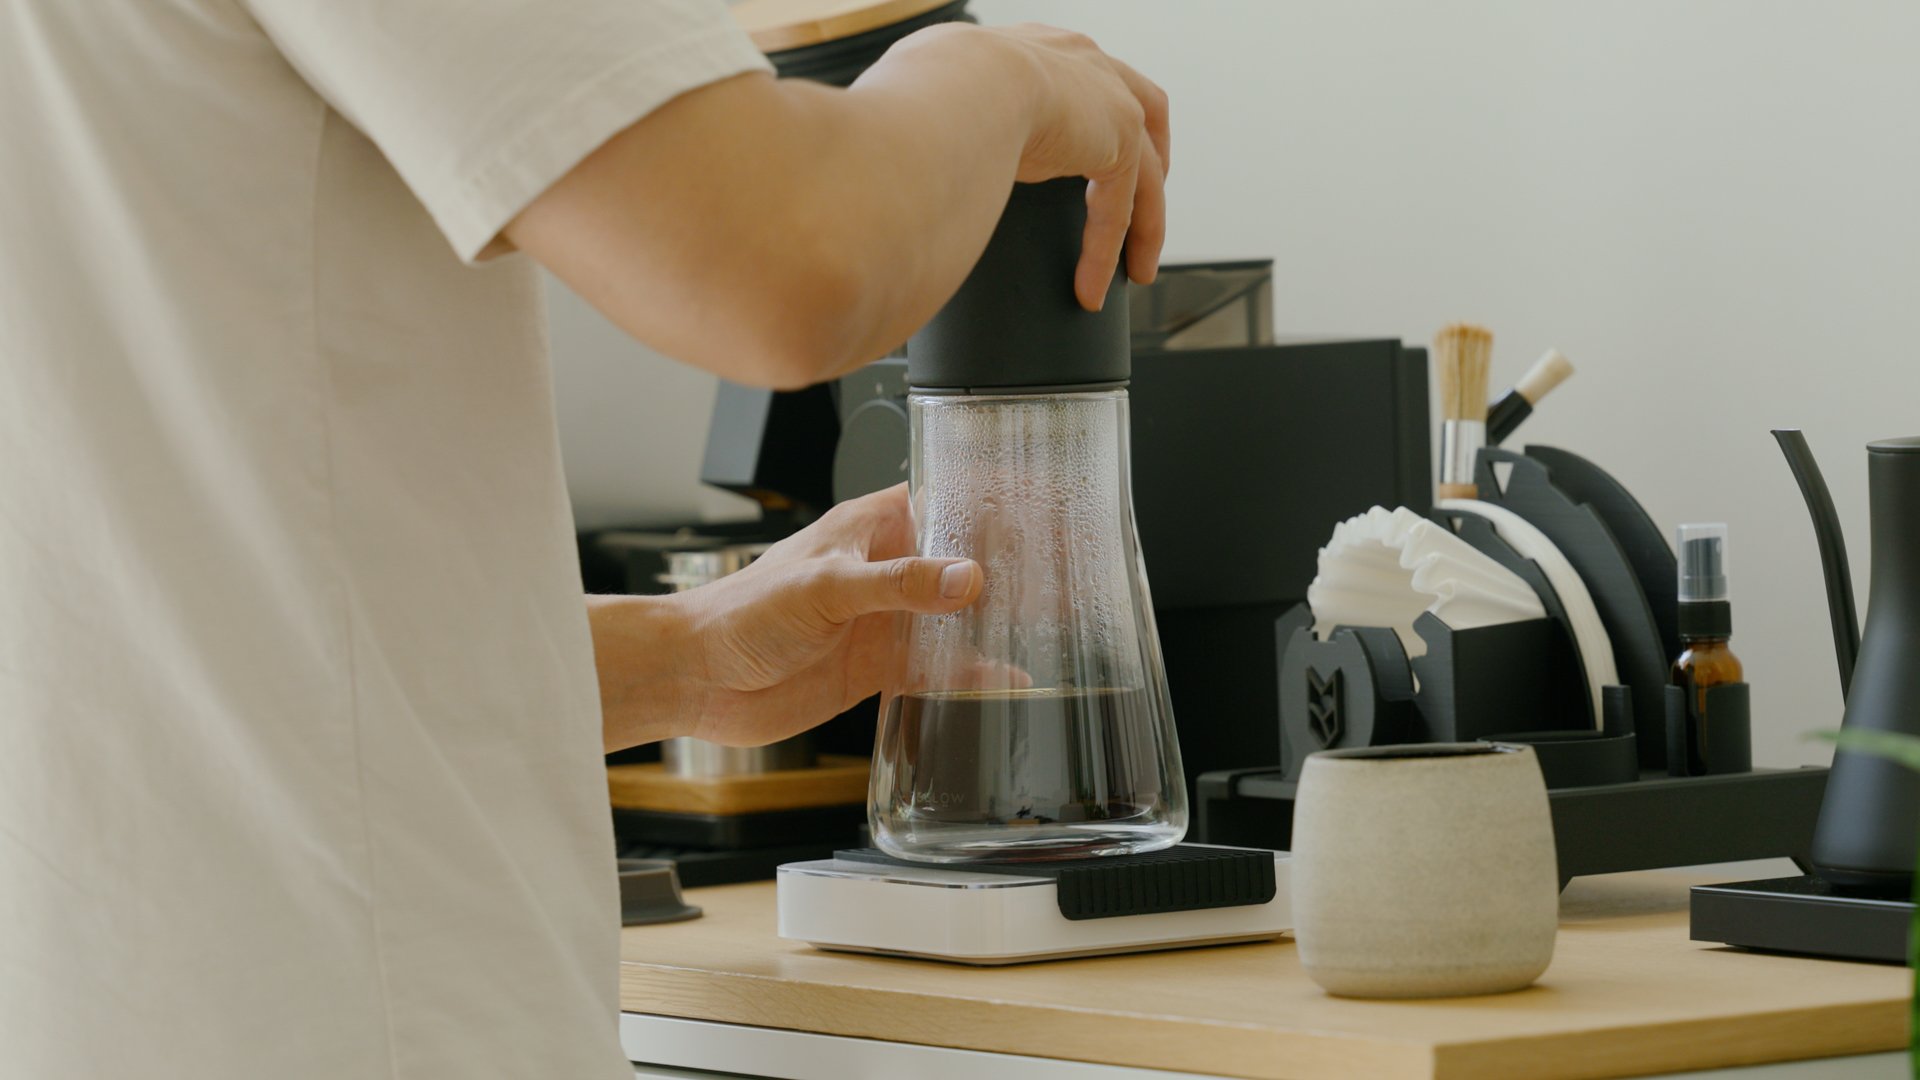
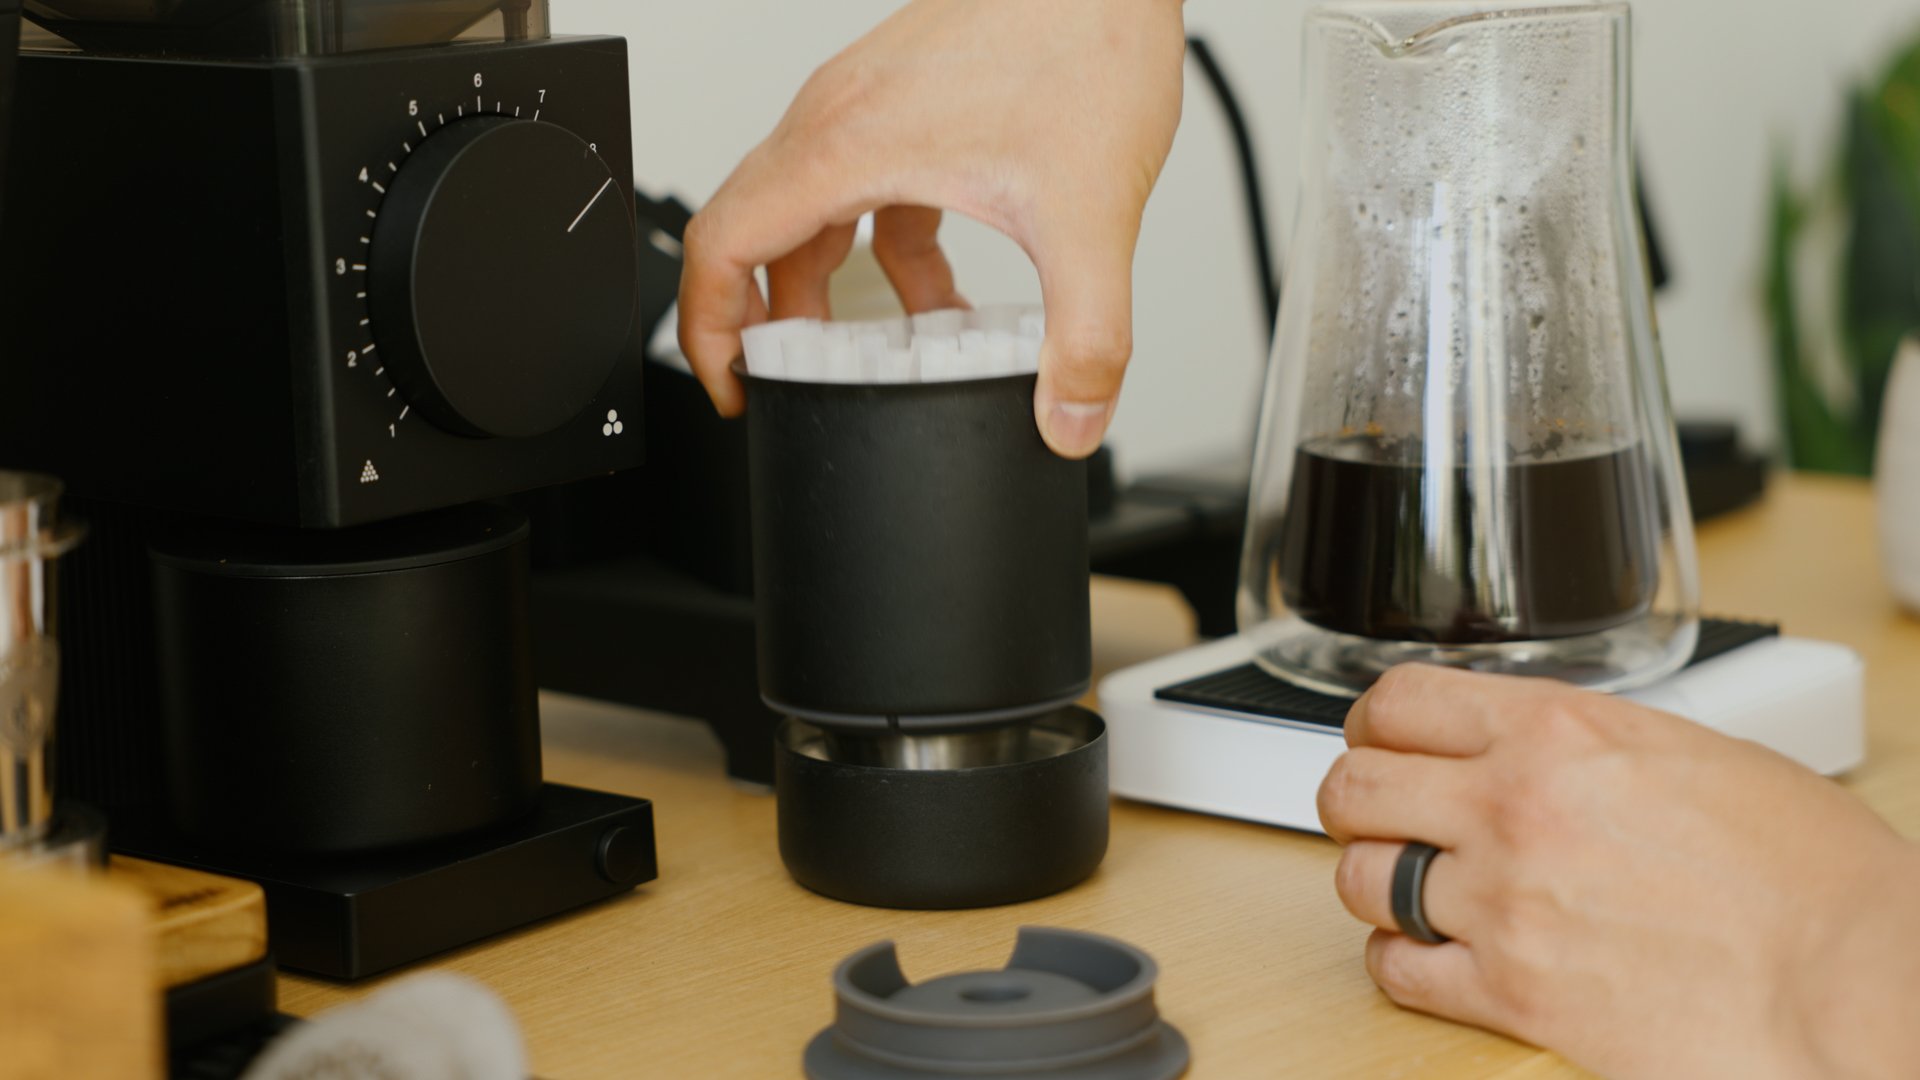
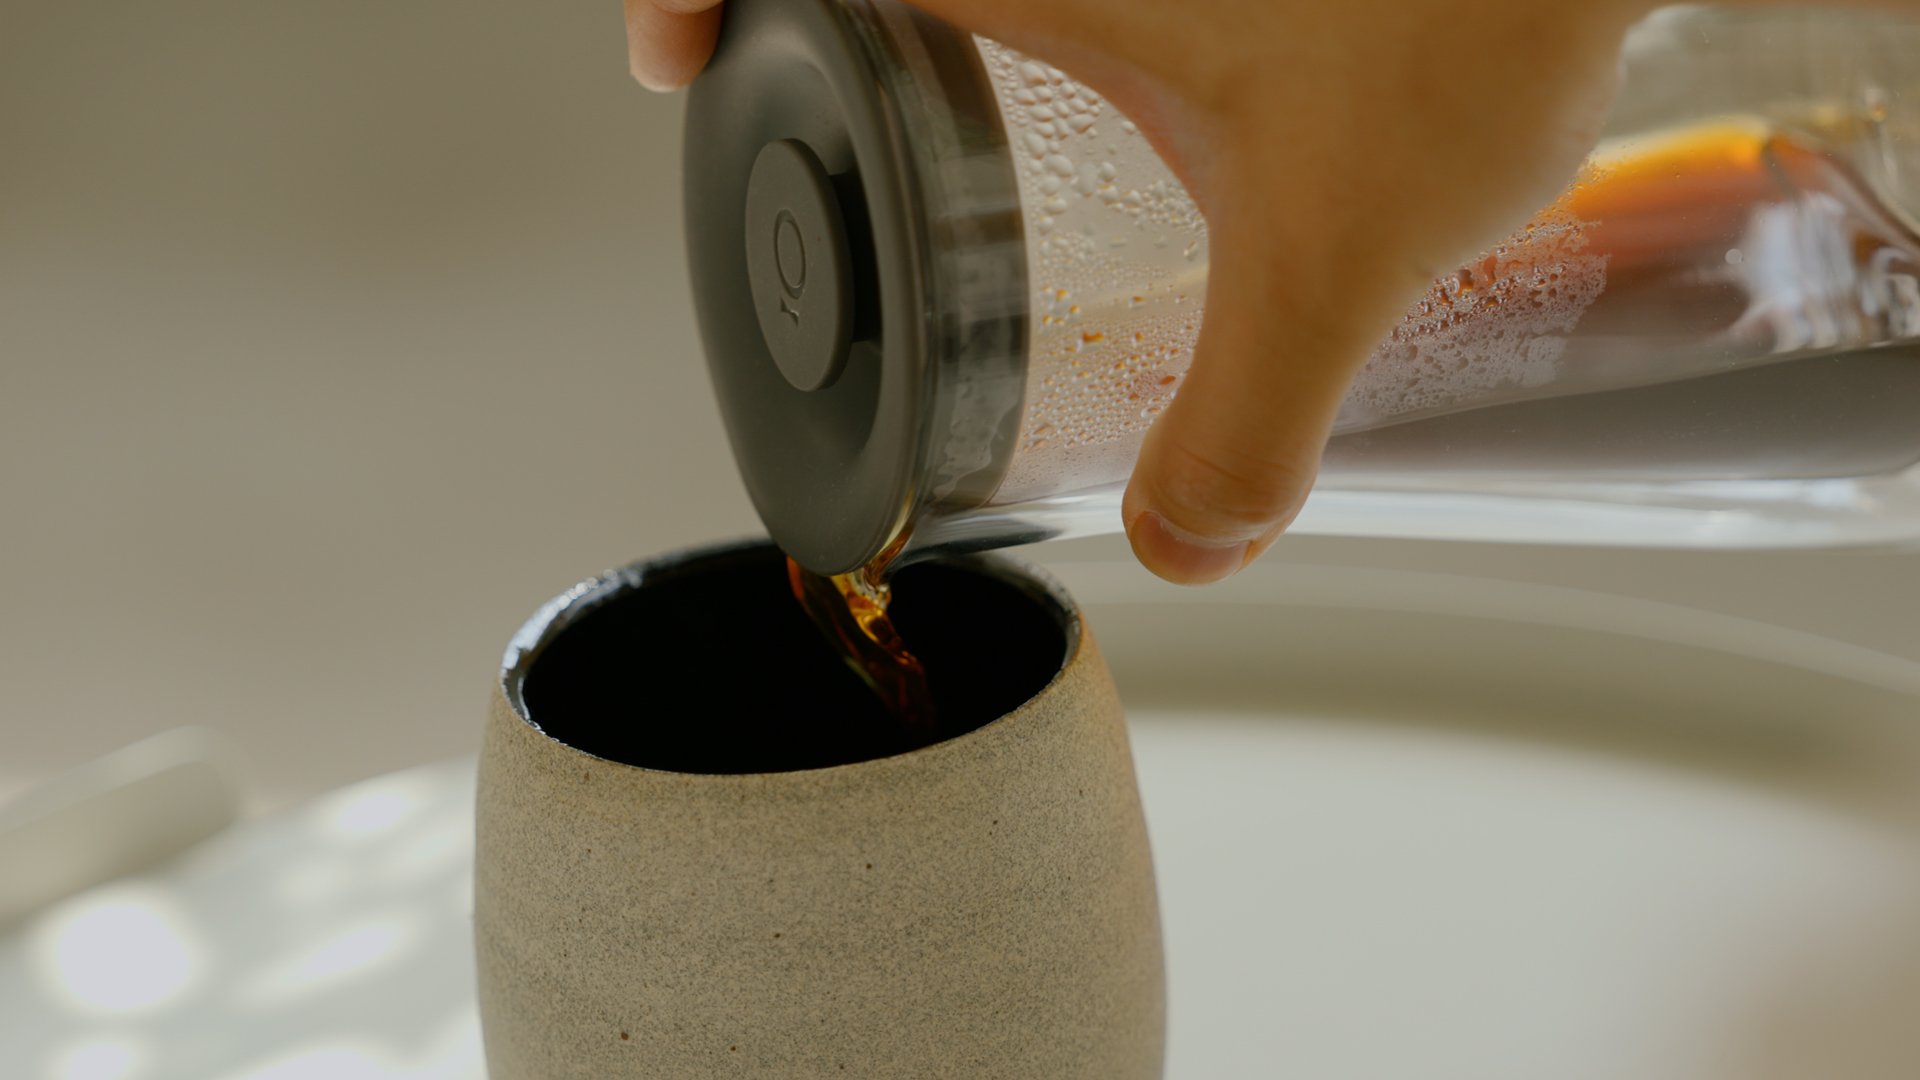
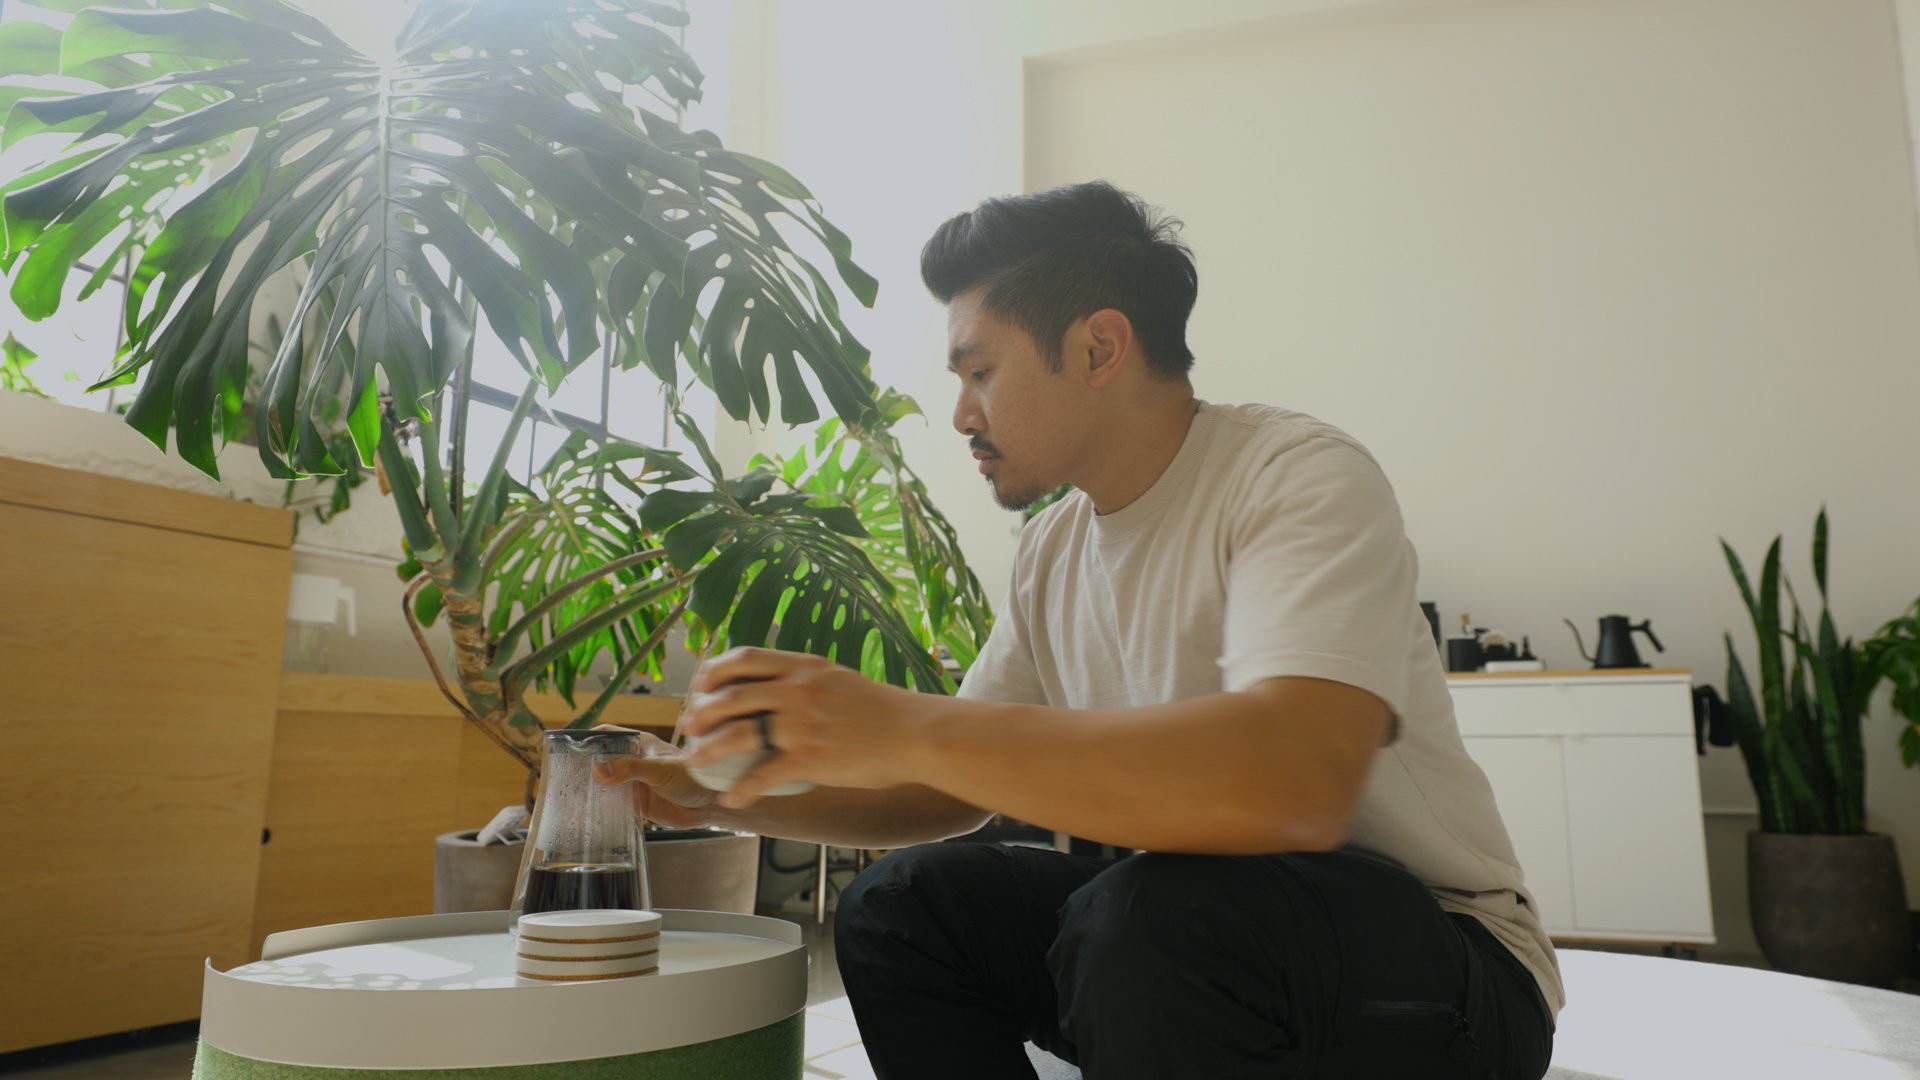
For larger batches of coffee, I use the Stagg XF set. This dripper comes with a base for measuring beans and doubles up to catch drips when you’re done brewing. The double-walled carafe keeps the coffee hot without condensation buildup on the exterior. That way, I can keep it warm as I enjoy the coffee through the afternoon.
Filter coffee links
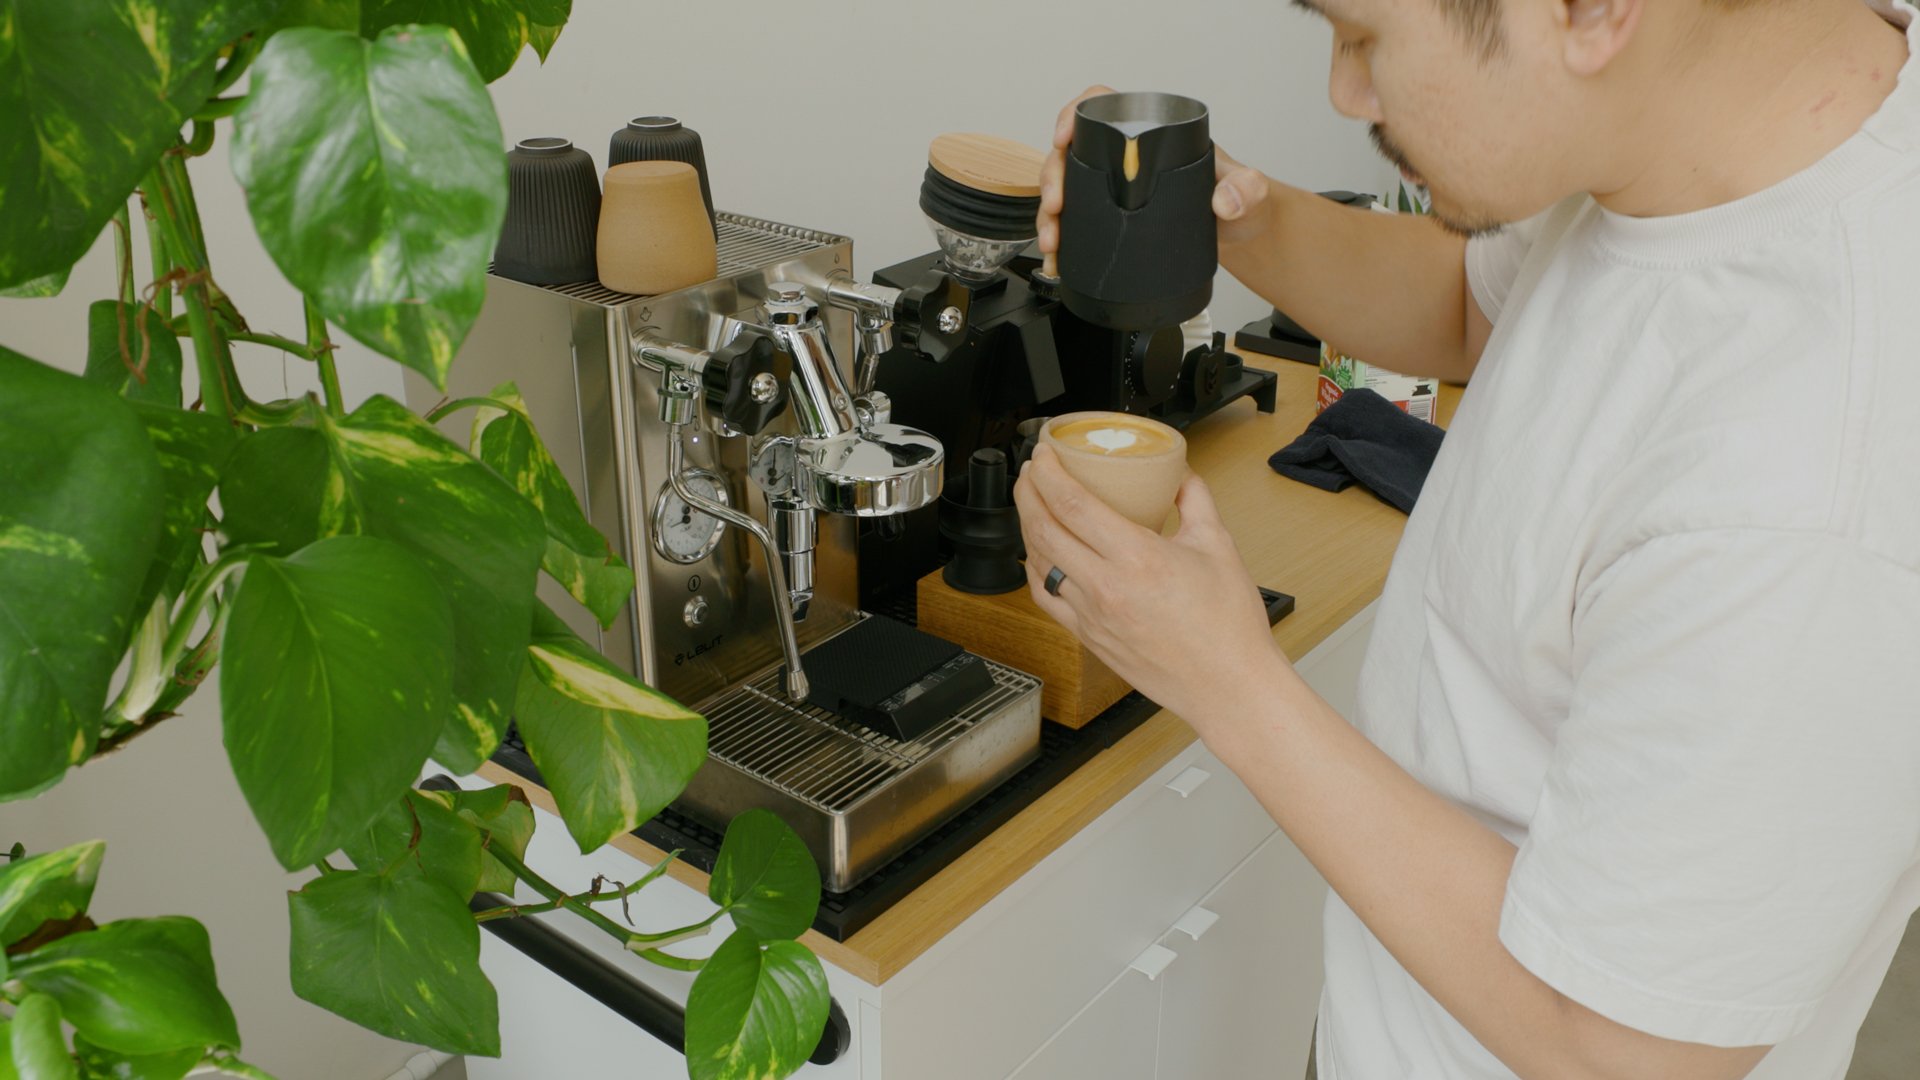
Espresso Setup
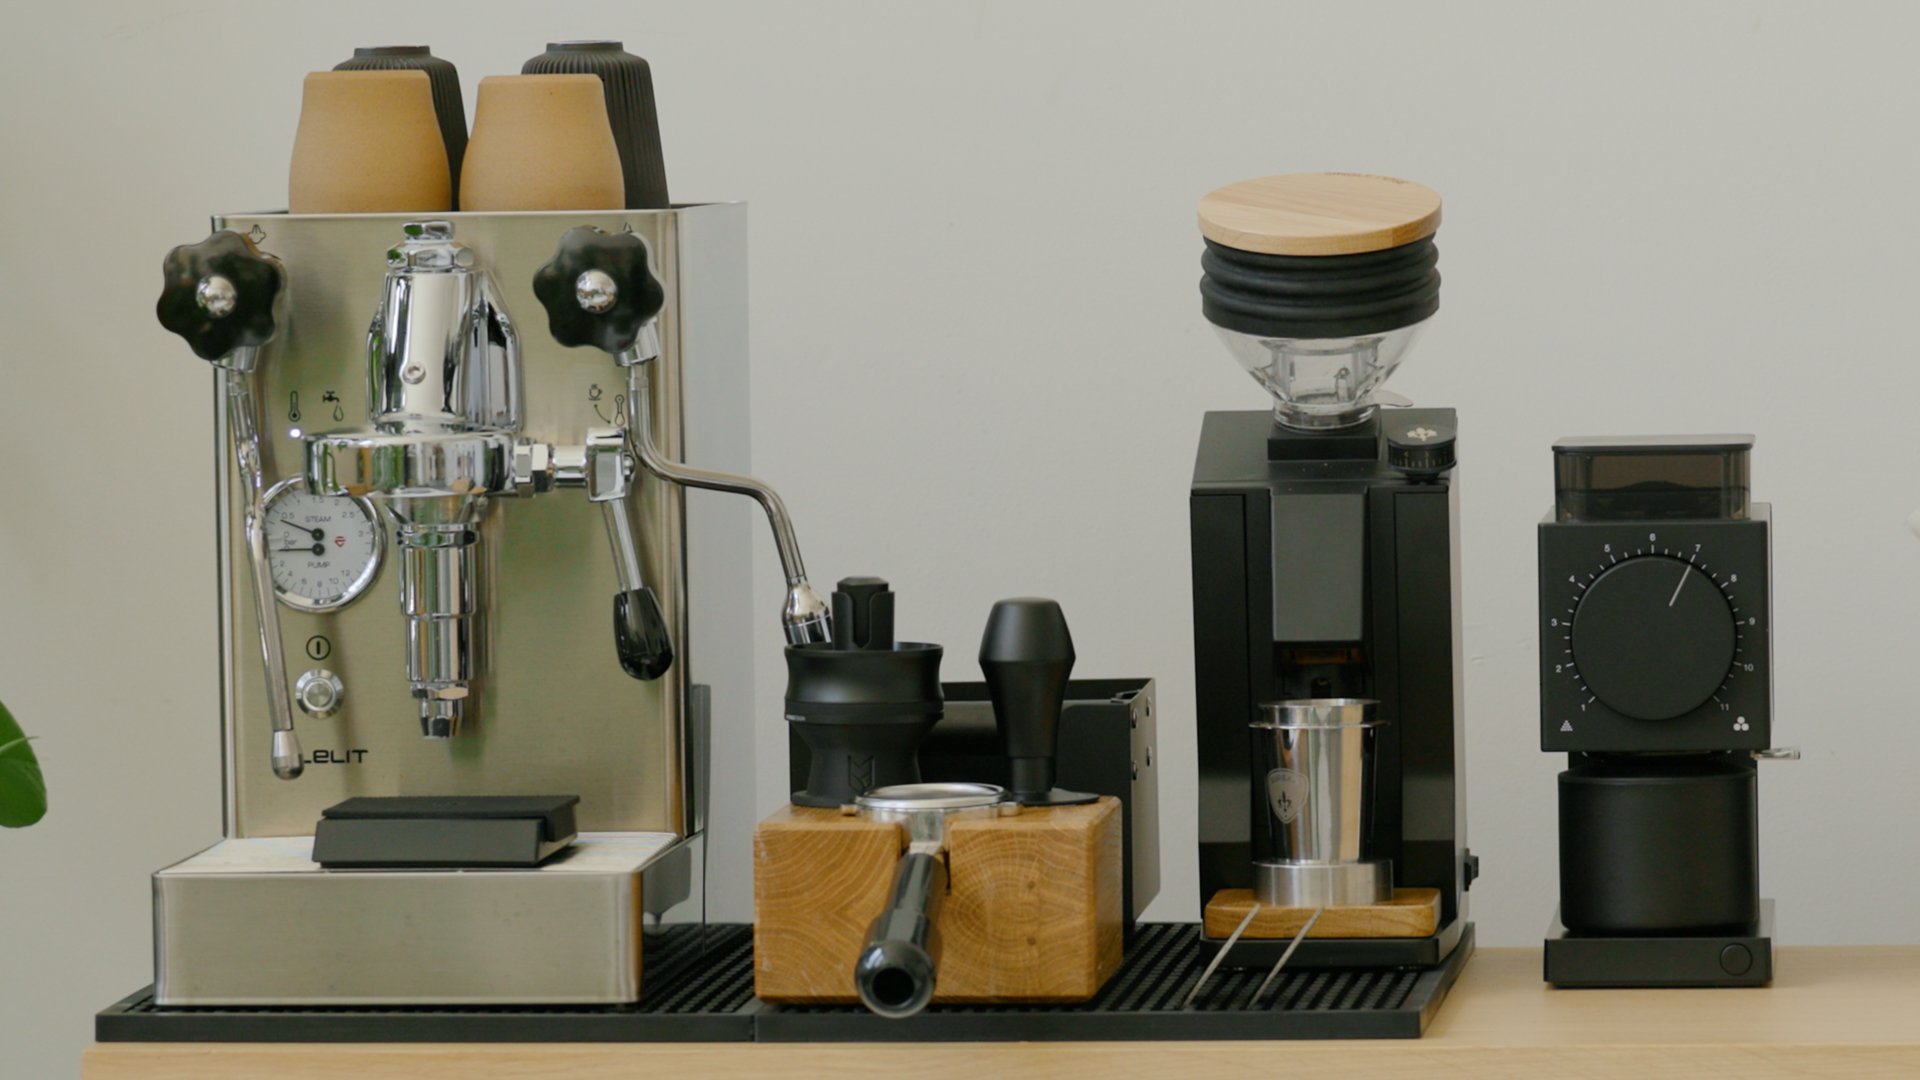
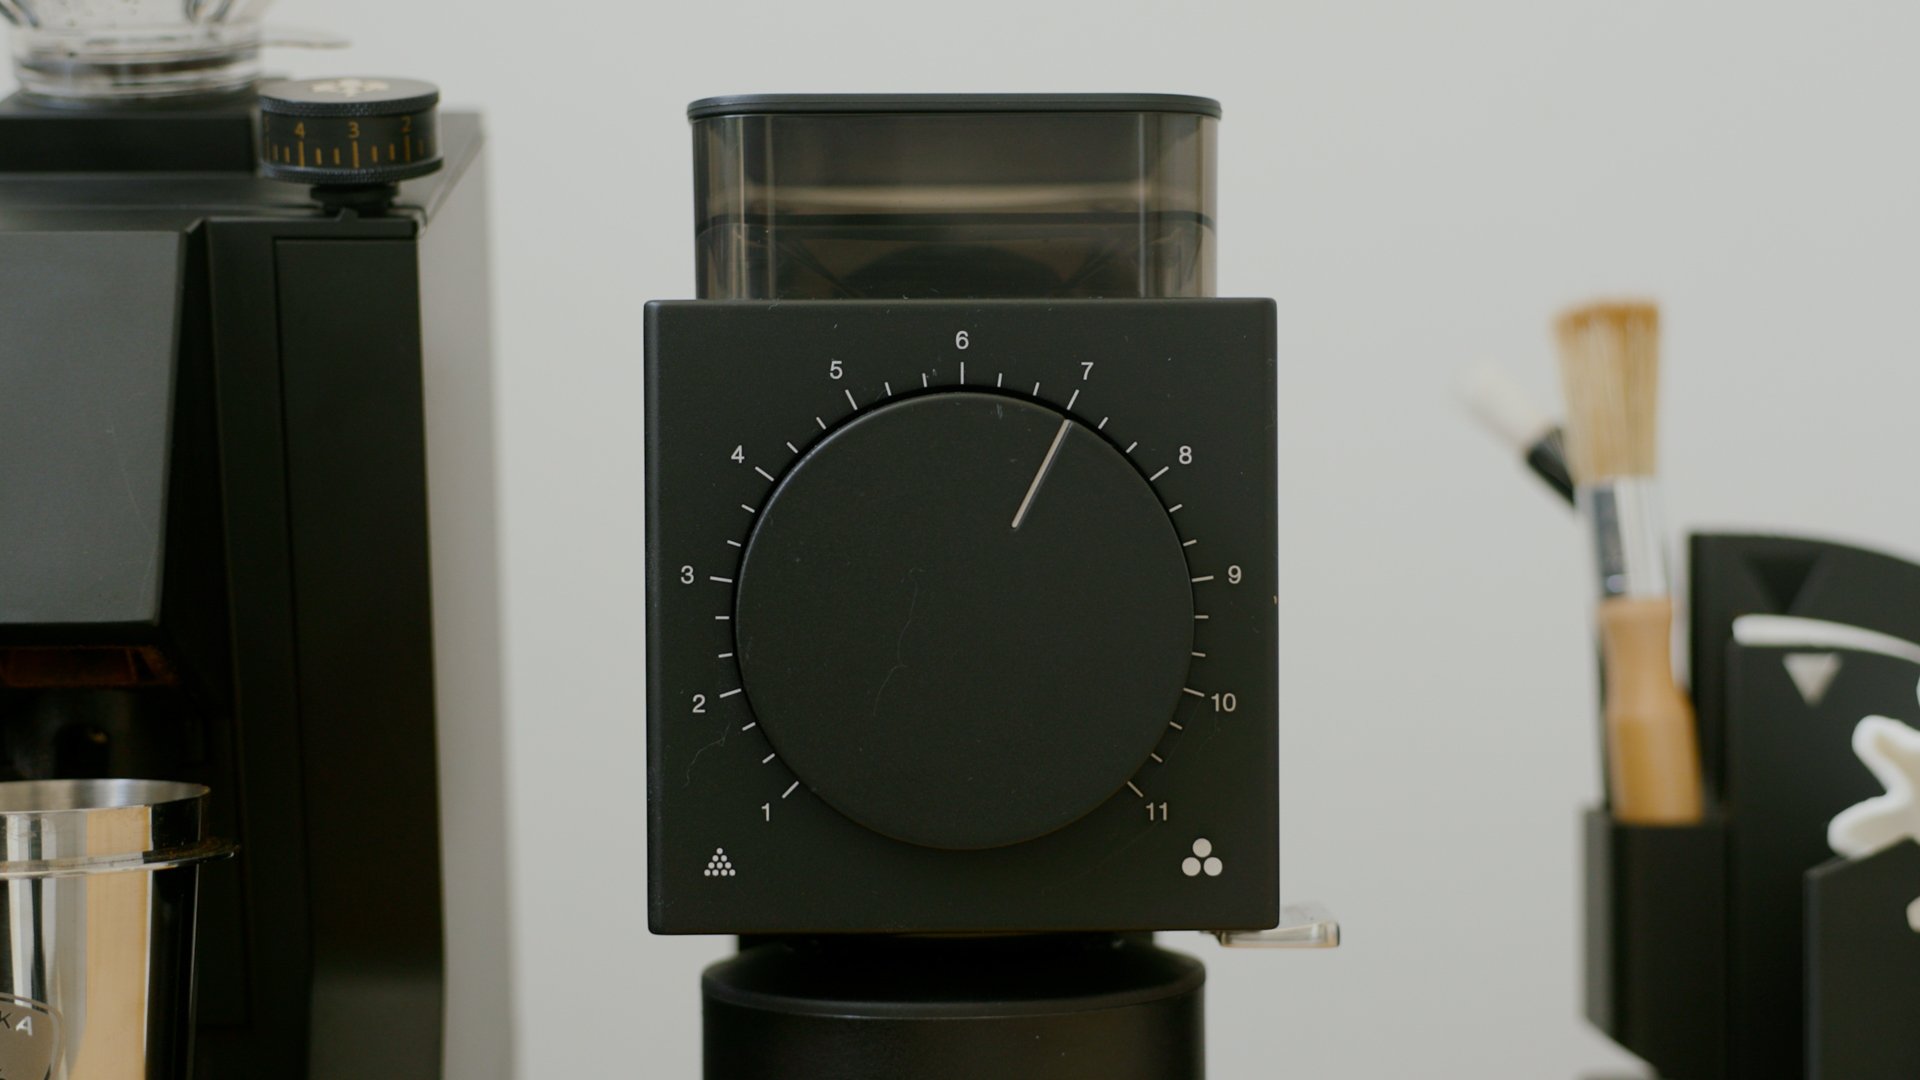
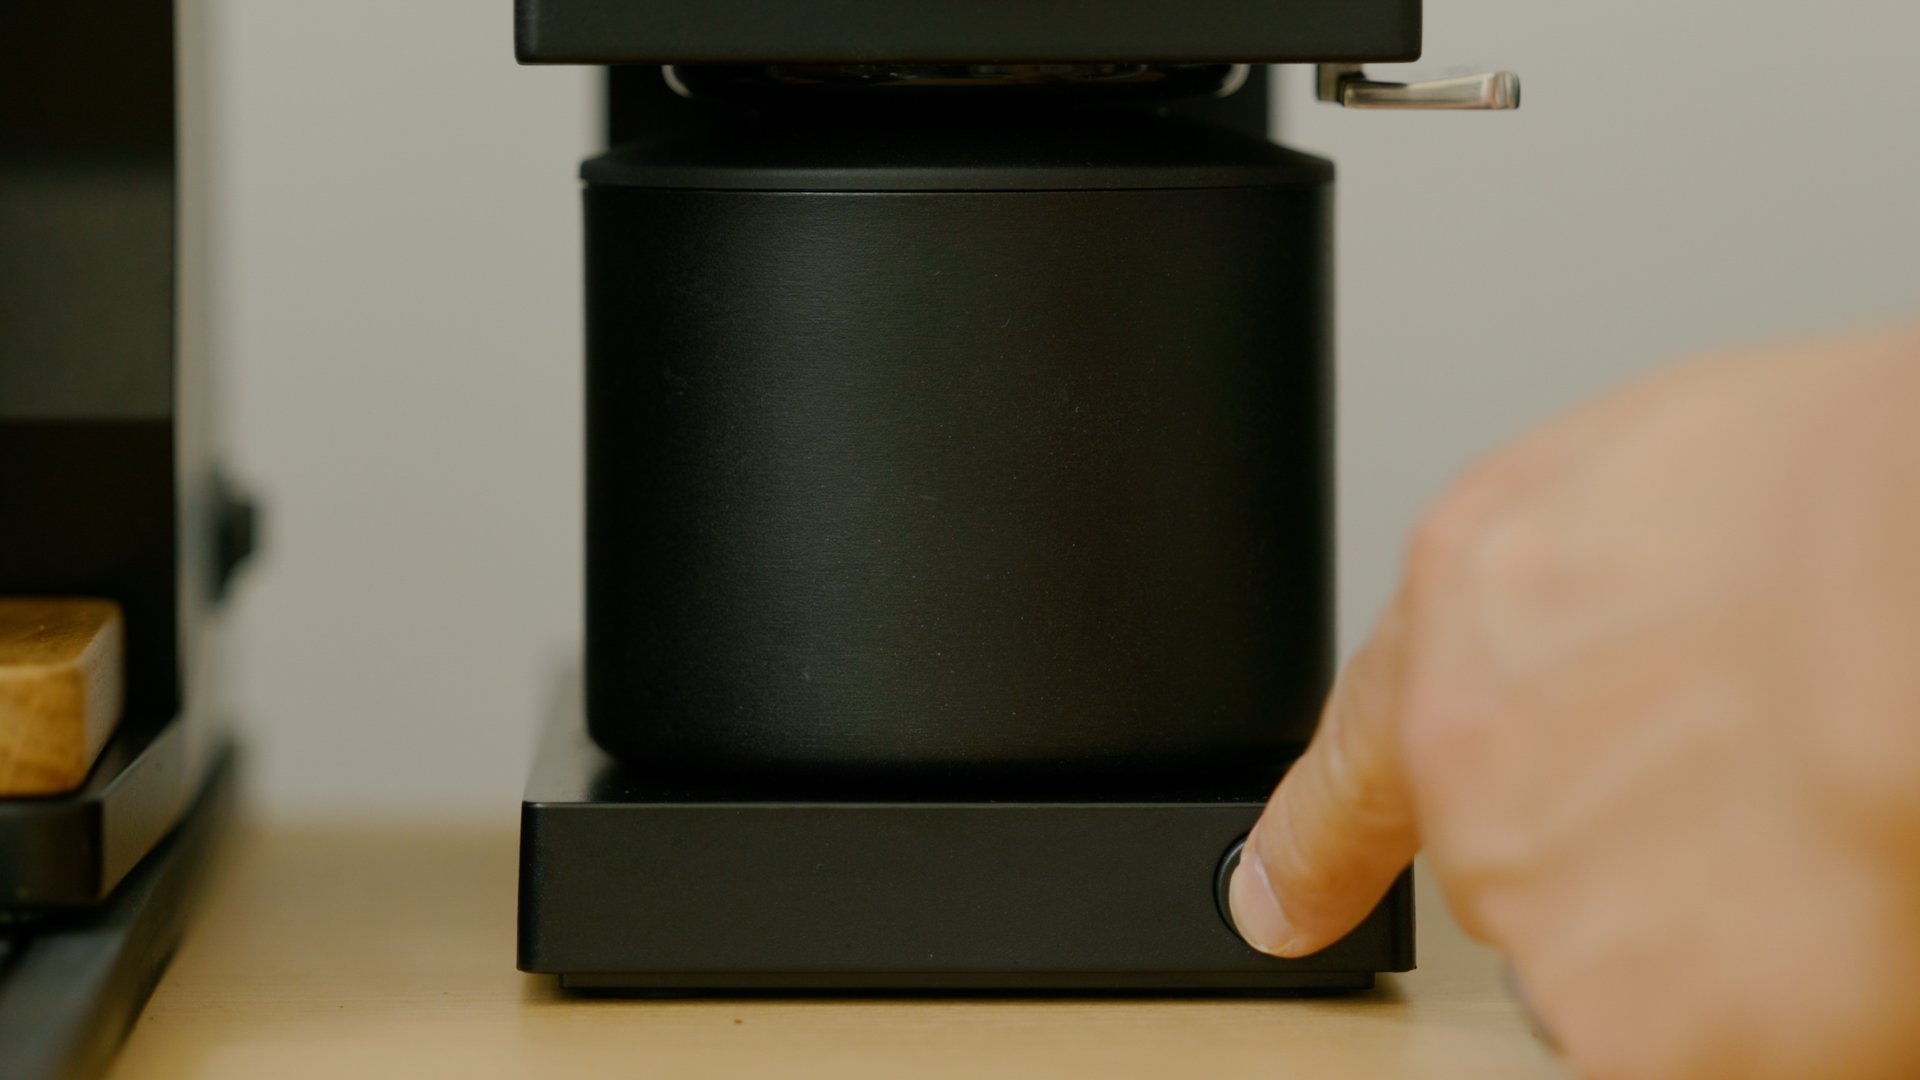
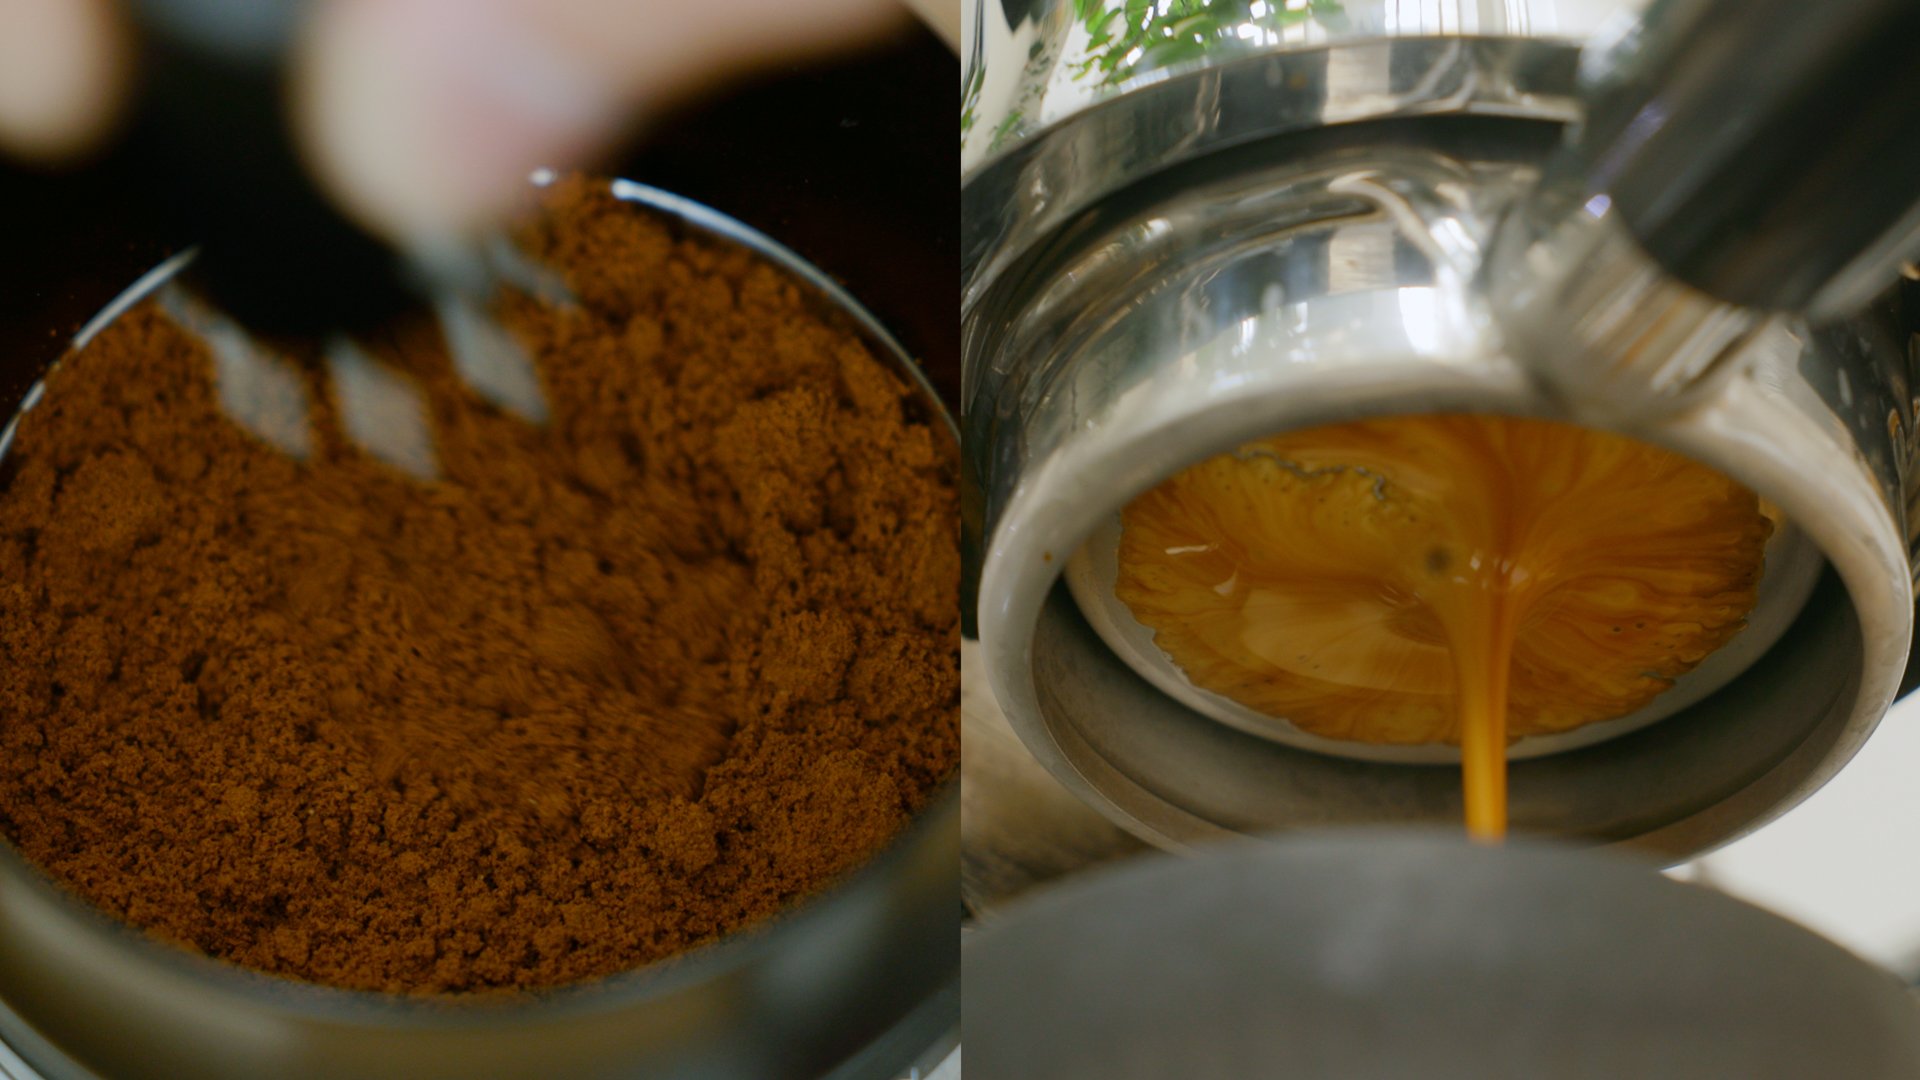
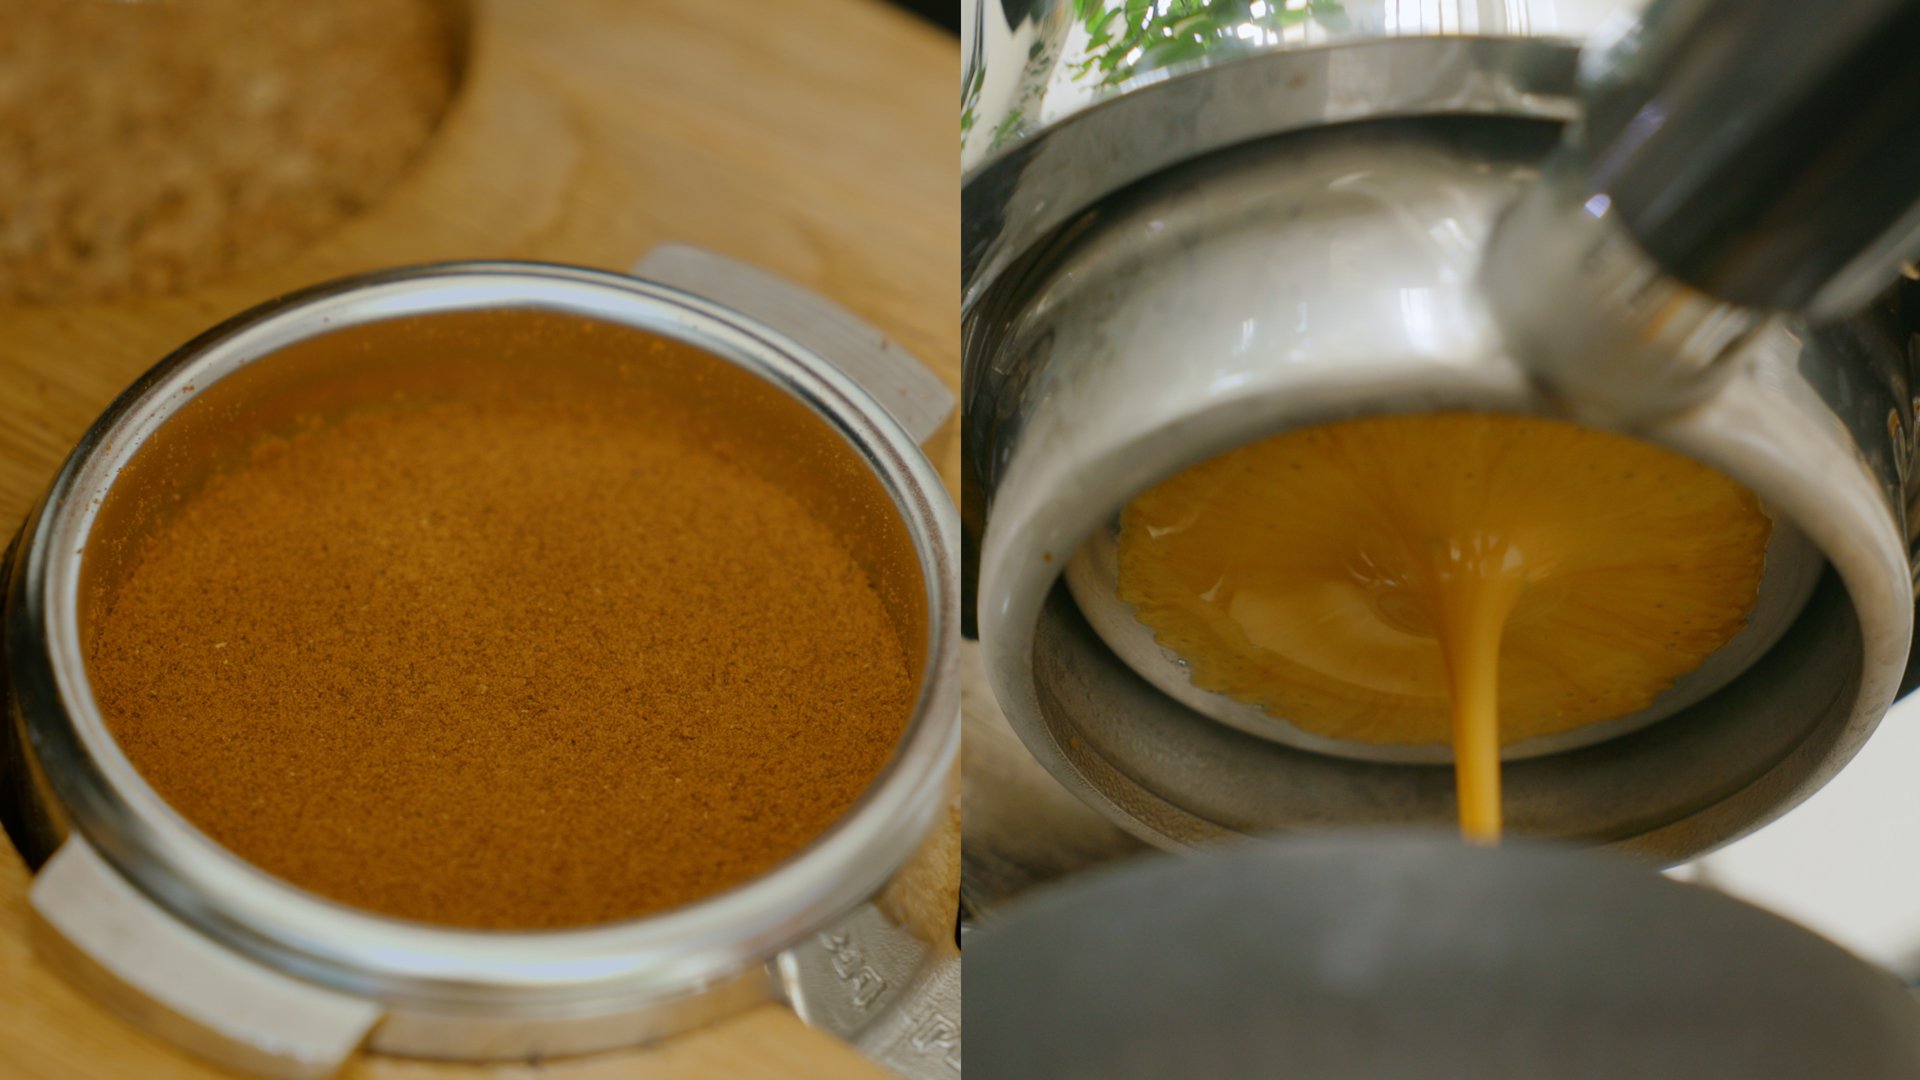
On the left of my coffee bar is my espresso setup. To grind the espresso, the Eureka Oro Mignon Single Dose Grinder, hand-built in Italy, delivers consistency with its flat burrs and step-less grind adjustments. It also includes a bellow at the top to pump out stuck grinds to ensure maximum retention.
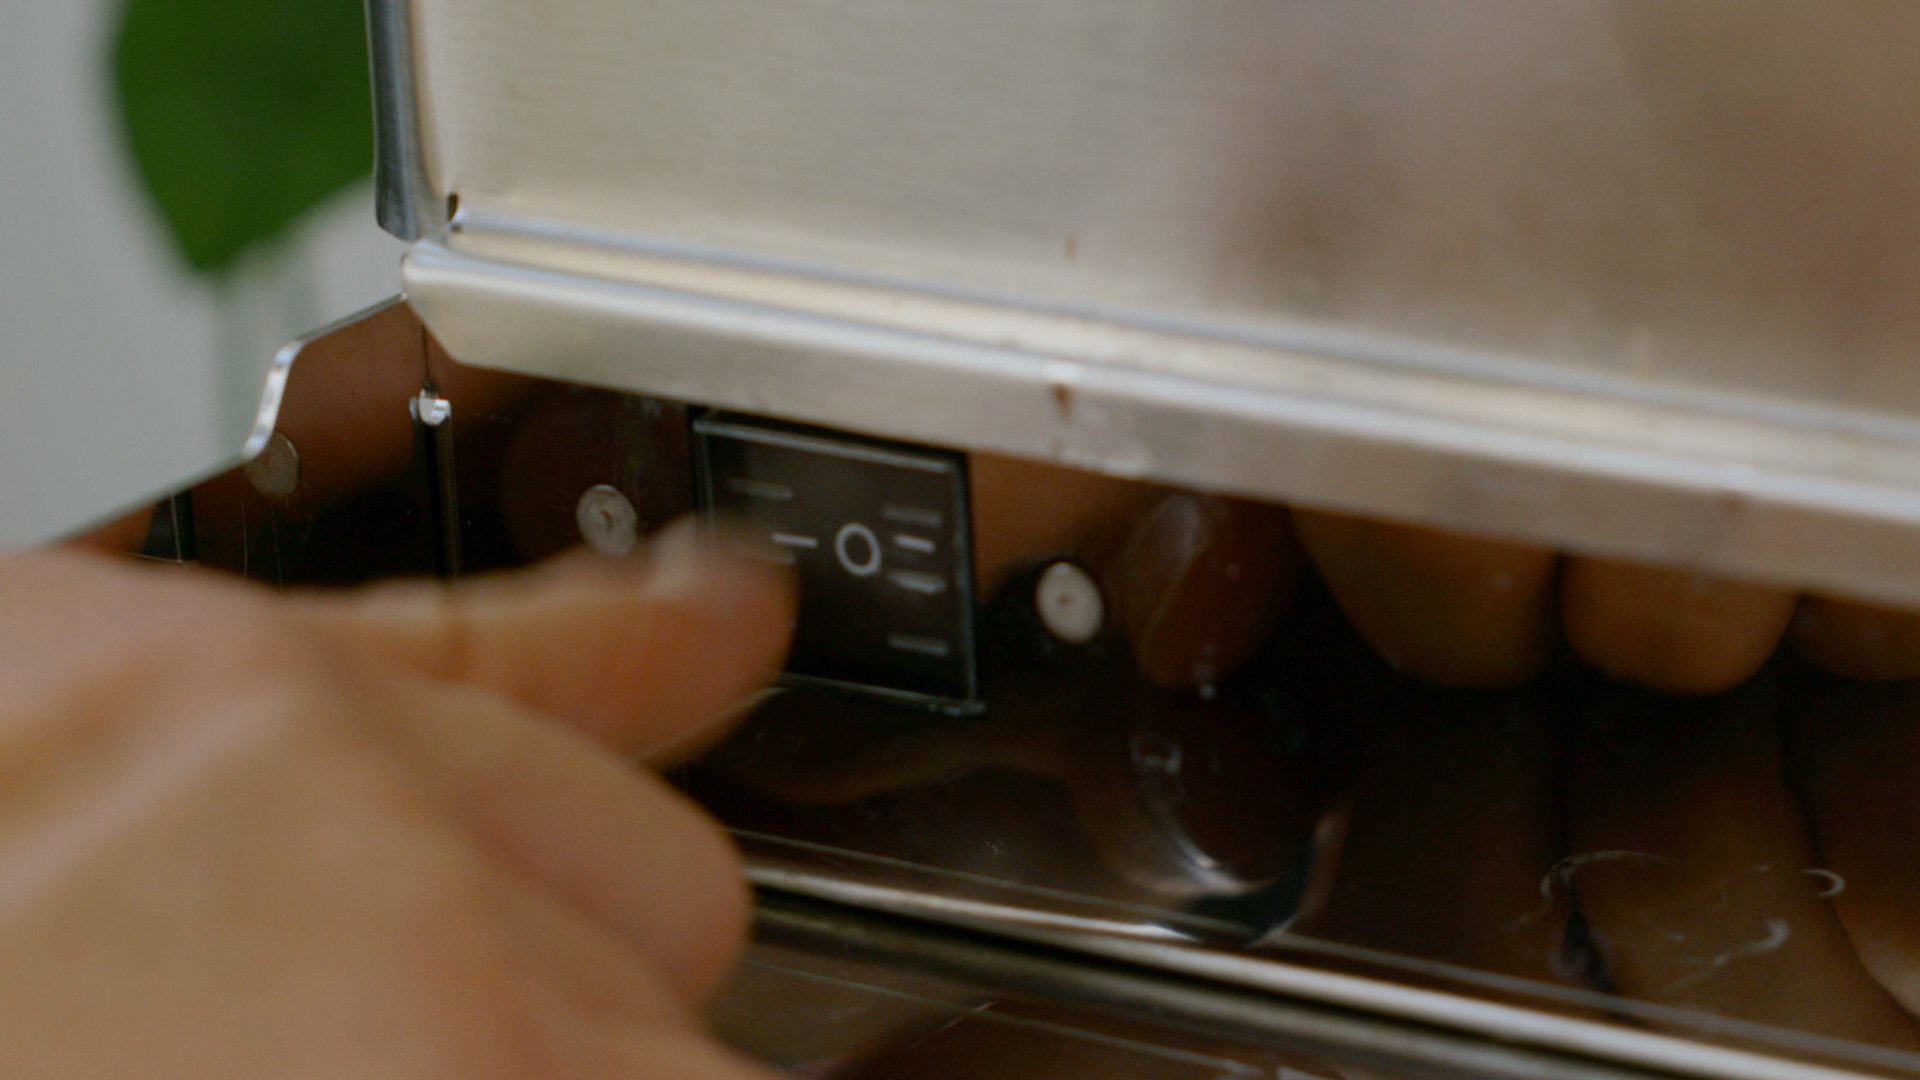
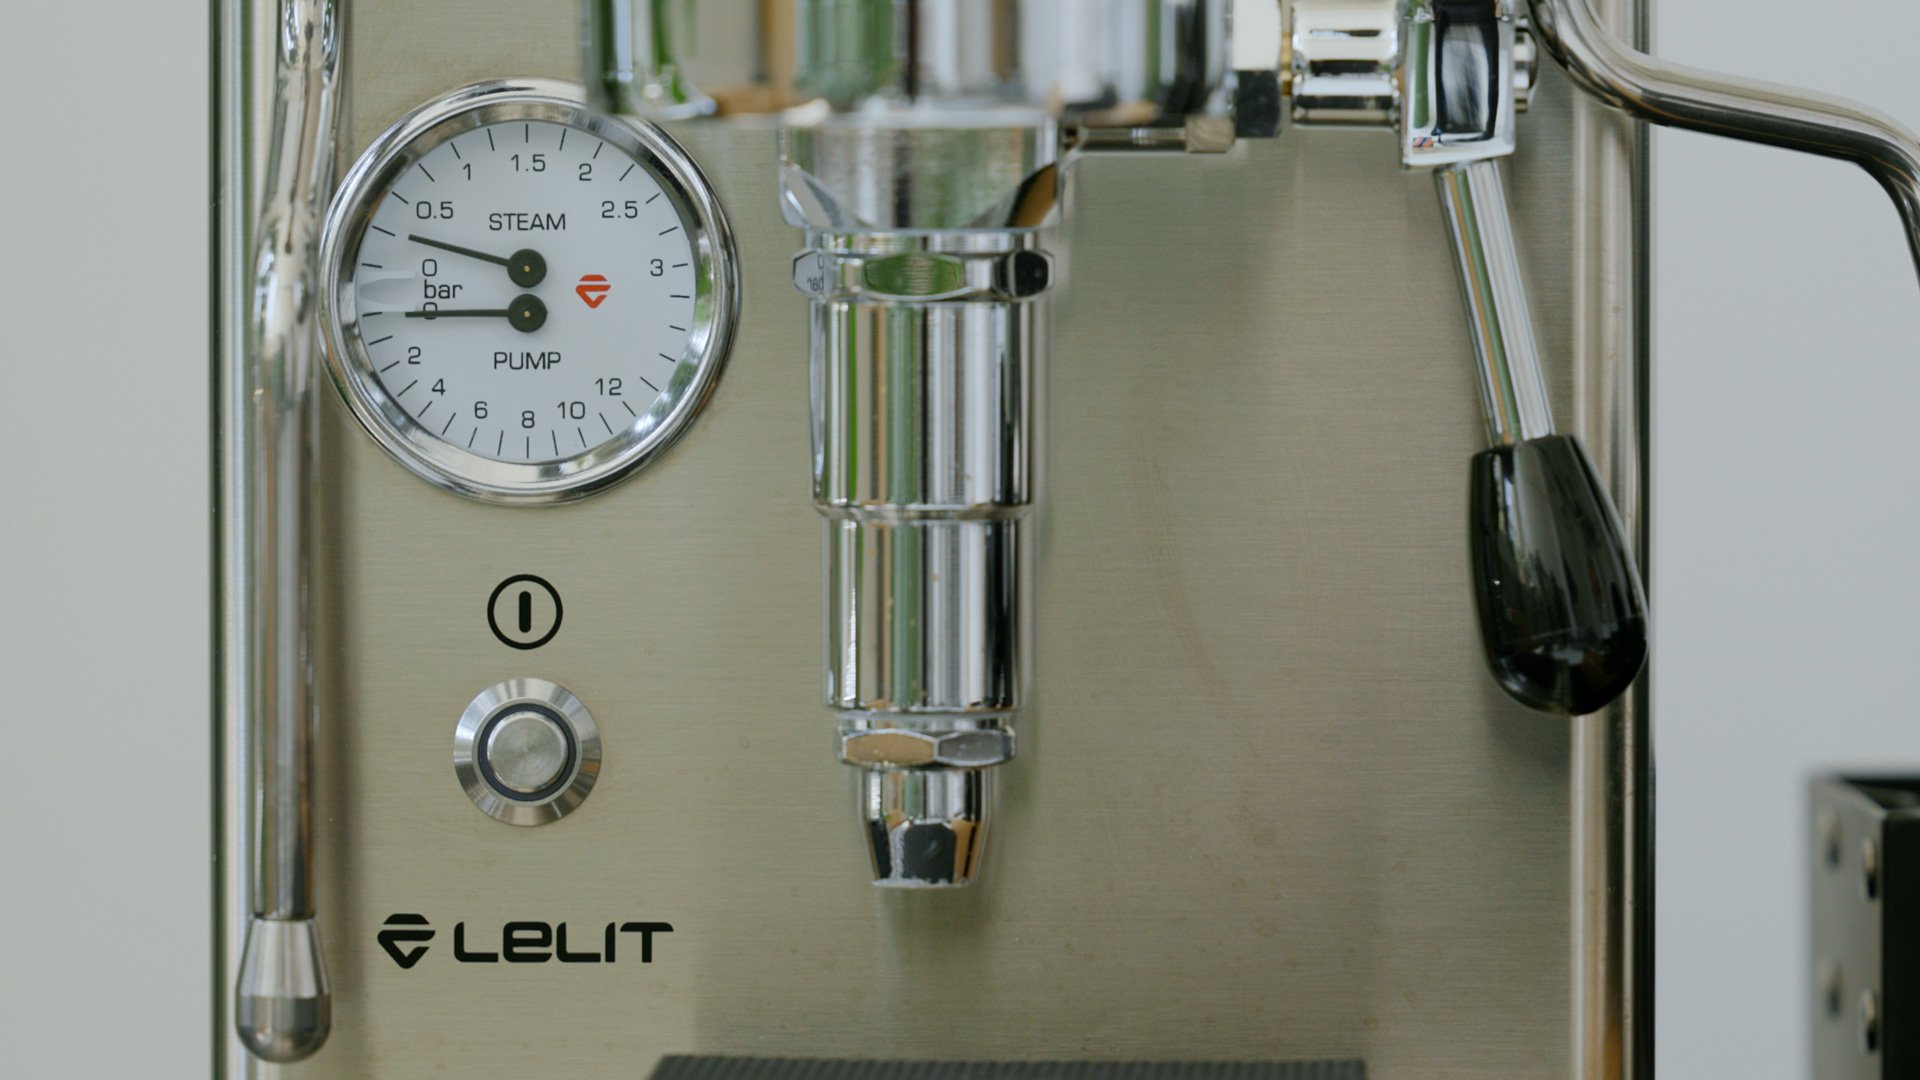
I use the Lelit Mara X V2, a single-boiler heat exchanger with a compact design for my machine. This machine allows you to pull a shot and steam simultaneously. With a customizable E61 group head, cup heating rack, cool-touch steam wand, and optimal preset temperature settings, the Mara X is a simple but powerful tool for making espresso-based drinks.
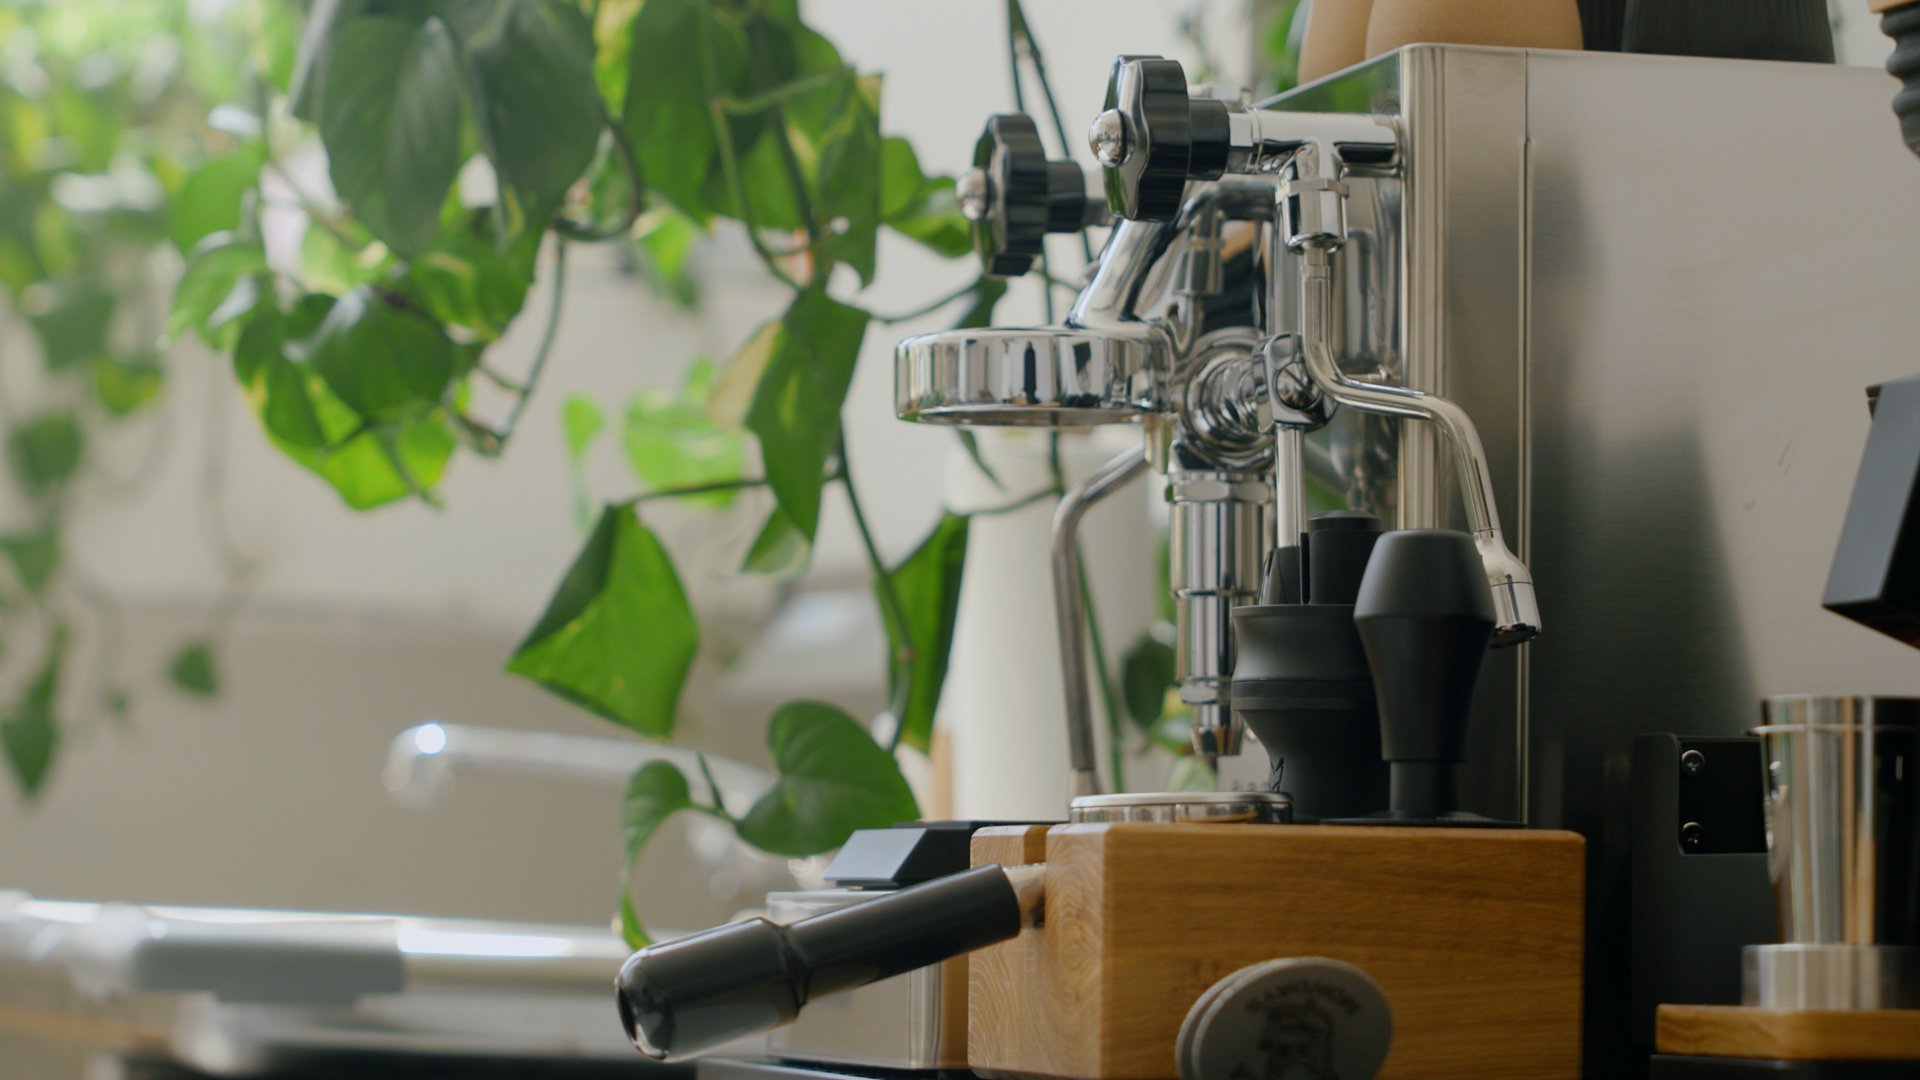

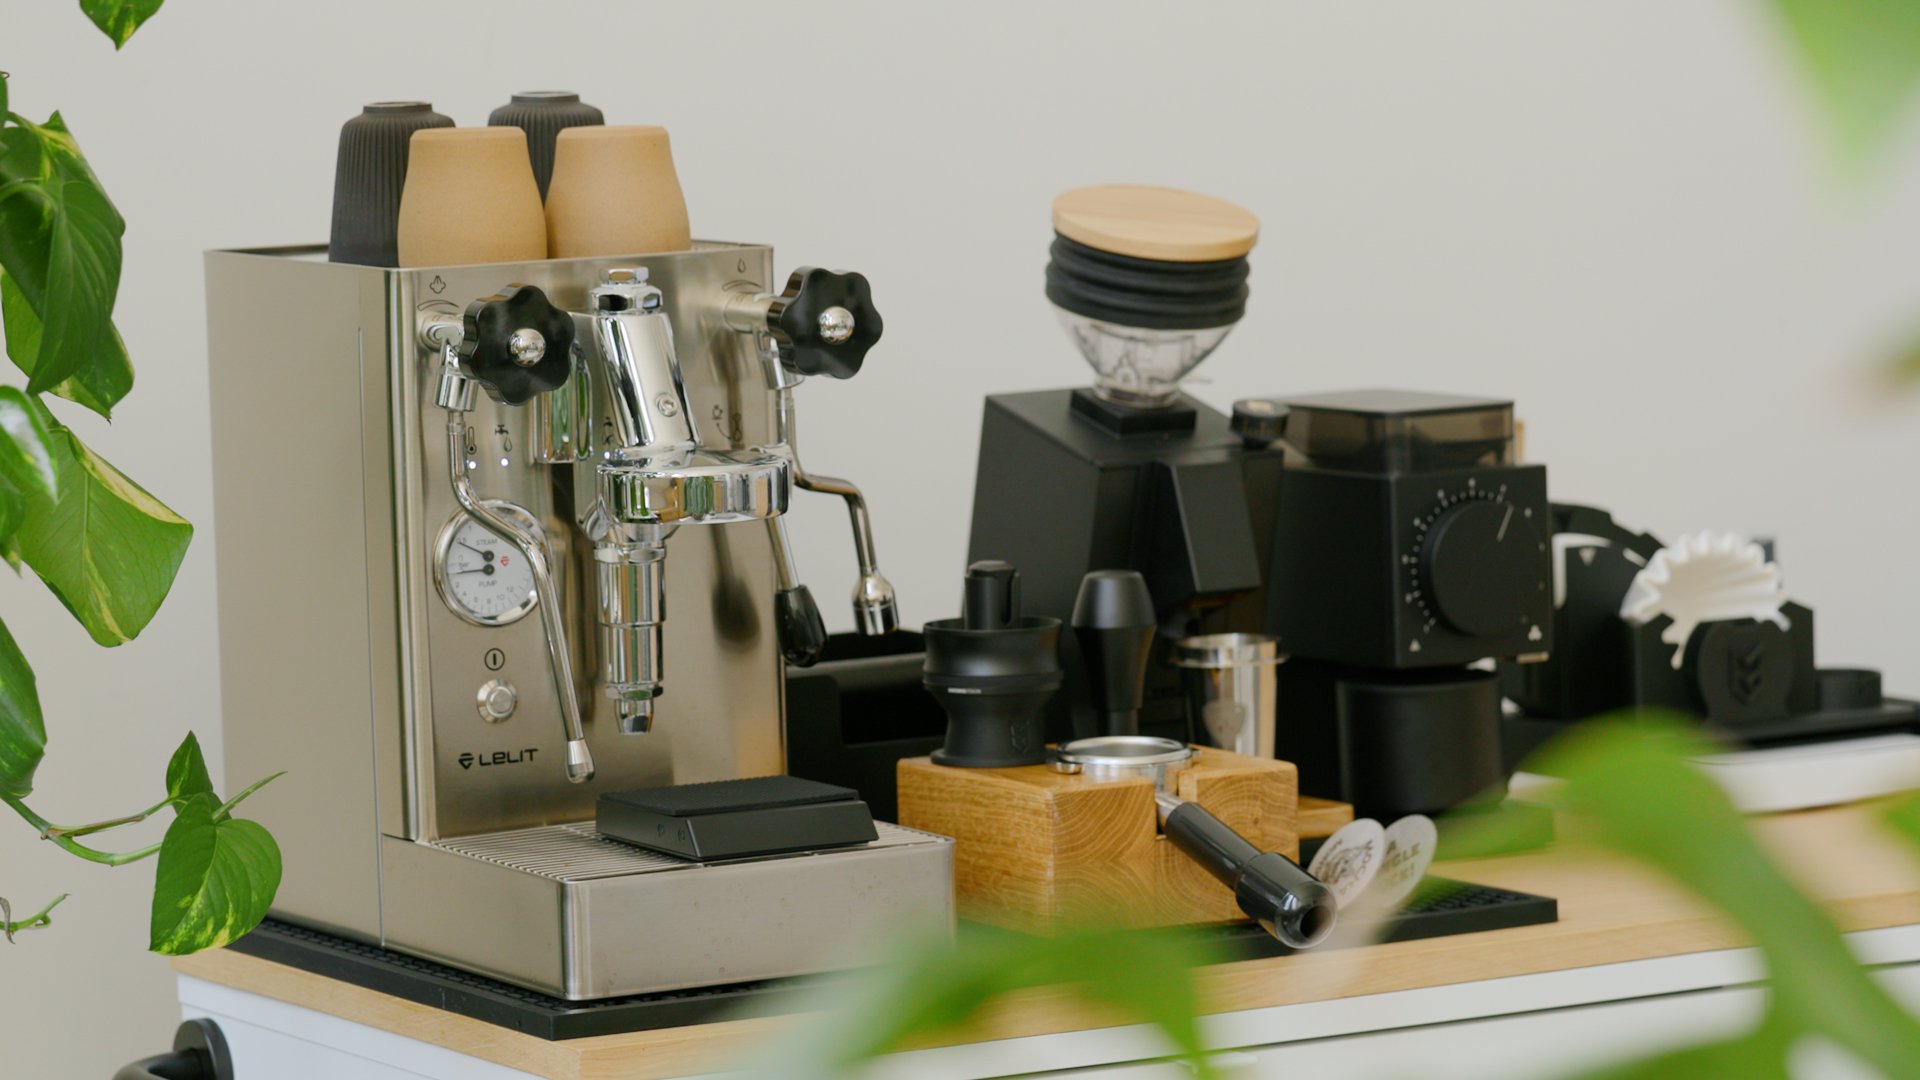
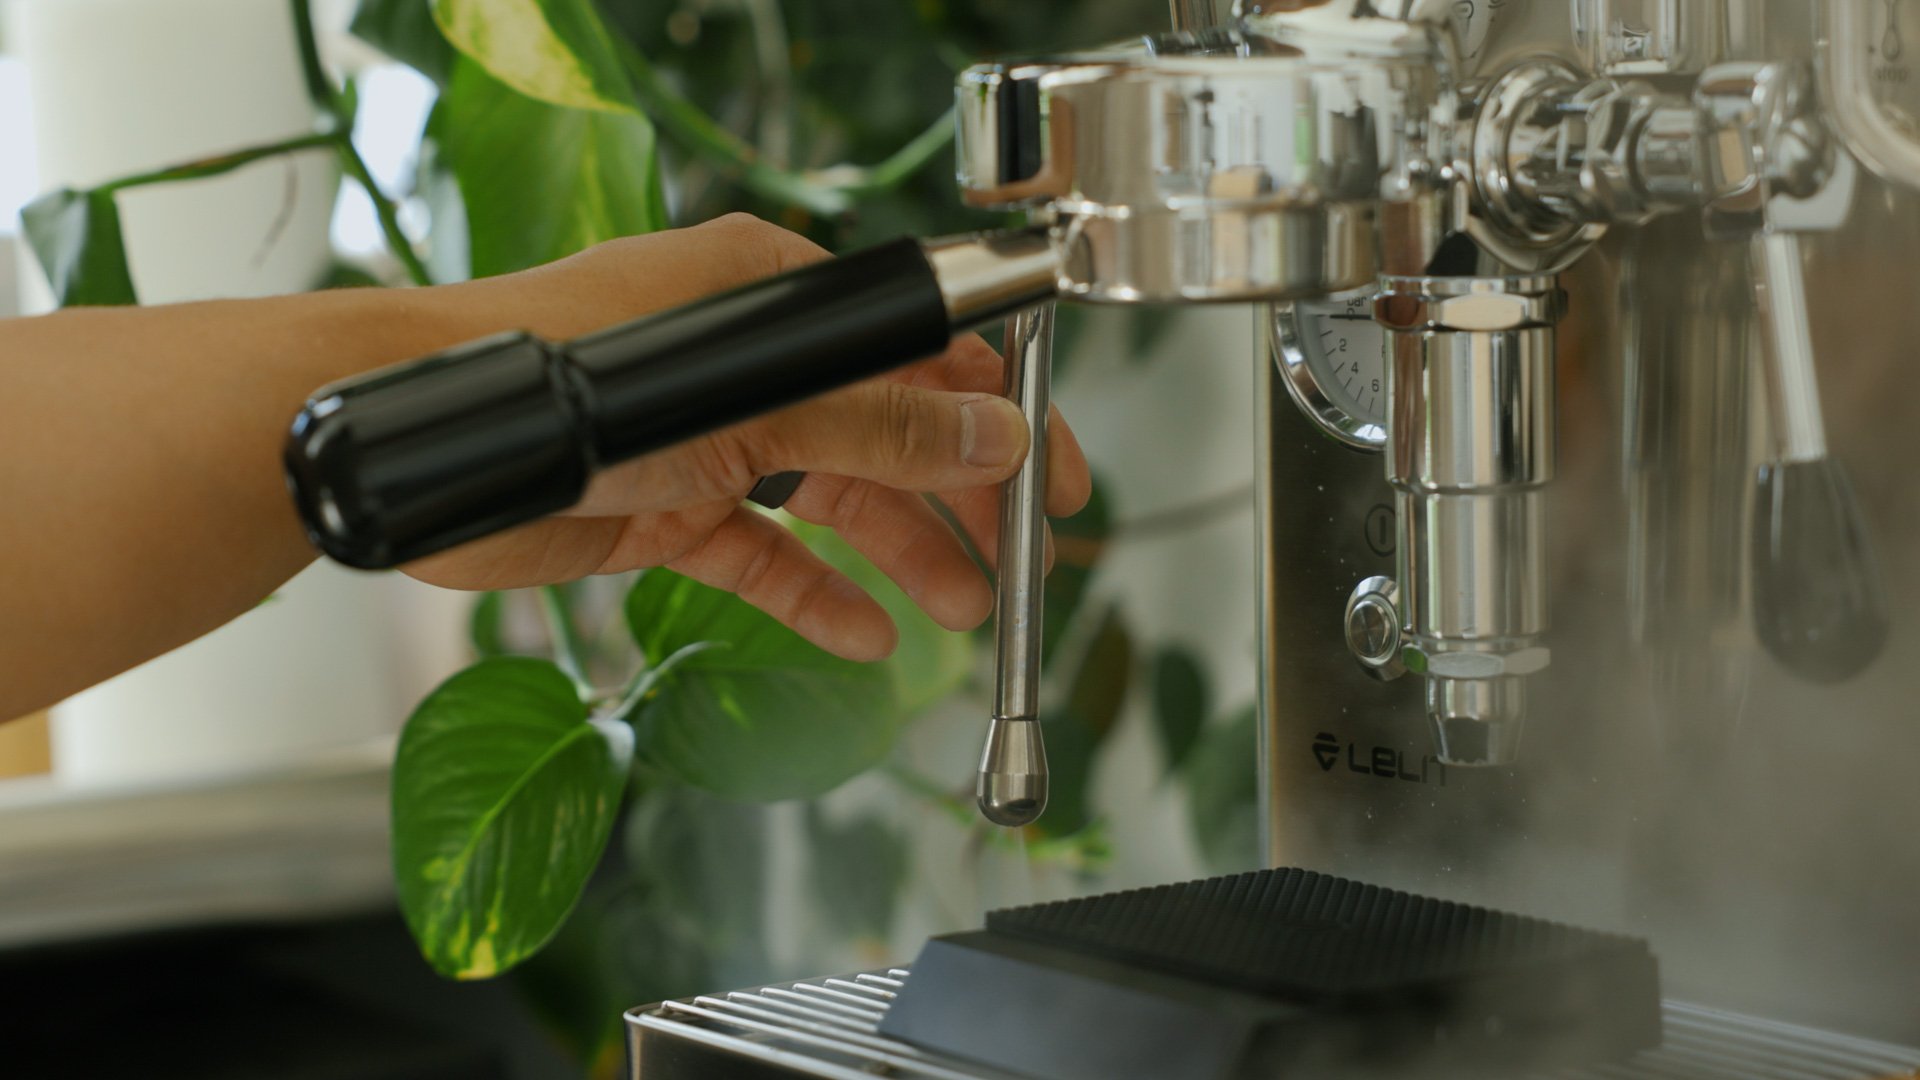
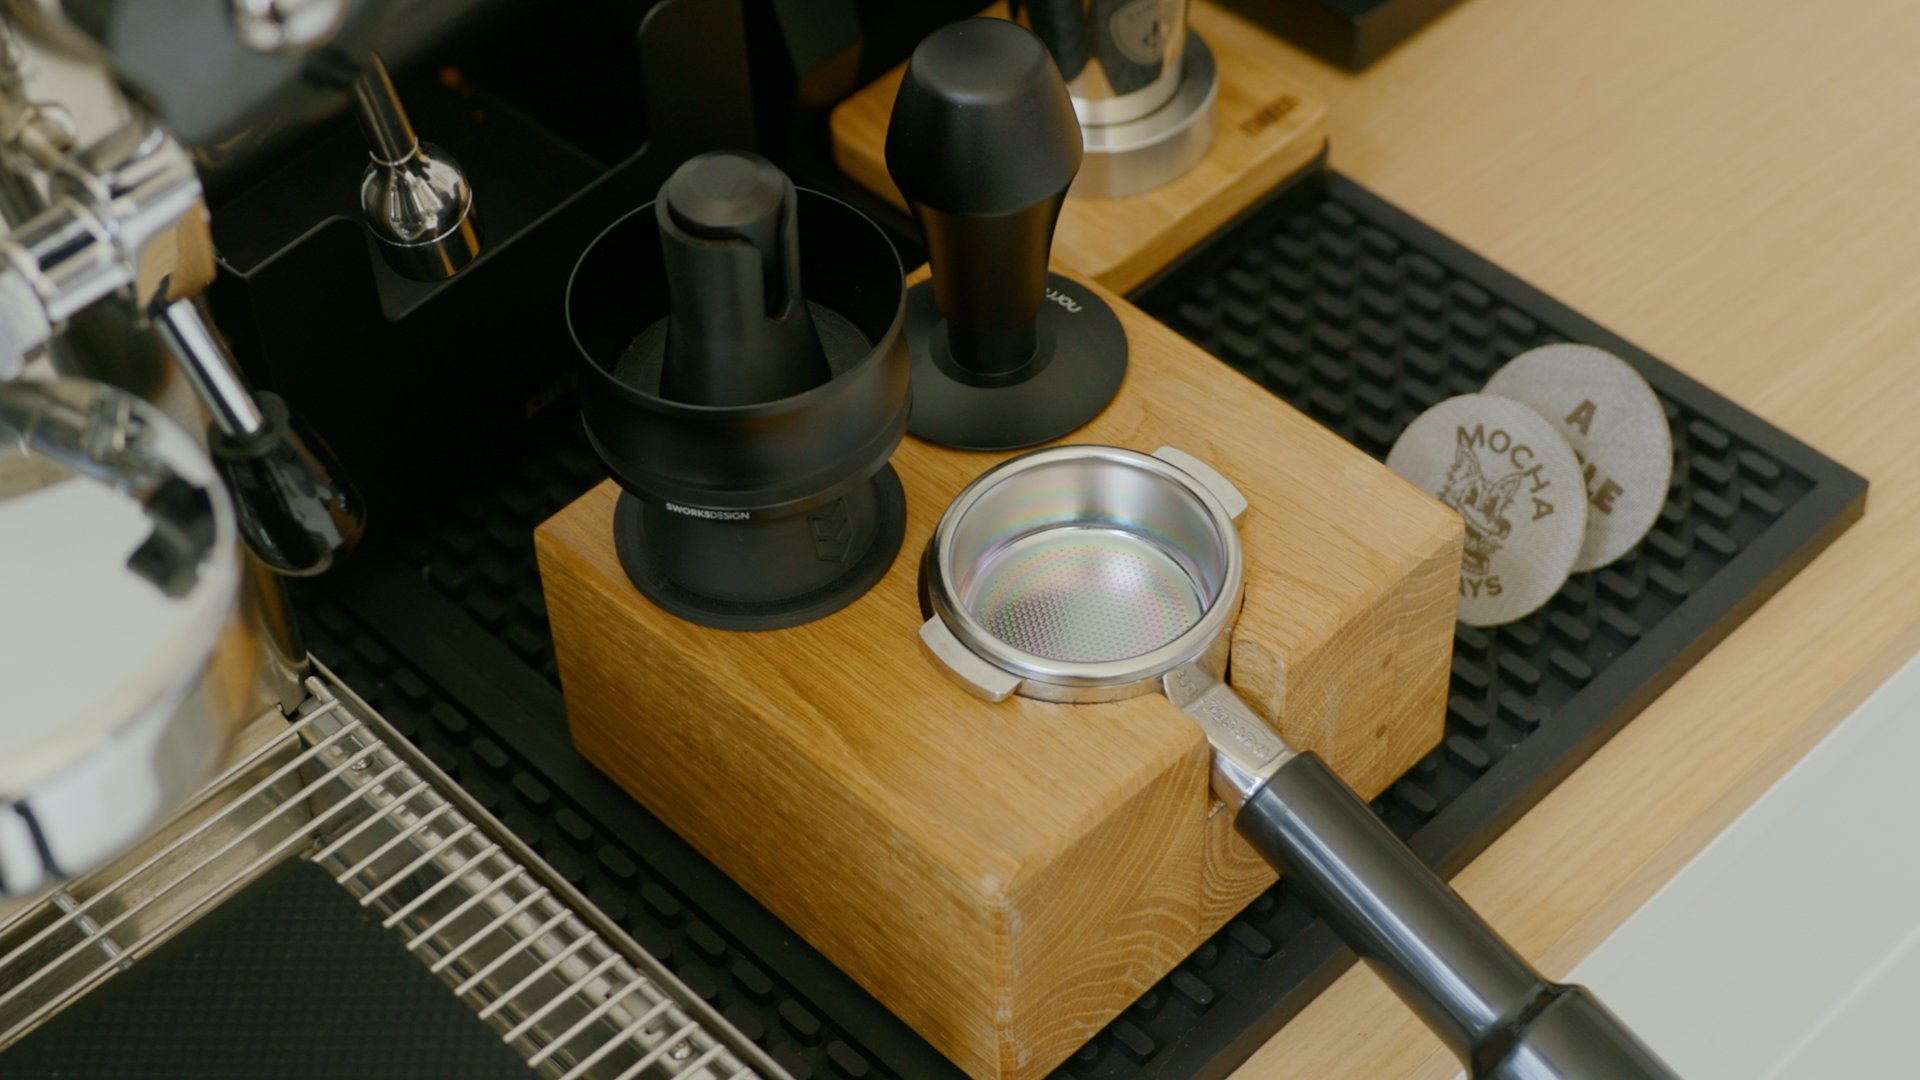
To prep my espresso pucks, I use a wood block by Mussa Tampers, personalized holders for my WDT tool, and an auto-leveling tamper by Normcore to ensure even distribution and compression of the coffee grounds. Finally, I use a bottomless “naked” portafilter to test the flow of my shots and correct any channeling.
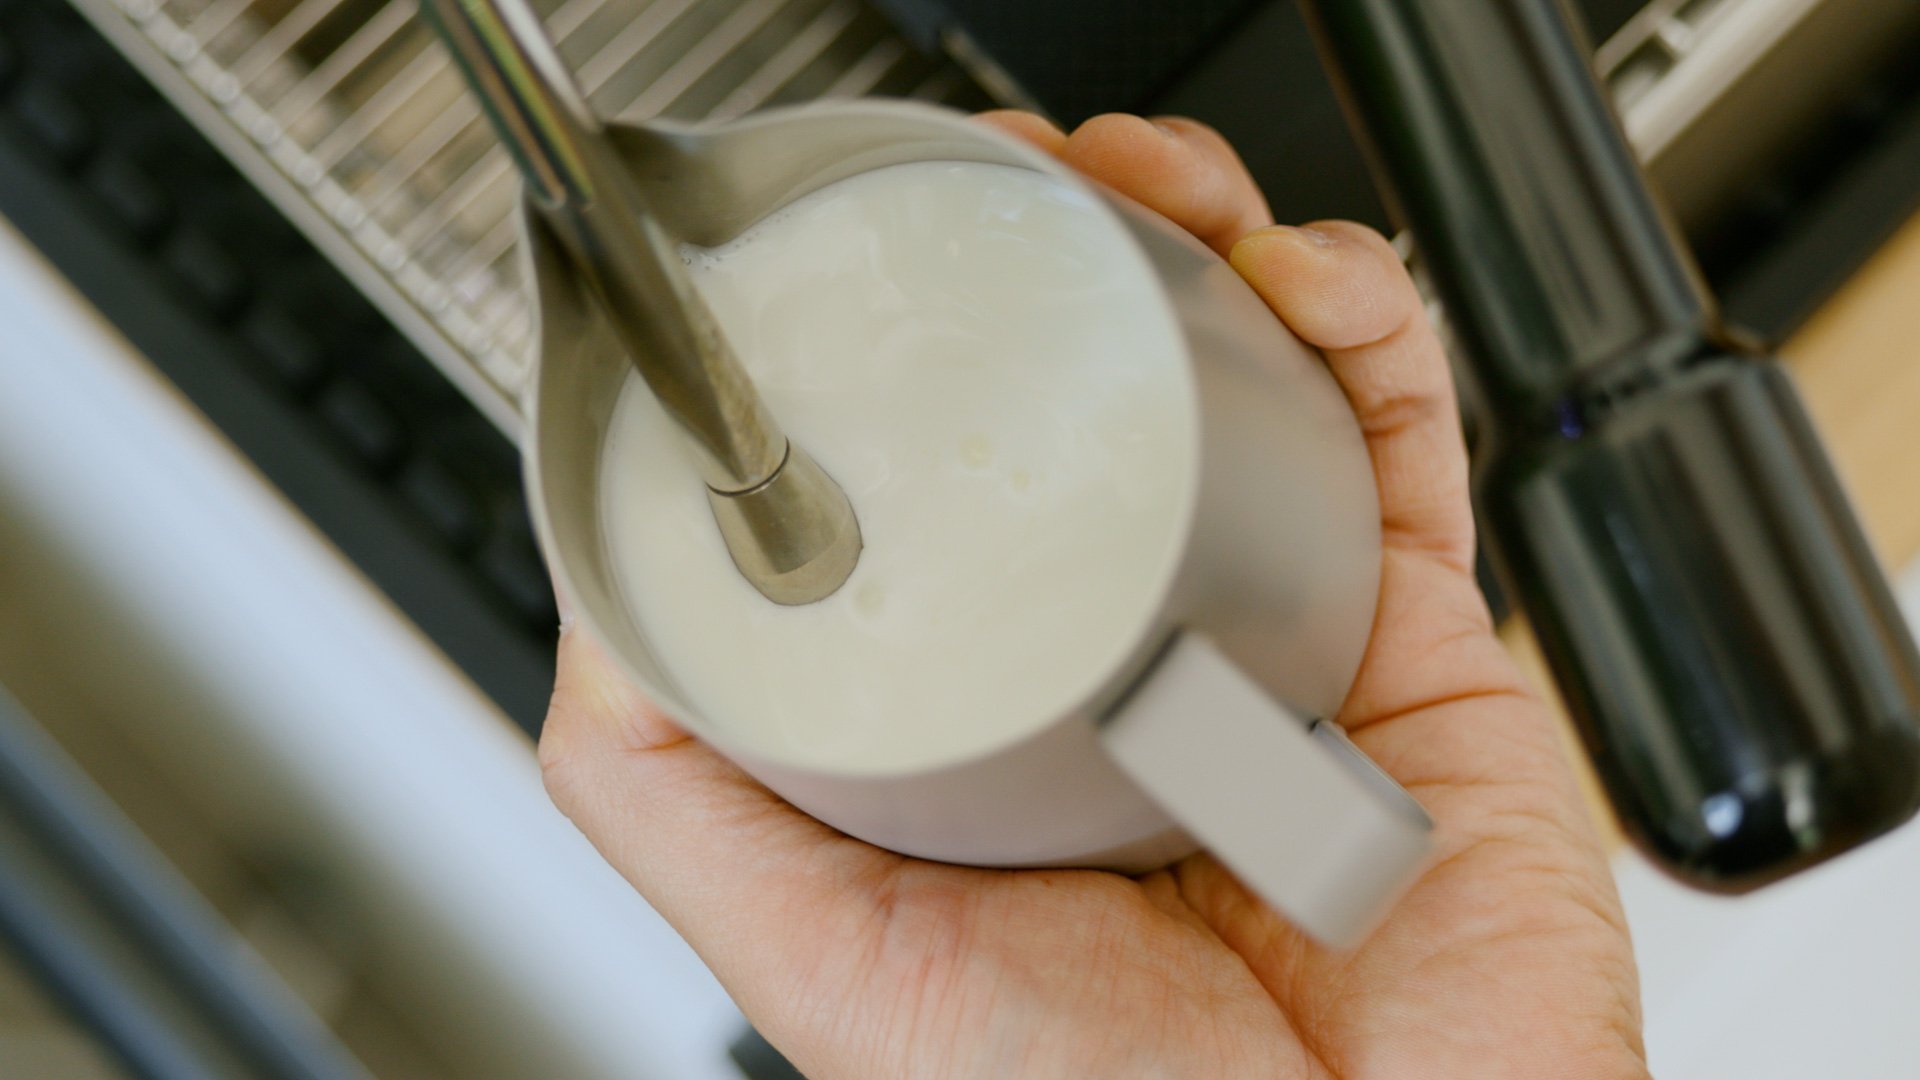
I use the Timemore Mirror Nano scale for precise measurements to time the flow and volume of my shots. And to steam my milk, I’ve been using a pitcher from Slow Pour Supply with a wide mouth and a Normcore pitcher with a sharp spout.
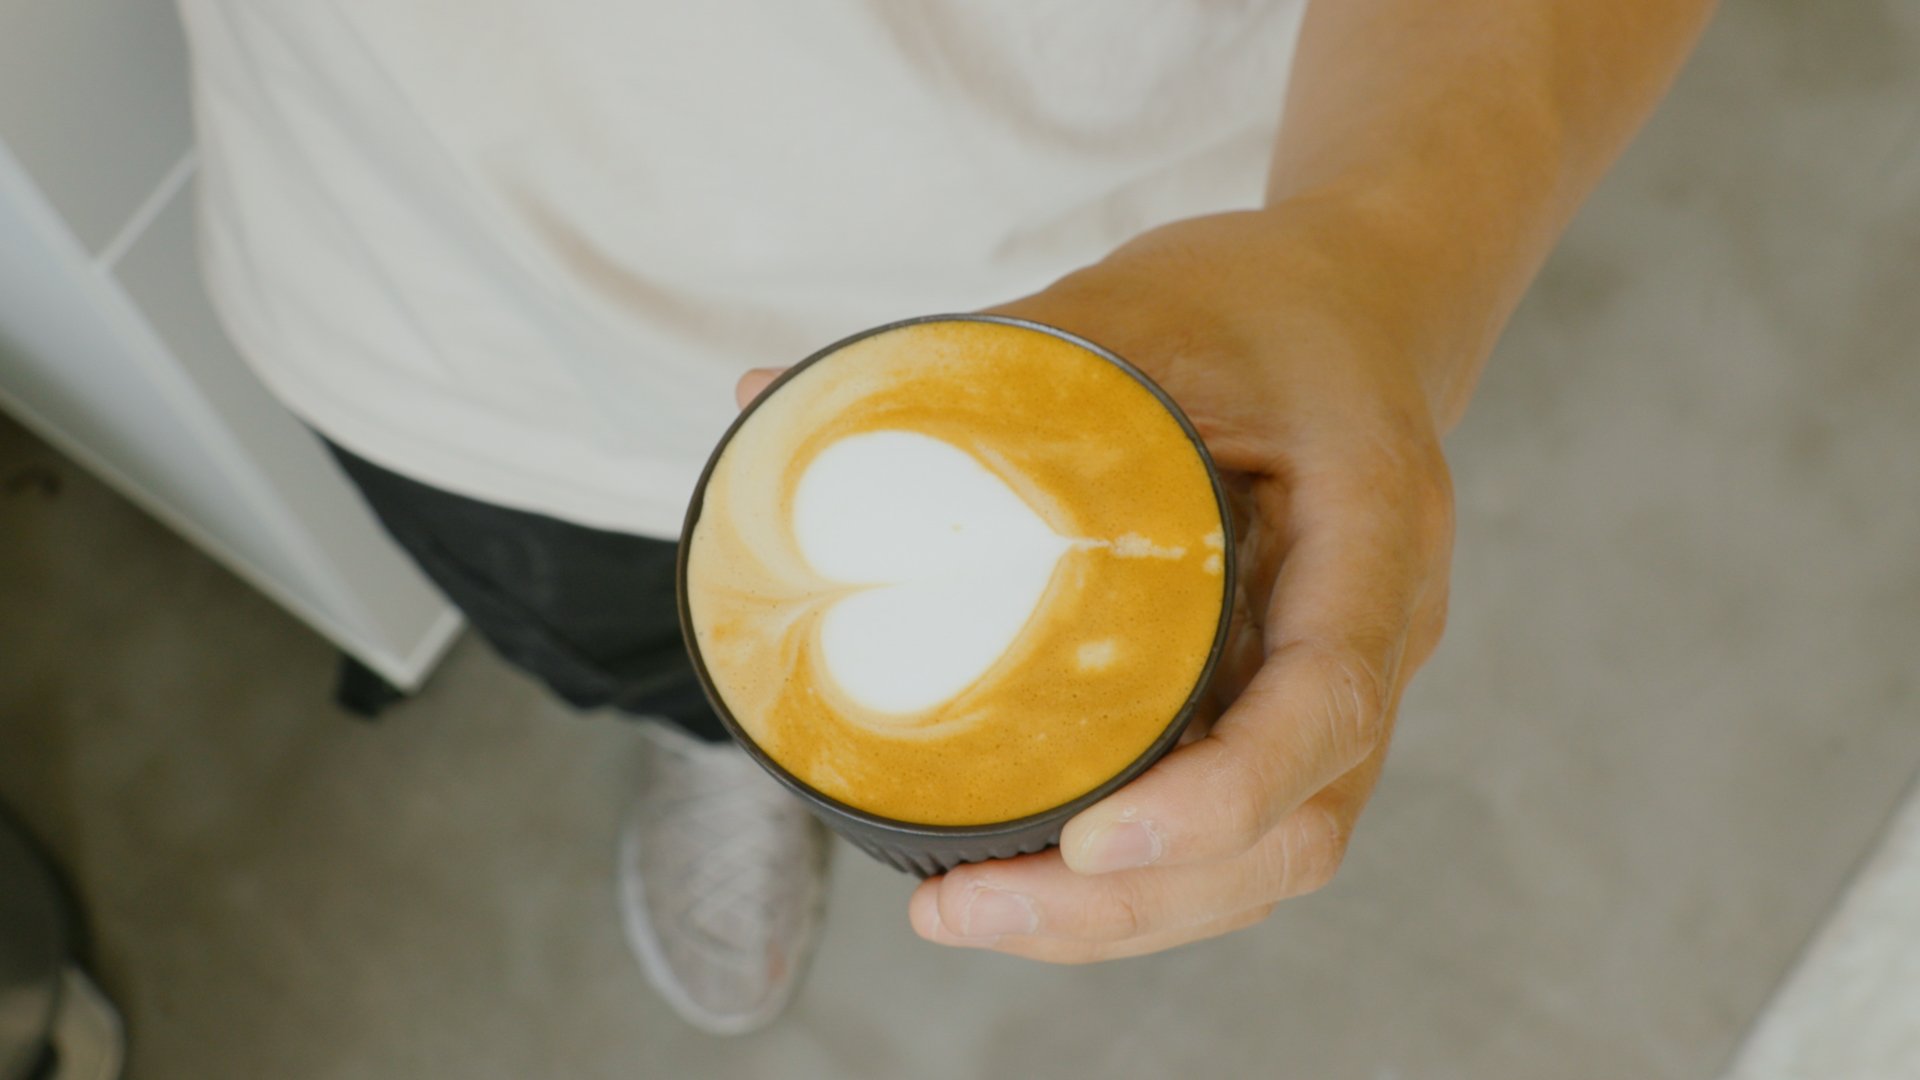
If you’re like me and are still learning about espresso drinks and how to pour latte art, I highly recommend checking out Emilee Bryant’s YouTube channel. She’s a latte-art champion and makes fun, easy-to-follow tutorials. I’m currently focused on practicing hearts until I get this basic technique consistent before advancing to other designs.
Espresso setup links
Storage and Accessories
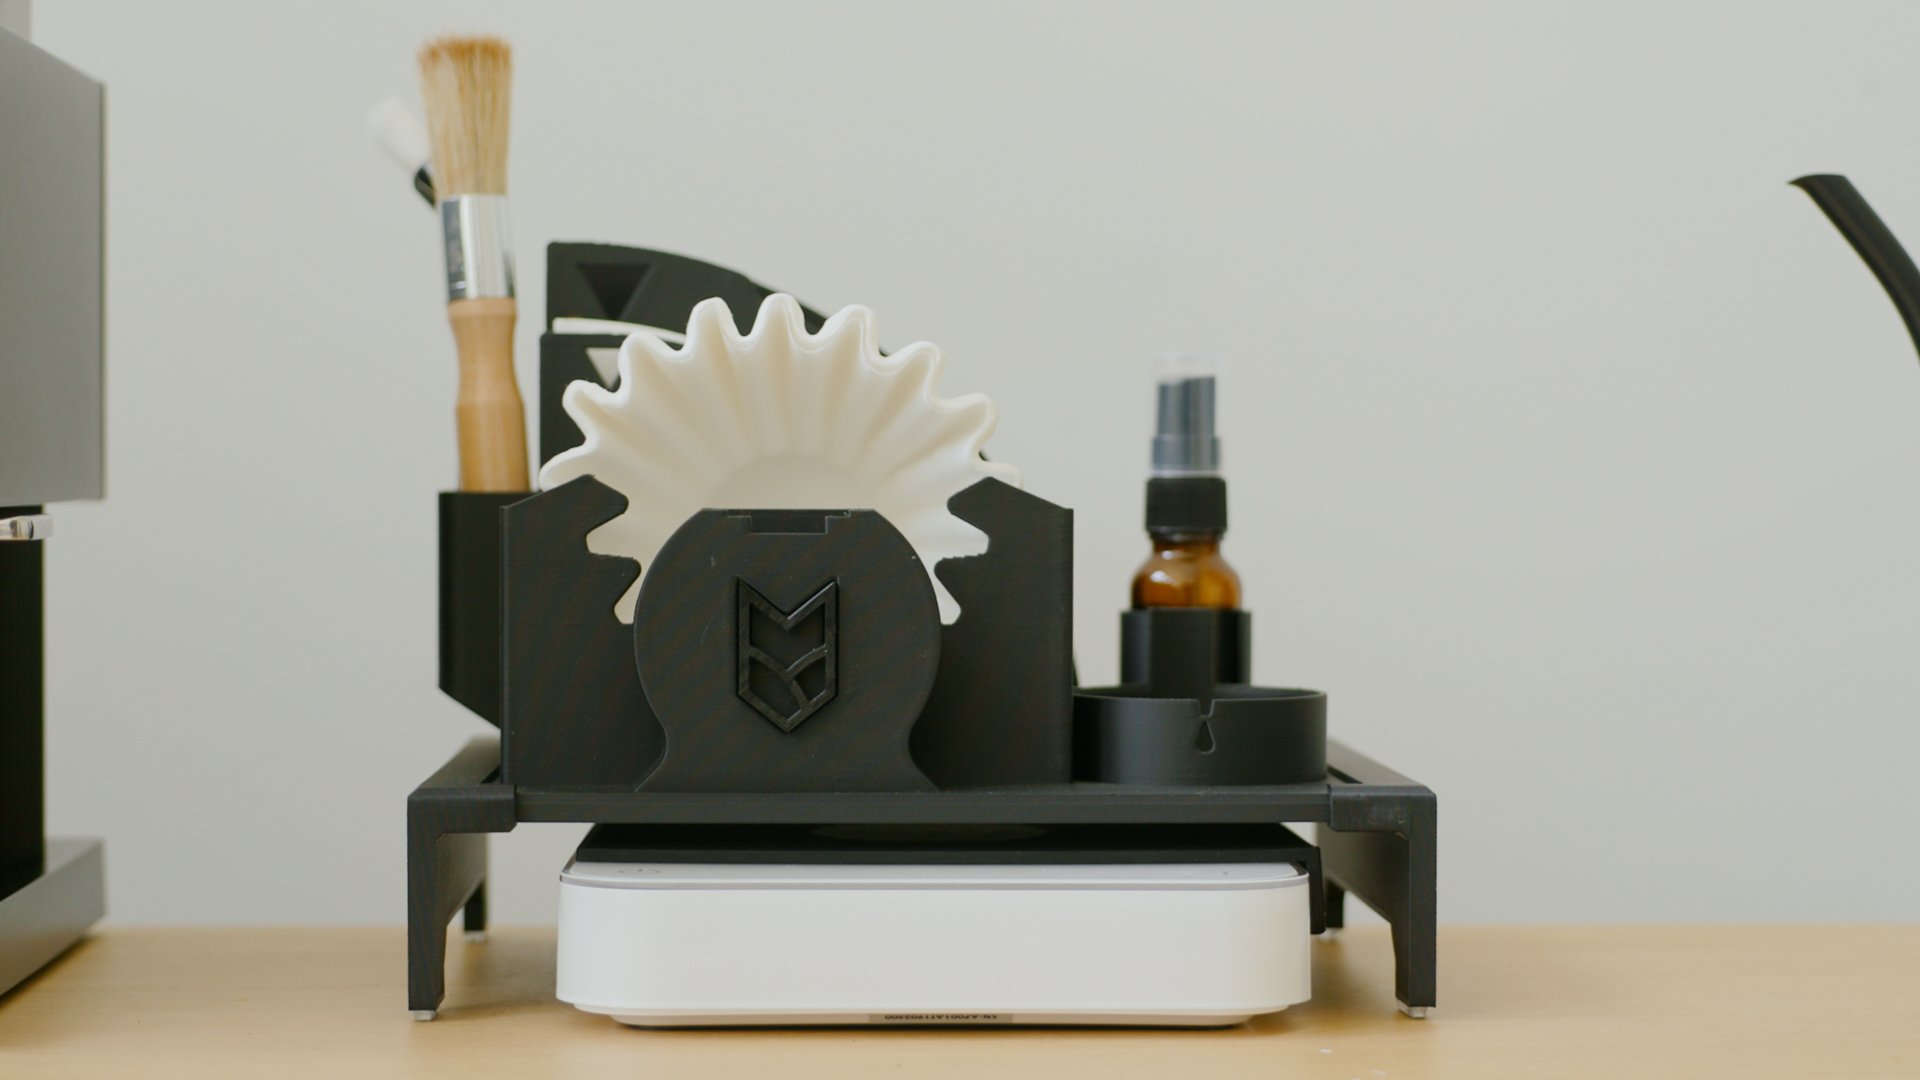
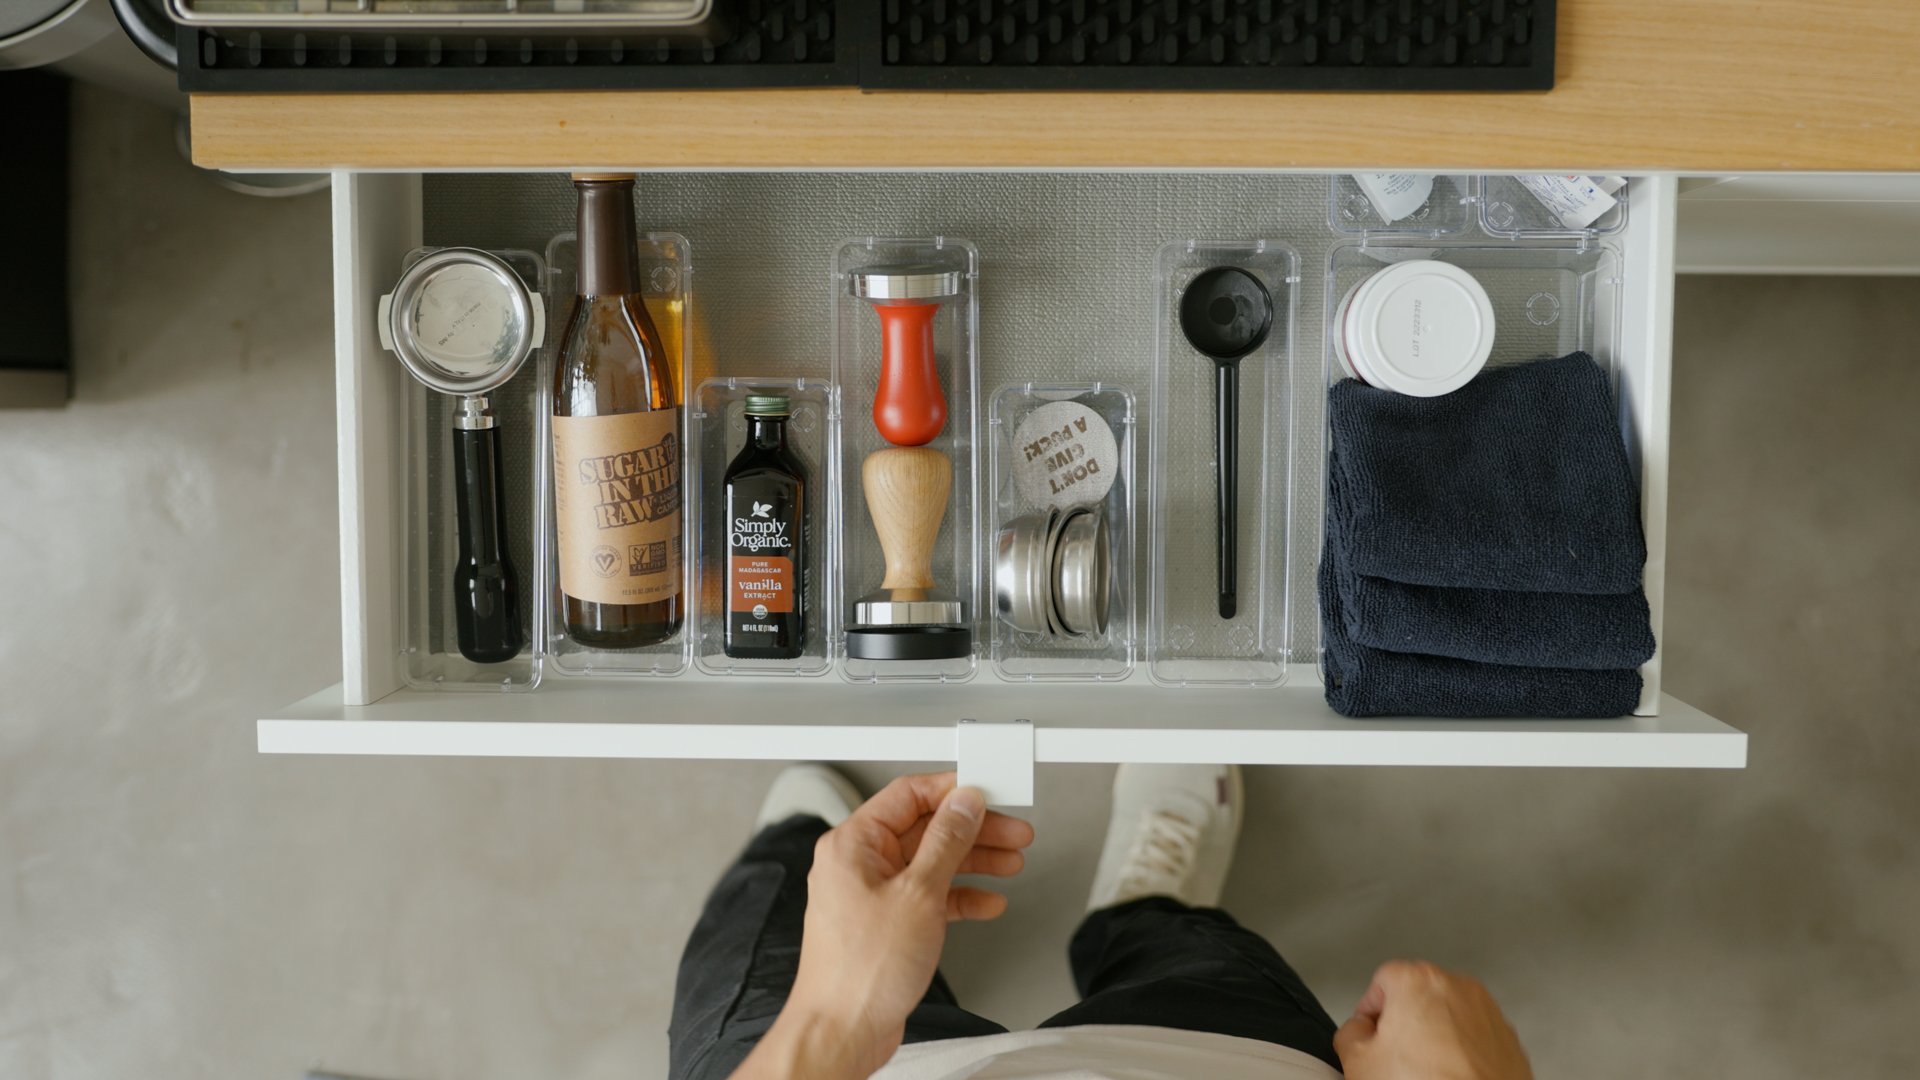
Efficient storage is essential for maintaining an organized and functional coffee bar. On my work surface, I use a personalized filter holder by OptikalBlitz, which also accommodates tools and conveniently has room for my Acia scale underneath.
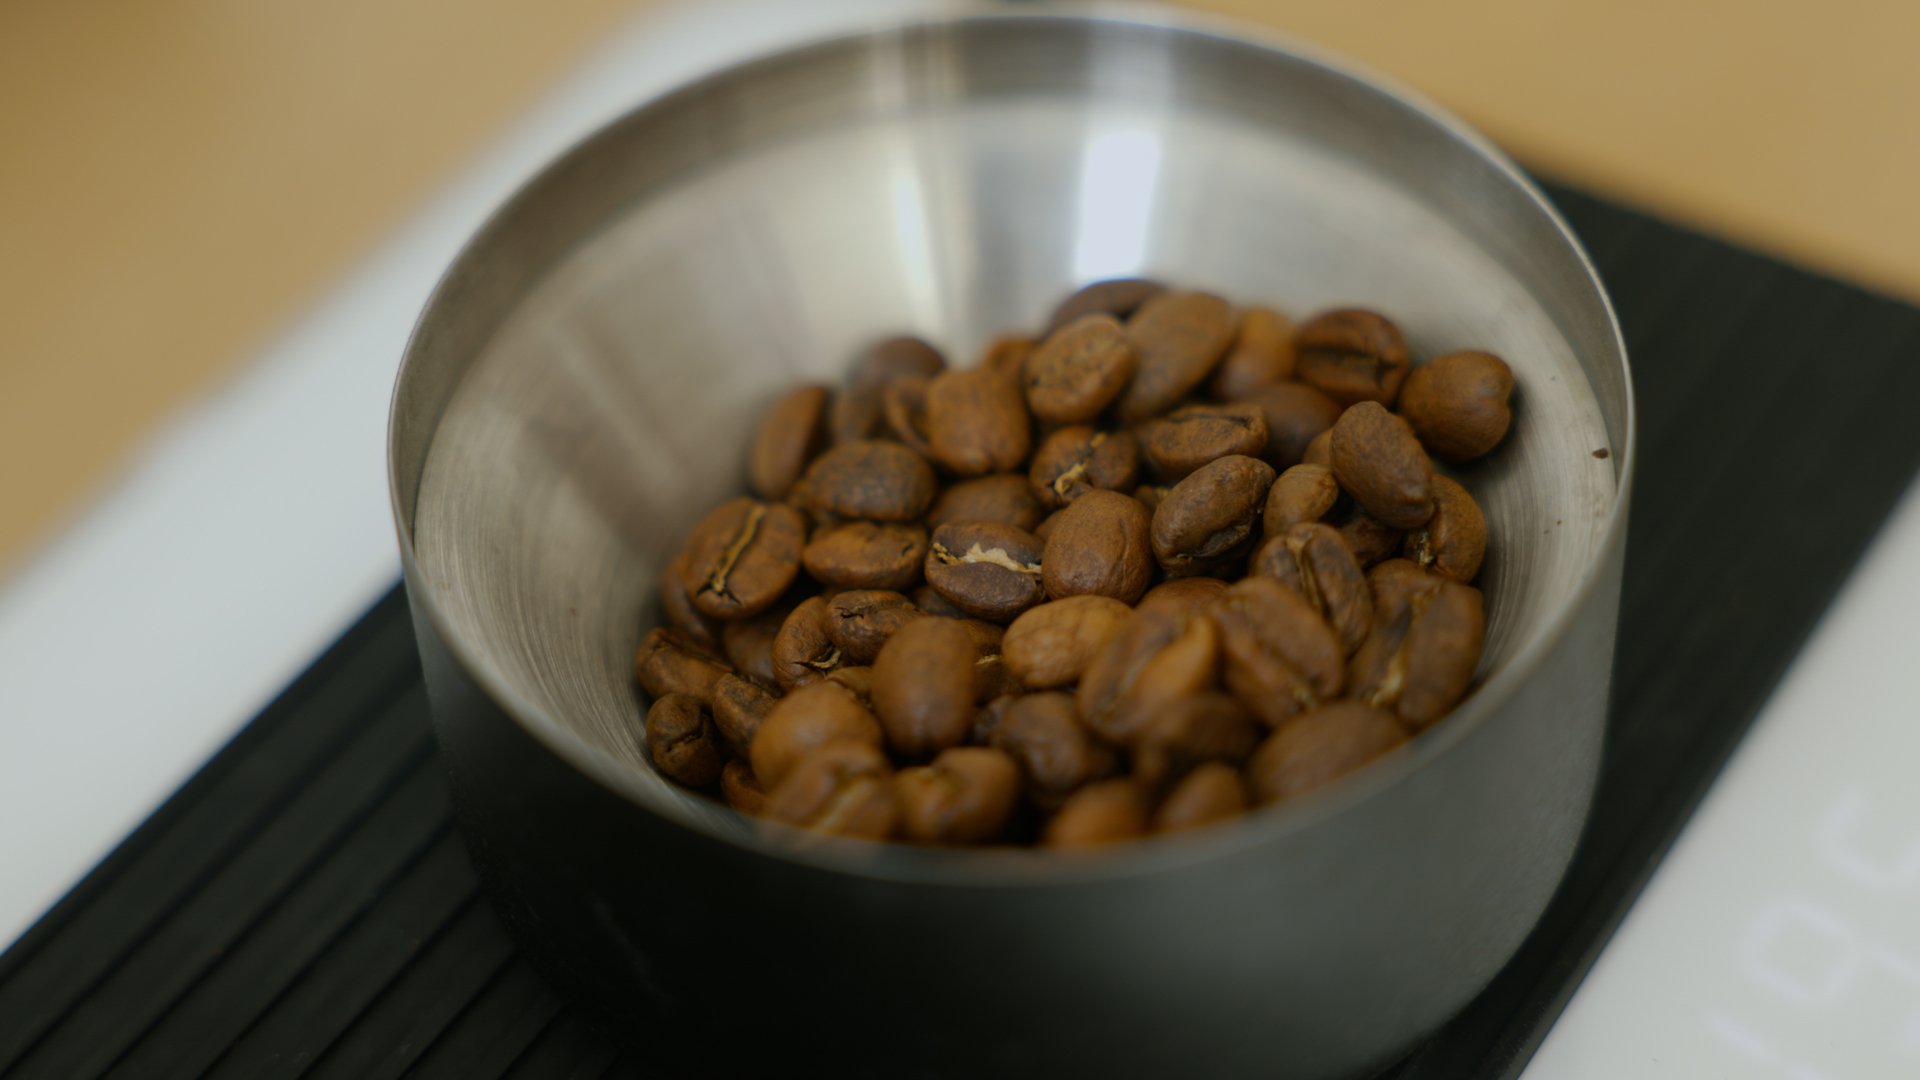
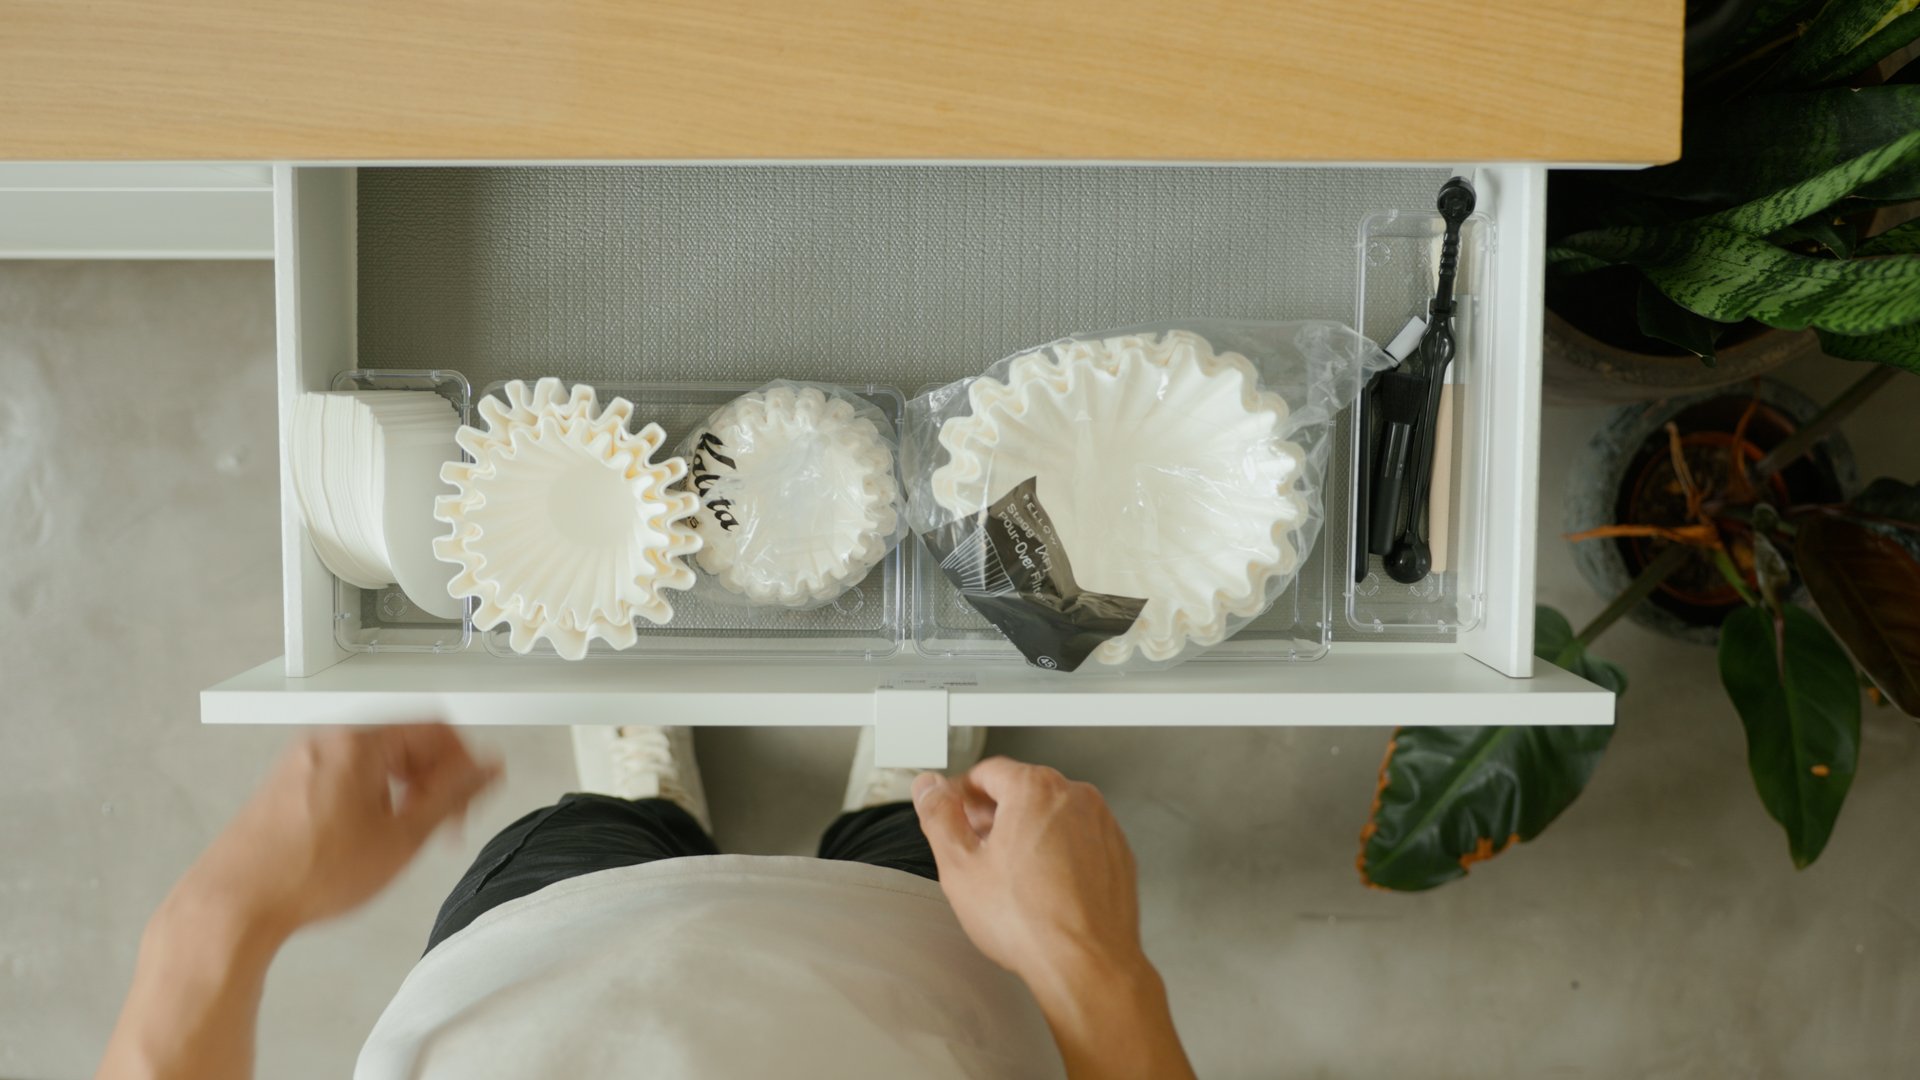
I chose the Vihals sideboard as my base because it has drawers and cabinets to store my extra accessories, maintenance tools, and beans. Freshly roasted beans rest in their bags for a few days before being transferred to an Atmos Vacuum Canister to preserve flavor and prevent oxidation.
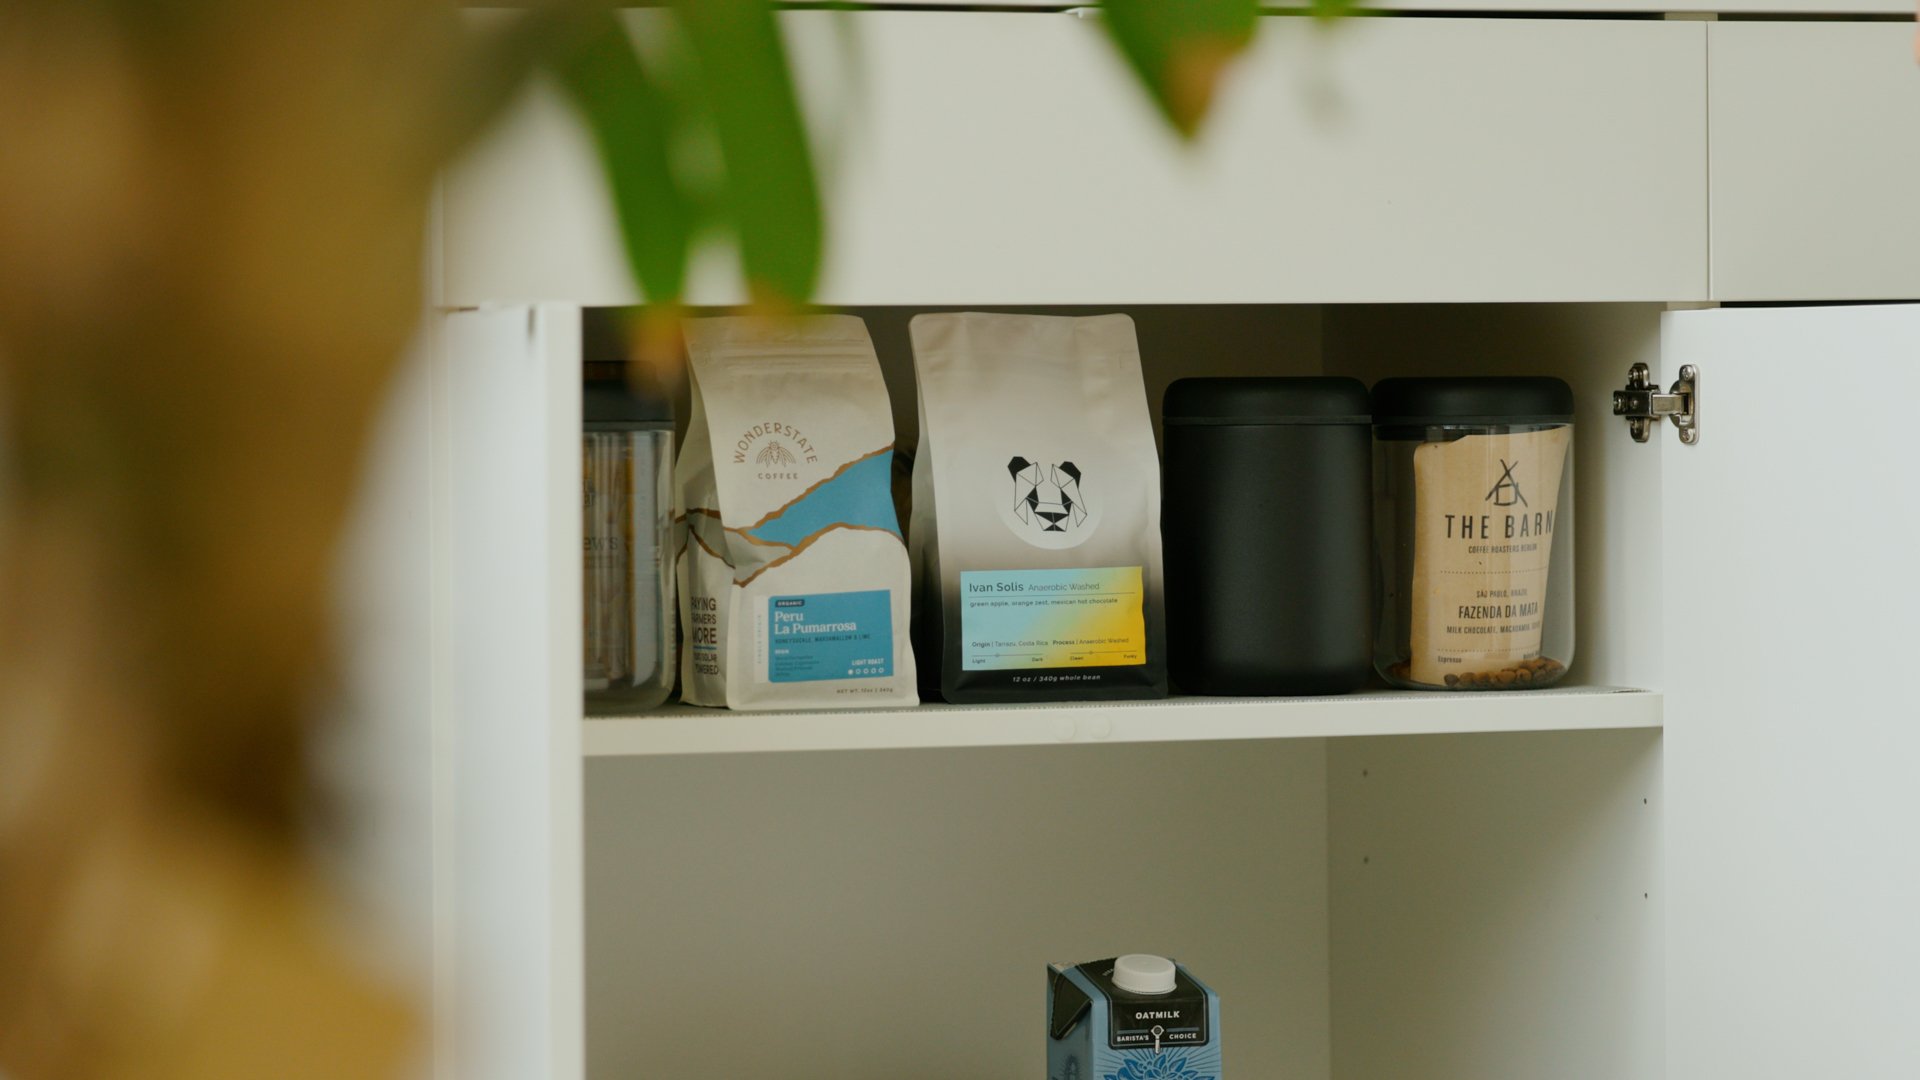

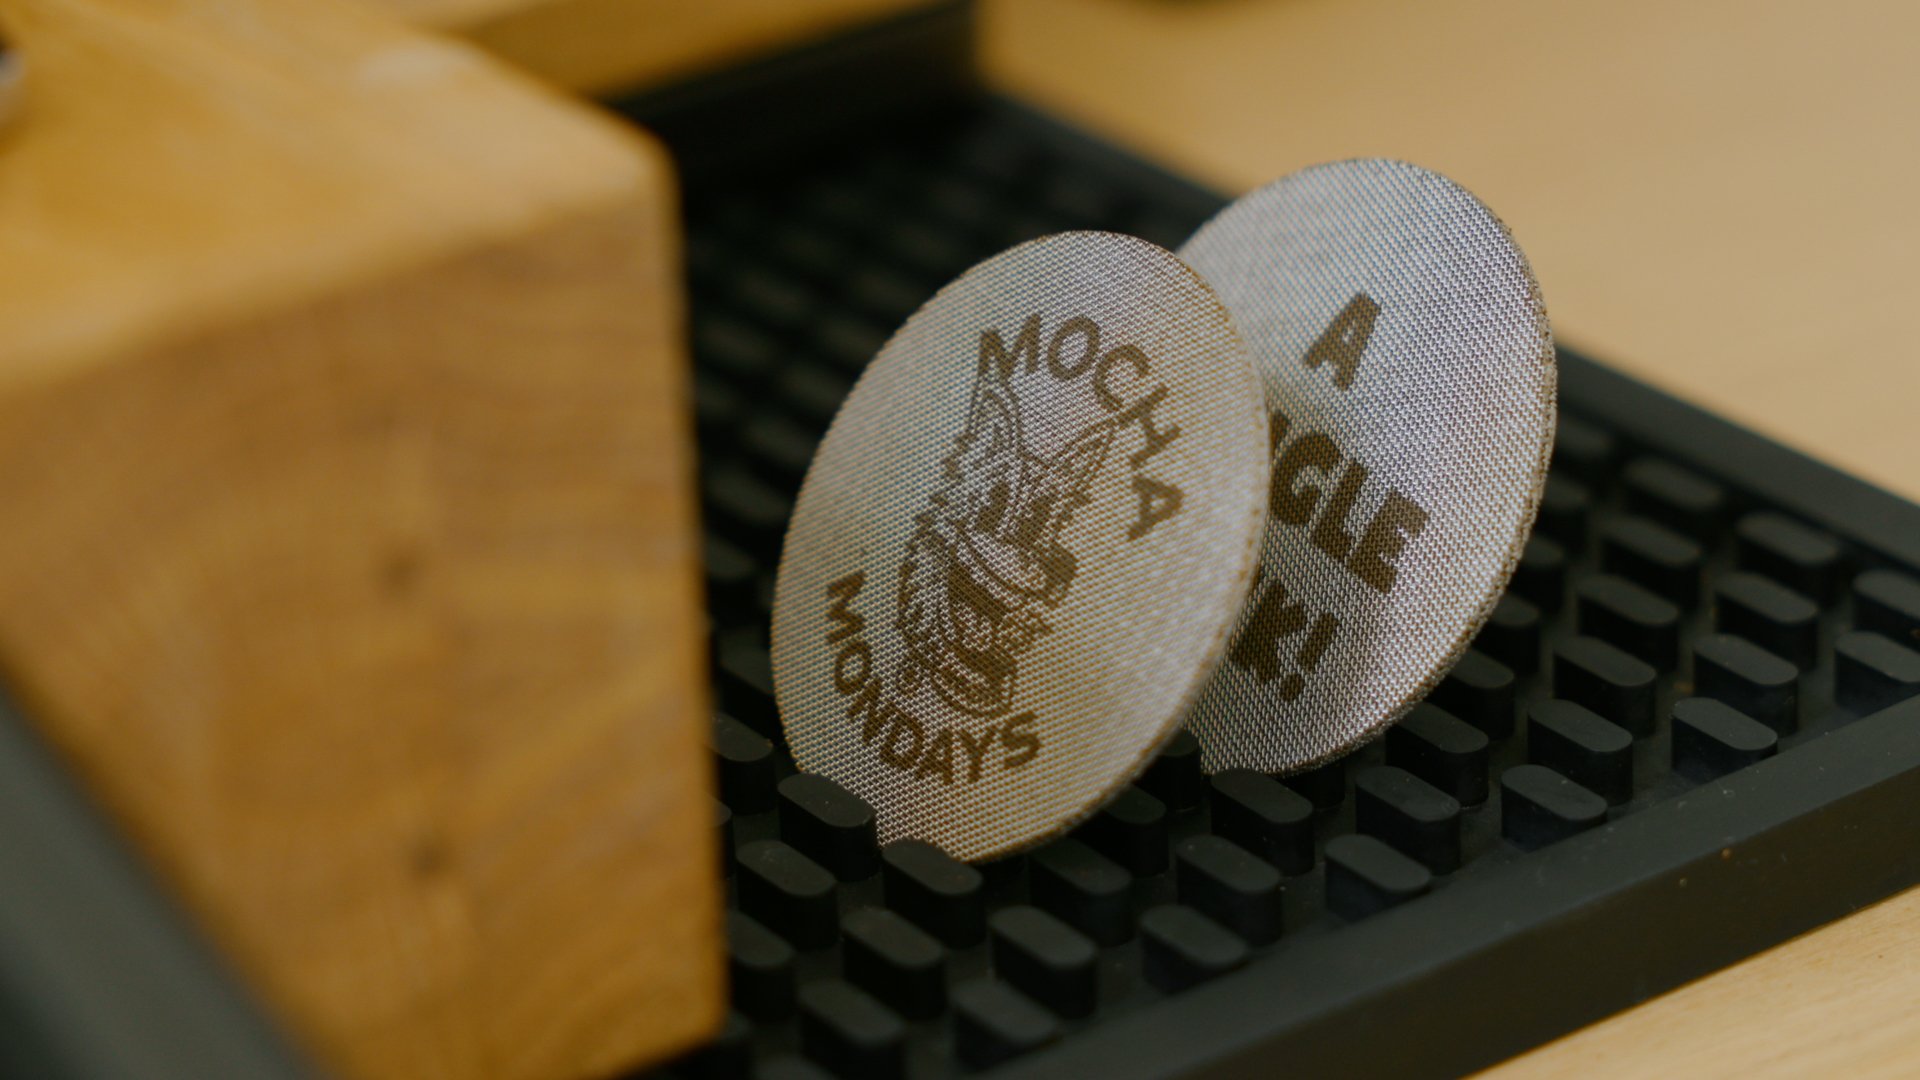
I usually have two or more kinds of beans at any given time. I pick up a bag every other week from my local coffee shops, and I also have a subscription to Fellow, which is expertly chosen for me by their Q-graders. This combination allows me to sample different regions, processes, and roasts. Watch the videos below to learn more about selecting beans and how various processes affect flavors.
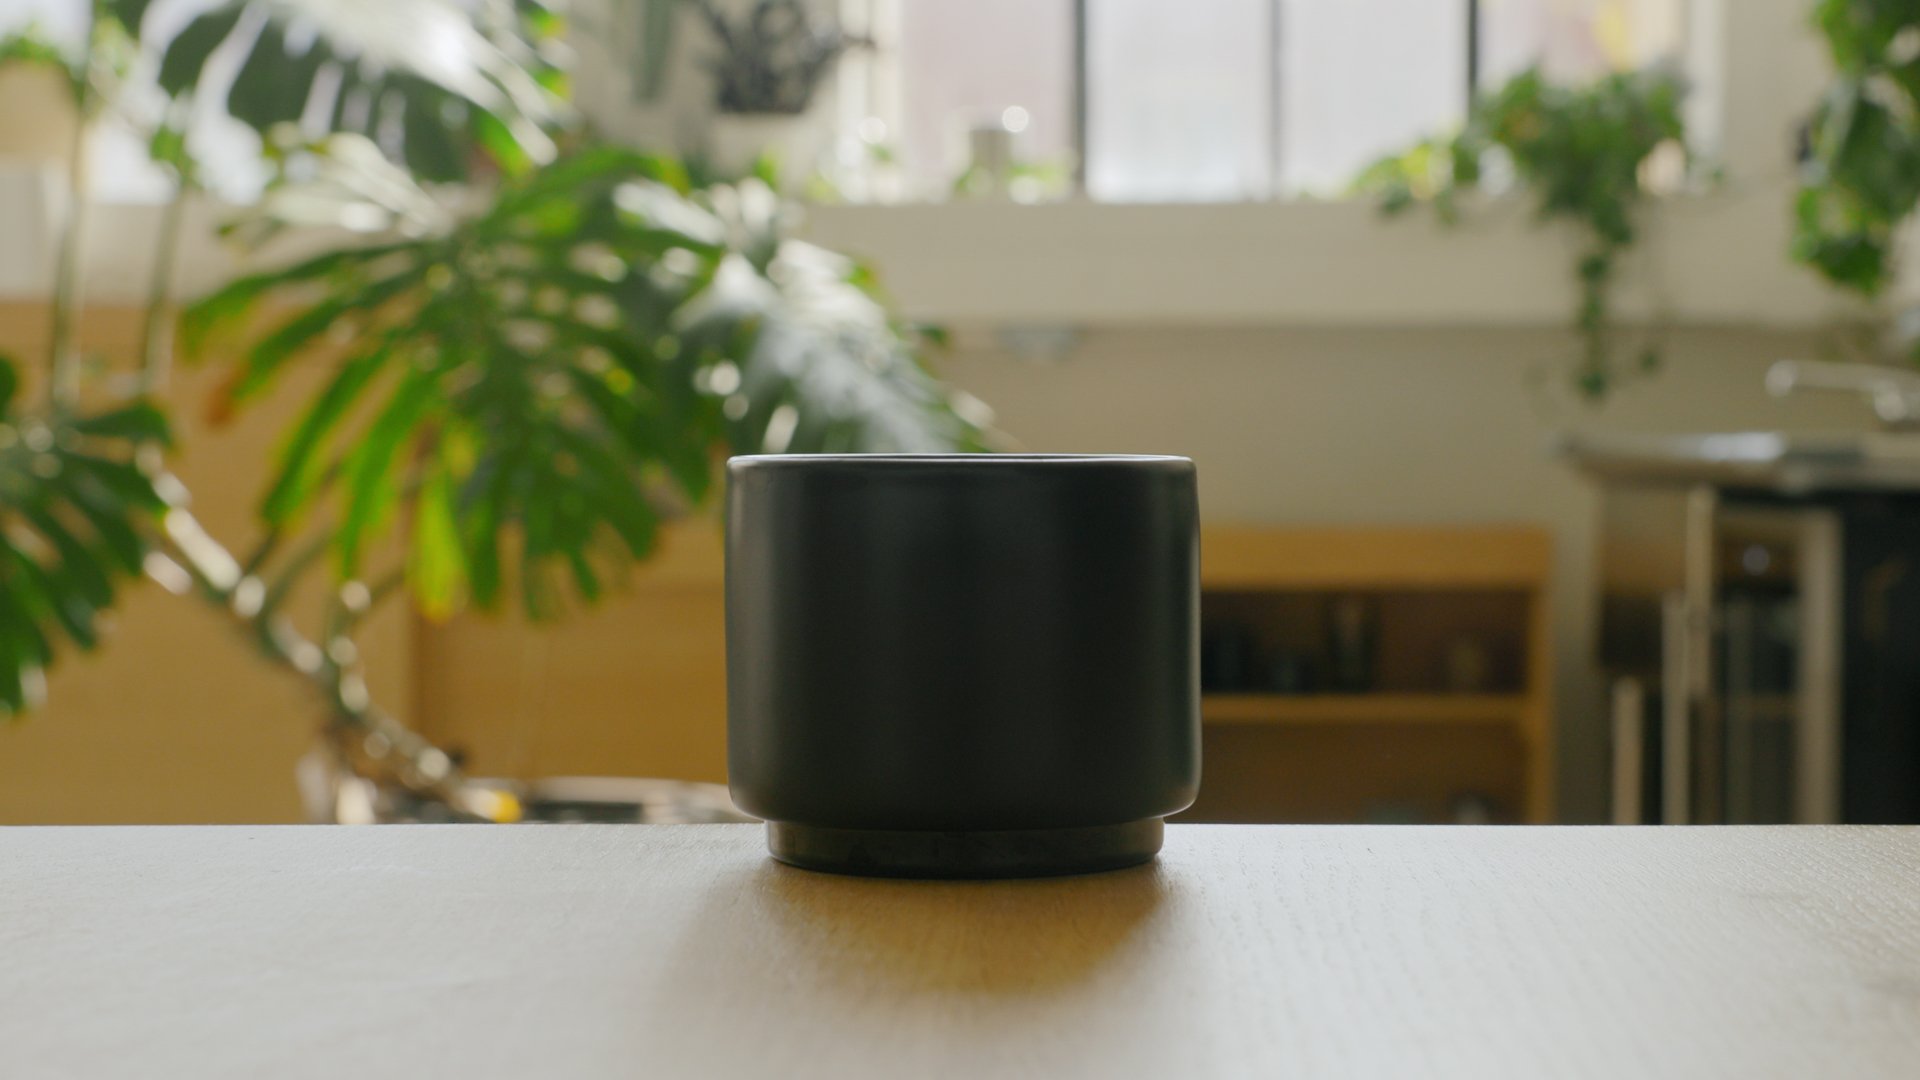
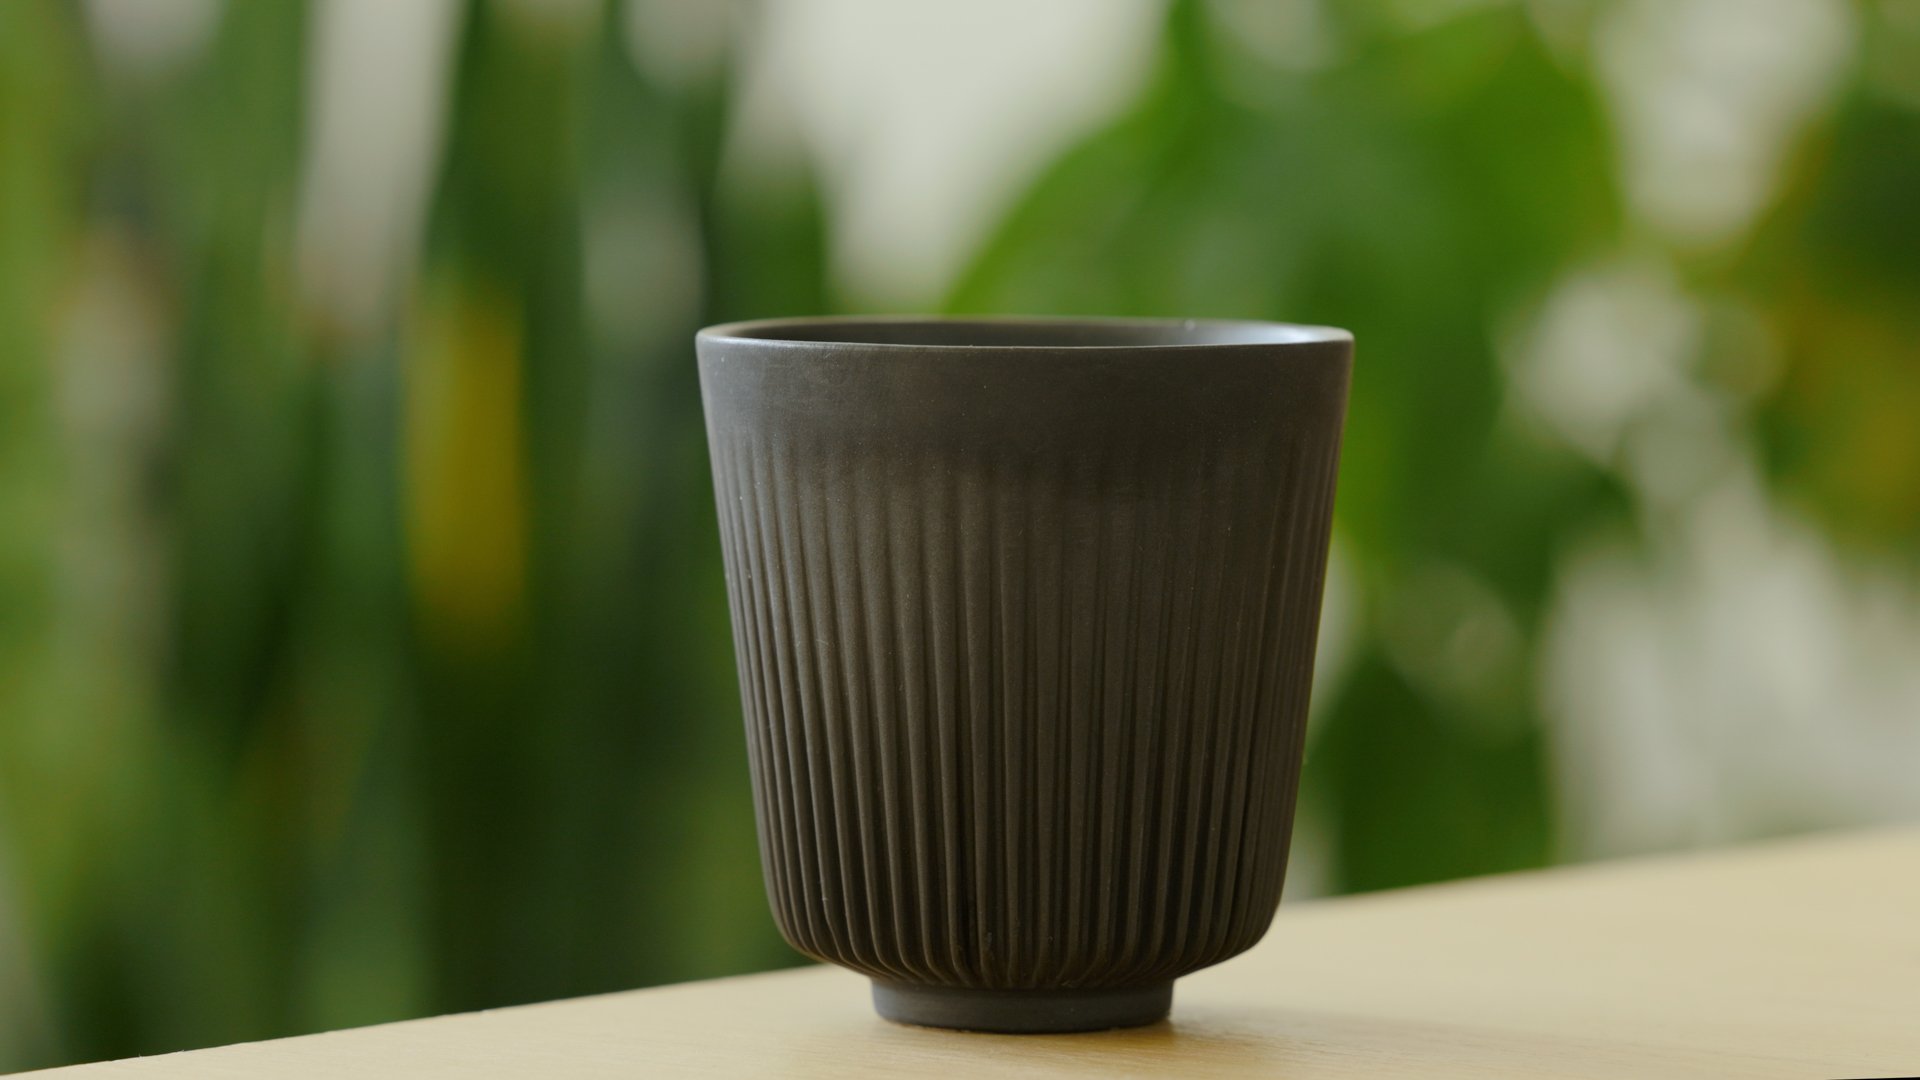
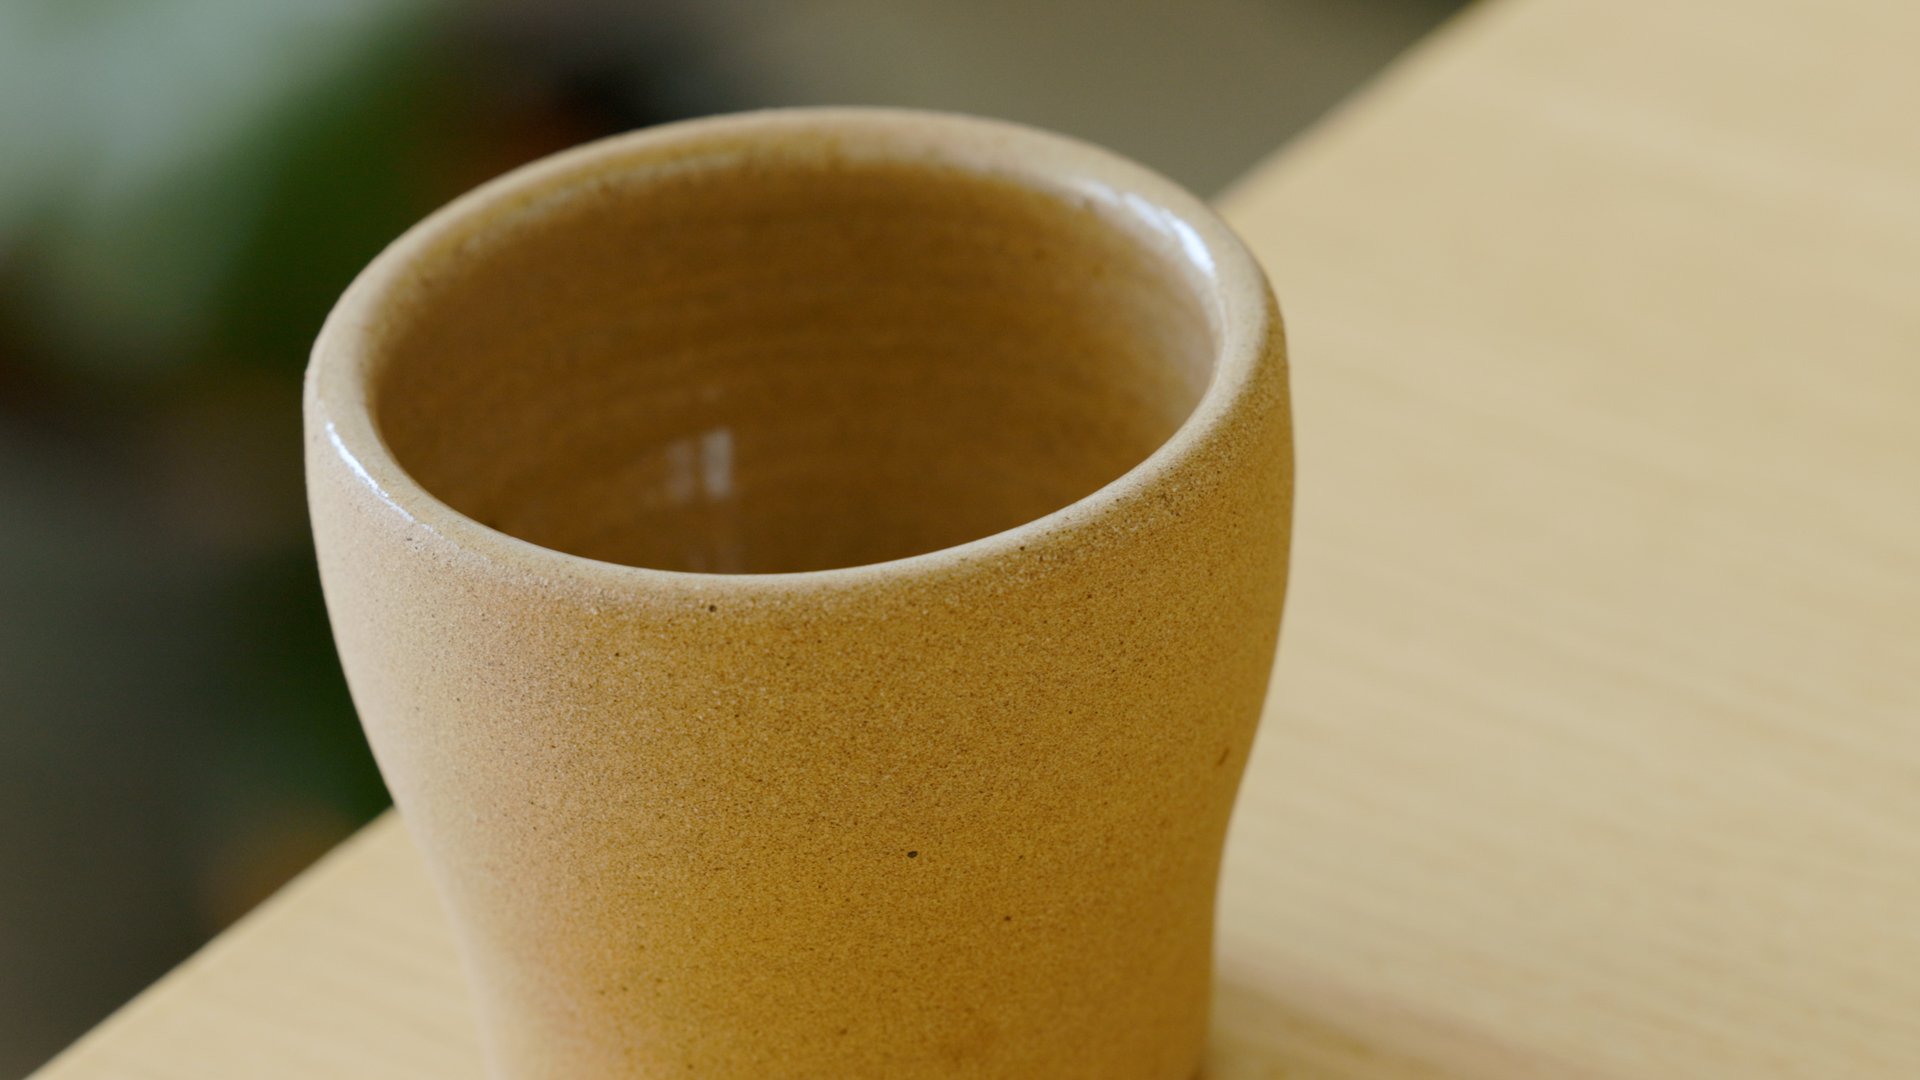
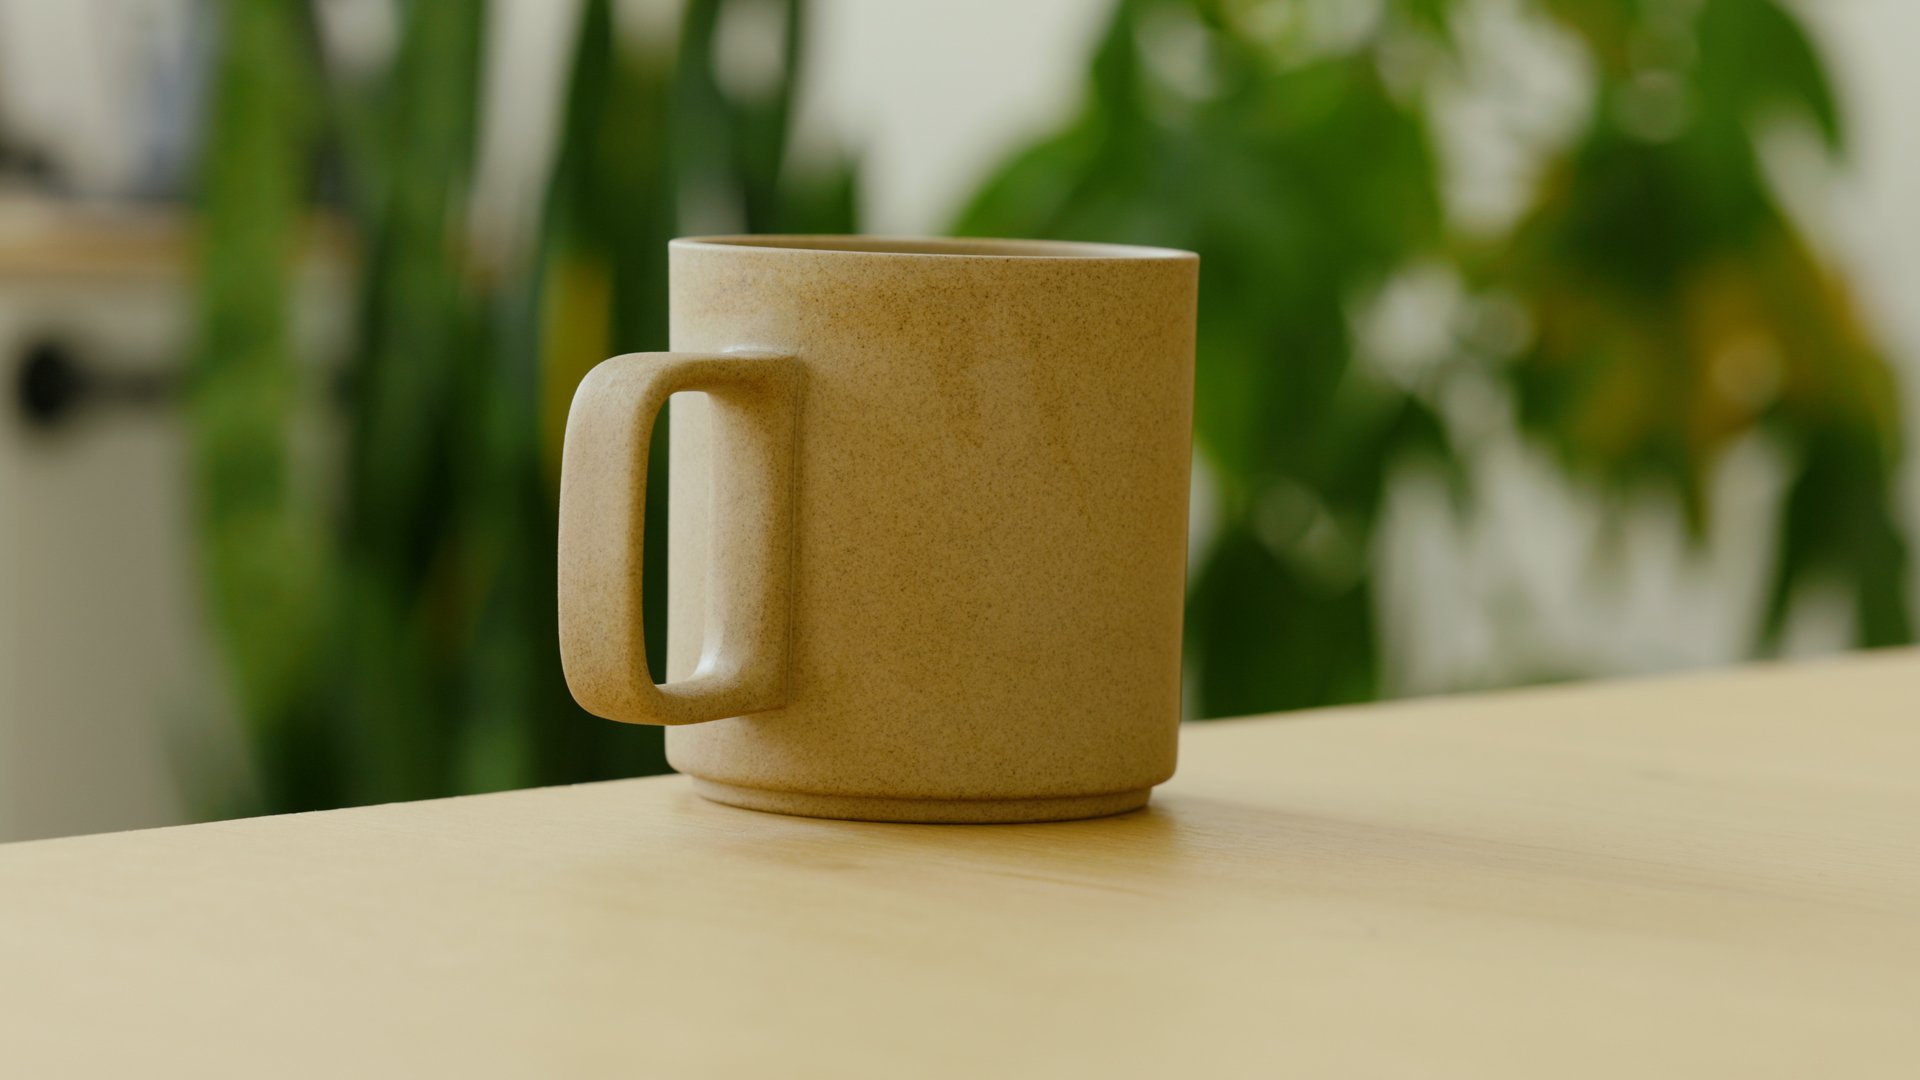
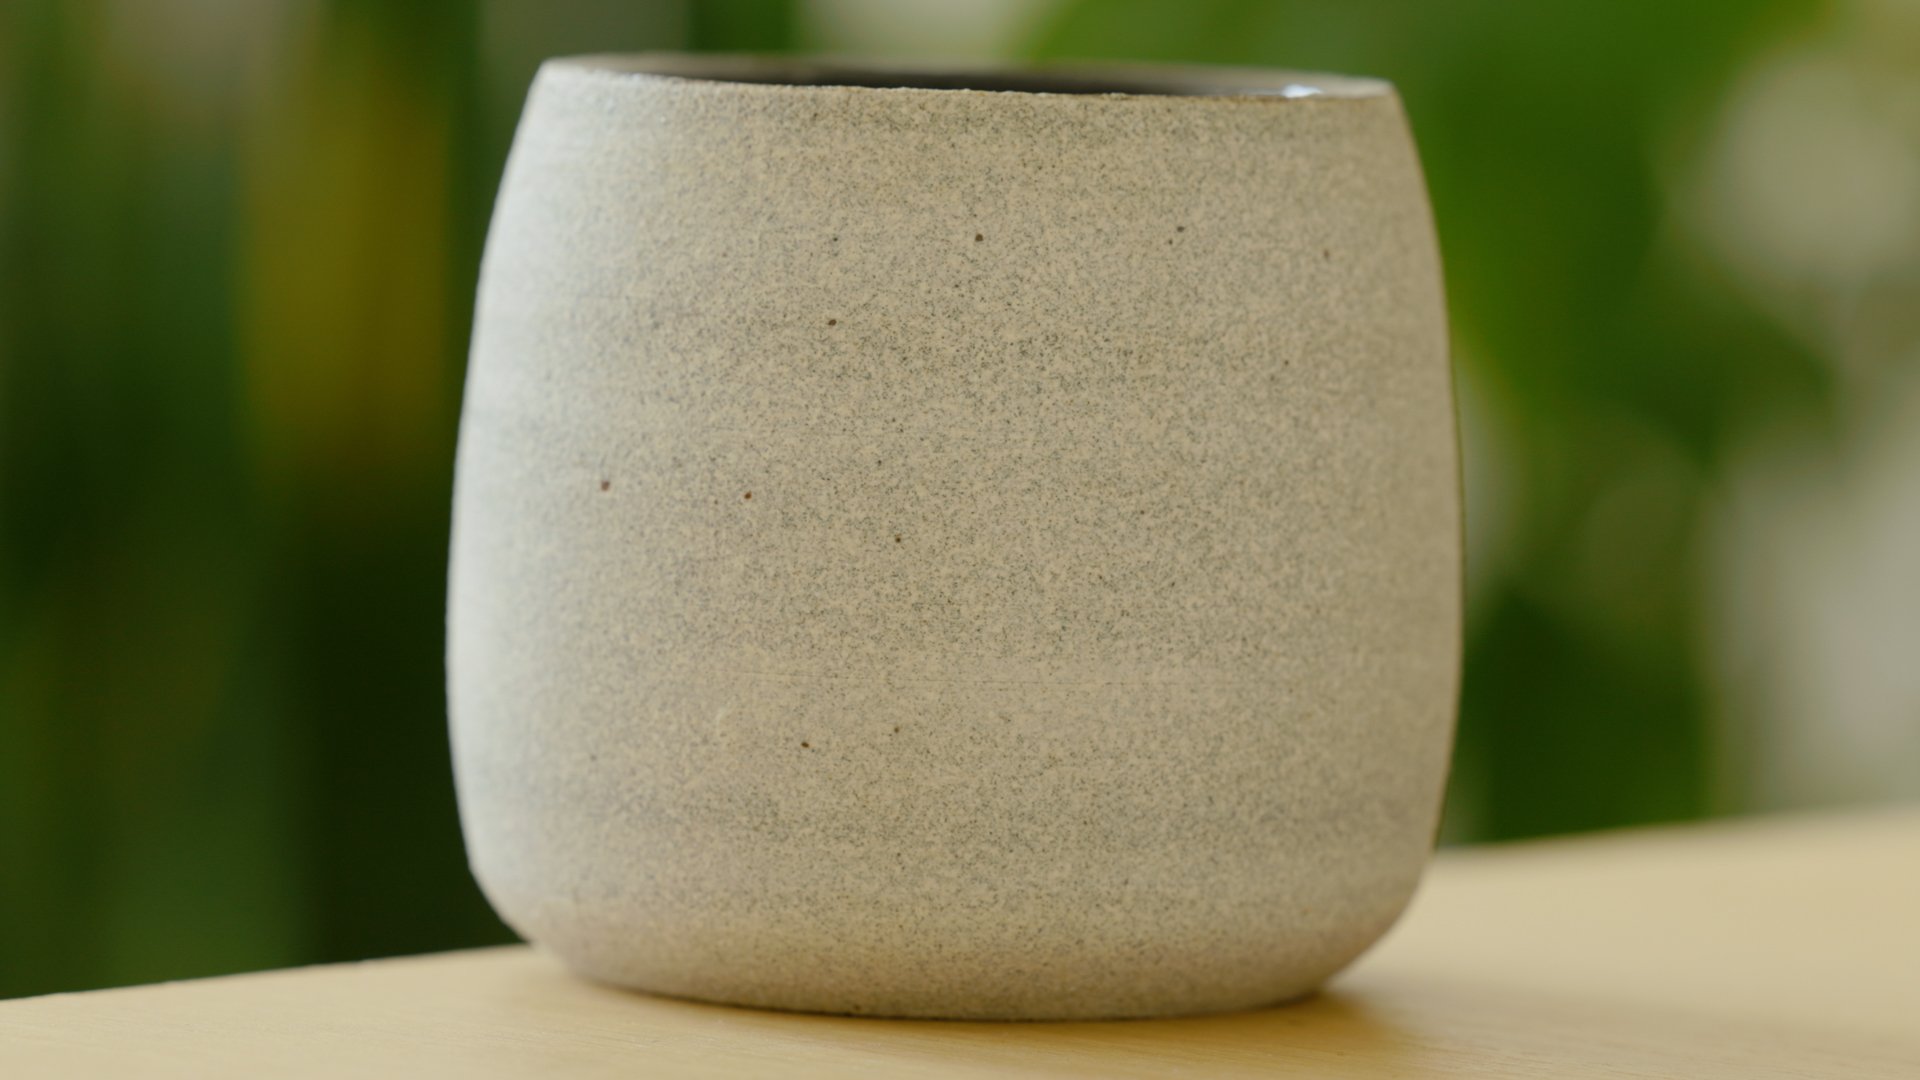
All of my glassware and mugs are on small shelves near the sink. I carry a varied selection of cups for different coffee drinks. My favorite mugs are anything handmade because of their tactile materials and unique characteristics.

Storage and accessories links
Conclusion
While it's true that these equipment and accessories are excessive, you don’t need them to brew a good cup of coffee (In fact, I still use an Aeropress at home, which makes excellent coffee), but having these tools allow you to take a step deeper into the nuances and delights of specialty coffee.
Let me know if you have any questions or recommendations for tools and techniques, I should check out. I’m excited to continue on this journey of exploration and appreciation. Cheers.