DIY Kitchen Makeover & Organization
A modest minimal kitchen makeover that’s budget-friendly, easy to do, and can be done on a weekend.
Since I moved into my place 10 years ago, my kitchen has stayed the same. Over the past year, I’ve been progressively updating the other parts of my home (office, bedroom, living room), and have finally made it around to my kitchen. In this post, I’ll share the overview of my modest kitchen remodel, and the process and products I used to complete it.
Watch a video tour of the entire kitchen makeover process.
Quick note: Some of the links provided below are affiliate links, which I receive a small commission for at no extra cost to you. Shopping through those links is the easiest way to support my content. Thank you.
The Kitchen Before &
the Project Goals

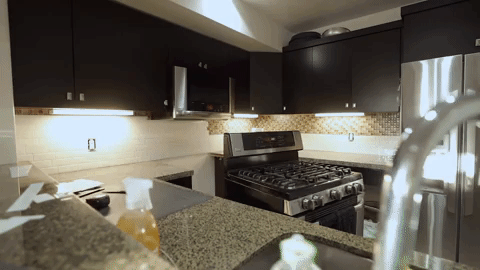
The kitchen before the makeover.
When I looked into it, a full kitchen remodel can get expensive real quick, and I wasn’t ready to commit a massive amount of money towards this space. Especially because everything still works well.
For this reason, I wanted to approach this project in a way that was low-cost, and easy to do. Overall I wanted to give my kitchen a facelift by reducing the visual clutter and go for a minimal, black and white aesthetic.
Goals
Budget-friendly
Easy to do
Reduce visual clutter
Minimal aesthetic
Updating the Backsplash
I started with my kitchen backsplash, which I wanted to update with white subway tiles. To keep things simple, I peel and stick tiles that could go directly over the existing busy green tile pattern I had. At first, I was hesitant to go this direction, because I thought it would be a little cheap-looking, but the reviews for this product were so good, that I thought I’d give it a shot.
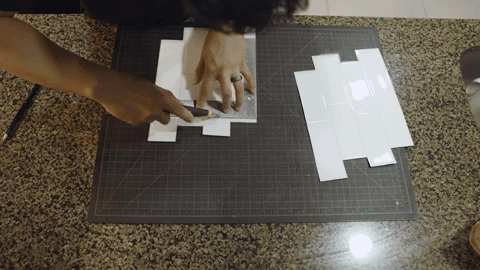
The process for installing these is pretty straightforward. Clean your surface. Hold the tile up to the wall for sizing. Cut it with a sharp utility knife. Then peel and firmly stick onto the surface. If you make an alignment mistake, you can easily peel the tile back off and adjust it.

I have a few tips if you do this yourself:
Change your blades often. Always use a sharp blade to keep your cuts clean and avoid frayed edges.
Order a little extra material. I made a few cutting mistakes in the process. Luckily, using The Home Depot project calculator, it recommended I order about 10% more than I needed. When I was done, I was able to return my unopened items.
Save your scraps. I was able to use many of my off-cuts to fill in the odd gaps that didn’t need a whole tile. This saved me a good deal of money when it came to returns.
The whole backsplash took 4 hours to do.
The whole backsplash process took me a total of four hours total to complete on my own. When I was done, I was very impressed with the results. It immediately brightened up the kitchen, and from afar, you couldn’t even tell that these weren’t real tiles. This is a great option for those who want a temporary refresh or are just renting their place.
Tools & Materials Used
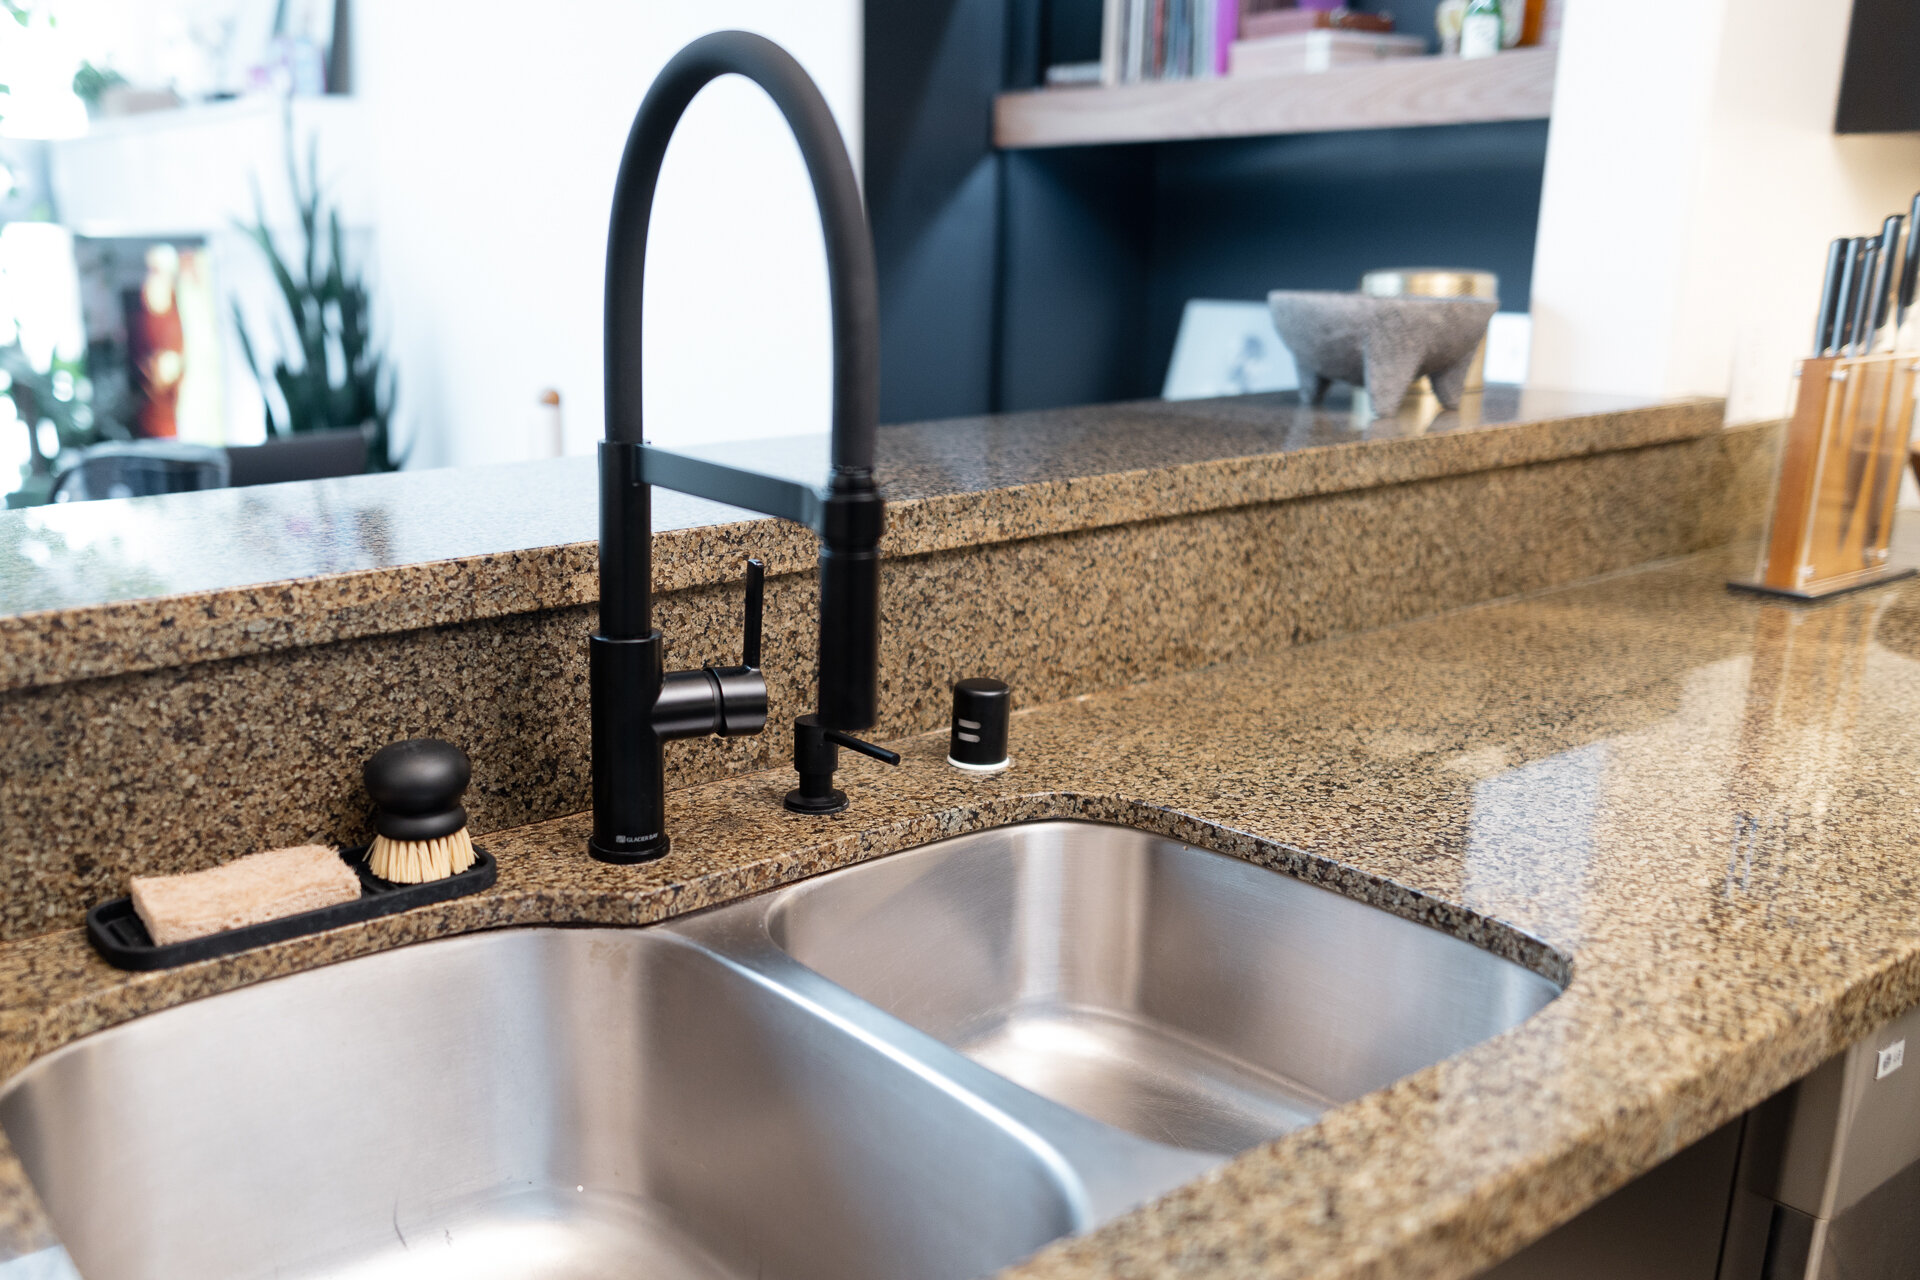
Replacing the Sink Faucet

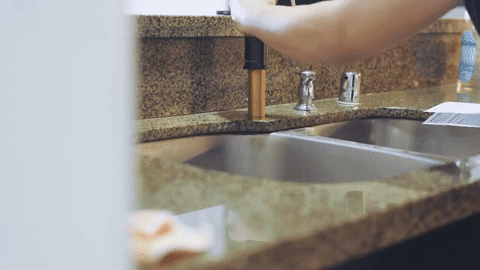
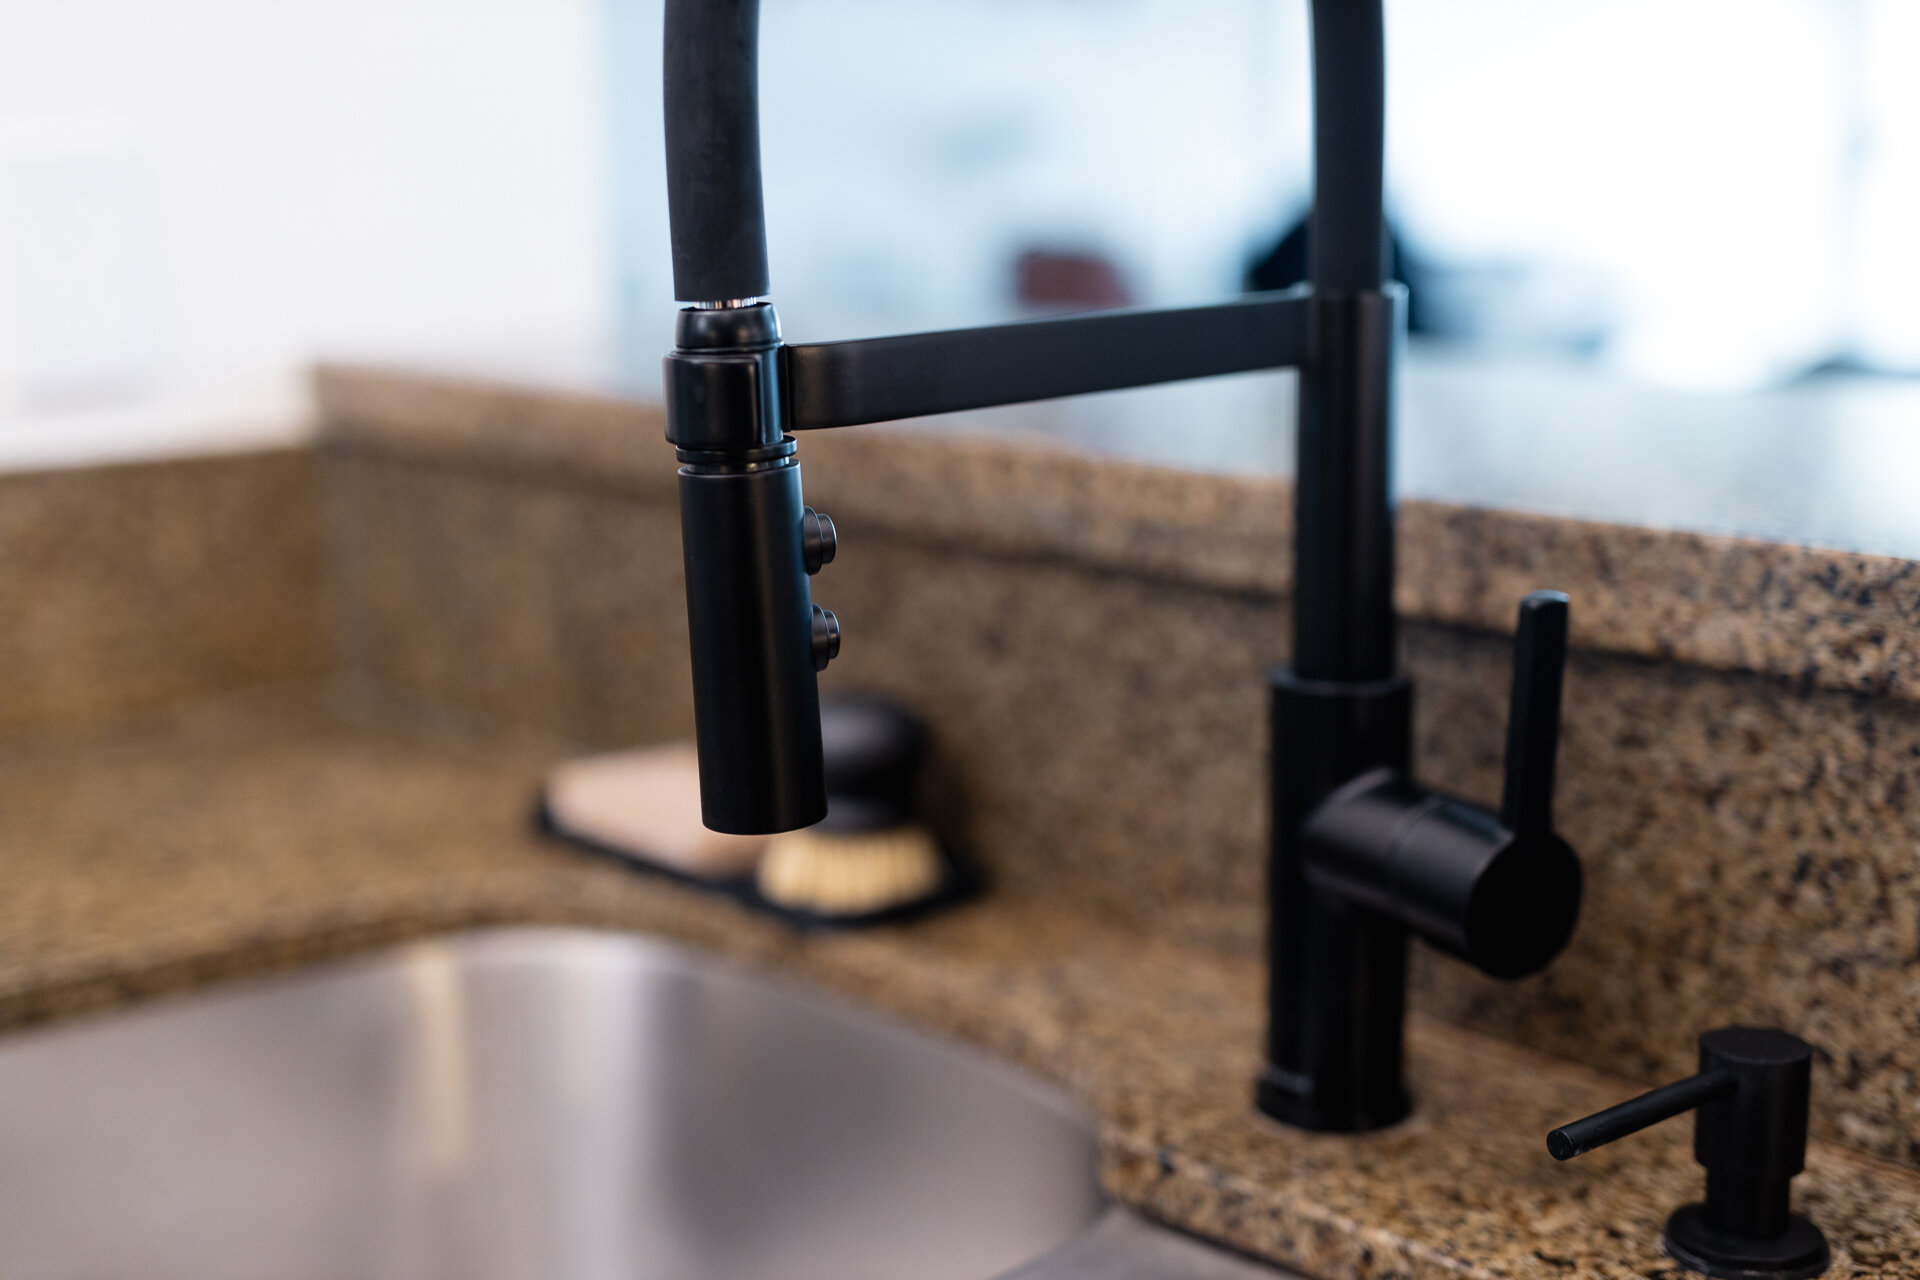
The next part of the project was to update my kitchen faucet. What I had before was starting to get loose and I wasn’t into the chrome look of it. I’ve never replaced a faucet before, and the idea of me doing plumbing work was very intimidating. I found this great guide on The Home Depot website that guided me through the entire process.
Watch this great step-by-step guide from The Home Depot.
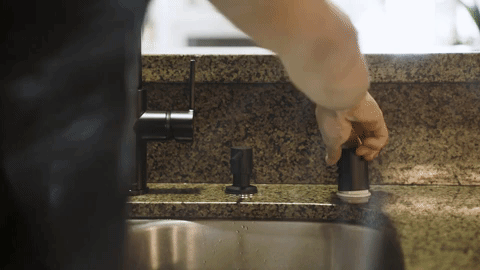
I wanted to go for a matte black look for my faucet and accessories, so I got this one from Glacier Bay. I like its beautiful finish, minimal features, and spray function. Installing this was a lot easier than I thought it would be. From start to end, this took me an hour and a half – from learning about the process to being completely done with it. I even swapped out my soap dispenser and air gap cap, to match the black faucet.
Tools & Materials Used
Bowl/bucket and towels to catch any water
Bright light to see what you’re doing
Adjustable wrench
Little Details Make a Huge Difference
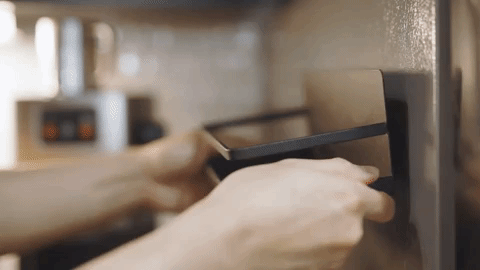
To continue with the minimal black and white look, I moved on to change out the cabinet handles. The ones I originally had were a bit clunky looking and drew a lot of attention to them visually. So I swapped them out for simple knurled handles to give all of my cabinets an all-black look.

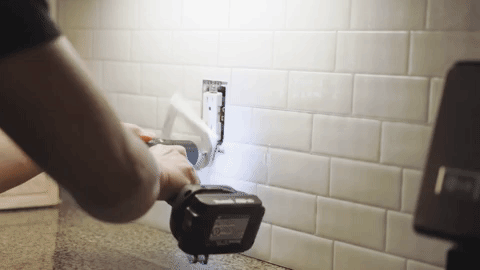
I updated the wall plates on my electrical receptacles, to these screwless covers, for a cleaner look. All of these small details made such a huge difference in the overall aesthetic of the kitchen. This along with the white subway tiles simplified the look, with less visual clutter by creating clean horizontal lines.
Tools & Materials Used
Screwdriver or power drill
Improving the Lighting
The next part of the project was to update the overhead lighting. Originally I had old CFL can lights that were so harsh looking. Luckily with the help of my brother, who’s an electrician, I was able to upgrade these to smart LED lights which were much softer in appearance because they’re diffused, dimmable, and I could fine-tune the temperature of them from my phone.


I got Phillips Hue lights because the rest of my home is already in this ecosystem, and paired that with a dimmer switch. I can control everything from my phone, or control them with voice commands using Siri or Alexa.
Tools & Materials Used
Cleaning, Organizing,
and Making Space
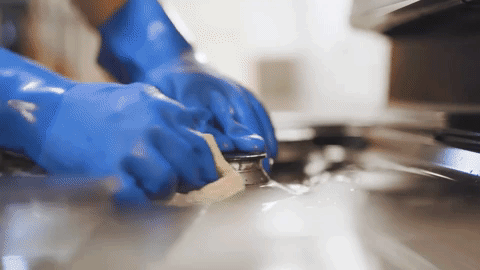
The next part of the project was to clean and organize the kitchen. I thought this was going to be the easiest part, but it ended up taking the longest. I started by doing a deep clean of everything. Scrubbing off old grease off of my appliances and thoroughly cleaning all of the surfaces.
Then did a full reorganization of my drawers and cabinets. I took everything out to assess what I had. I got rid of anything I didn’t need, consolidated where I could. I drew a lot of inspiration from the two videos below, on how to organize my kitchen.
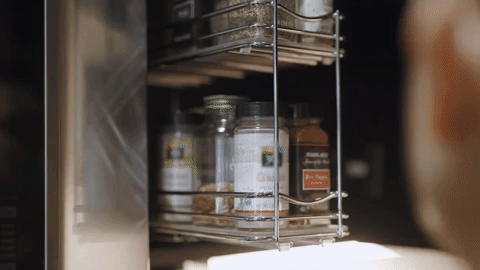
I then installed a few slide-out drawers in my deep cabinets and under the sink. These gave me much better visibility and access to items I’d normally be digging for in the back.
My cookware lids were previously all over the place, so I got a vertical lid organizer to neatly organize them on my turntables.

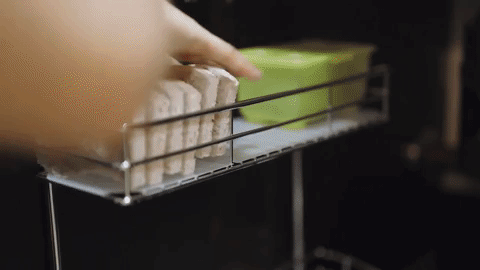
In my pantry, I purchased a few acrylic storage containers that would make better use of my space, and keep the contents fresh for a longer period of time.
One of my favorite additions is a magnetic shelf that sticks to your refrigerator. This created extra shelf space which is modular because it can be moved around easily.
All of these organization updates cleared off of my countertops because I had a lot more available room in my cabinets and storage. This allowed me to store many of my lesser-used appliances, away from sight.
Tools & Materials Used
Styling
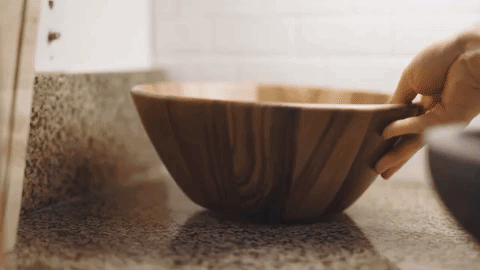
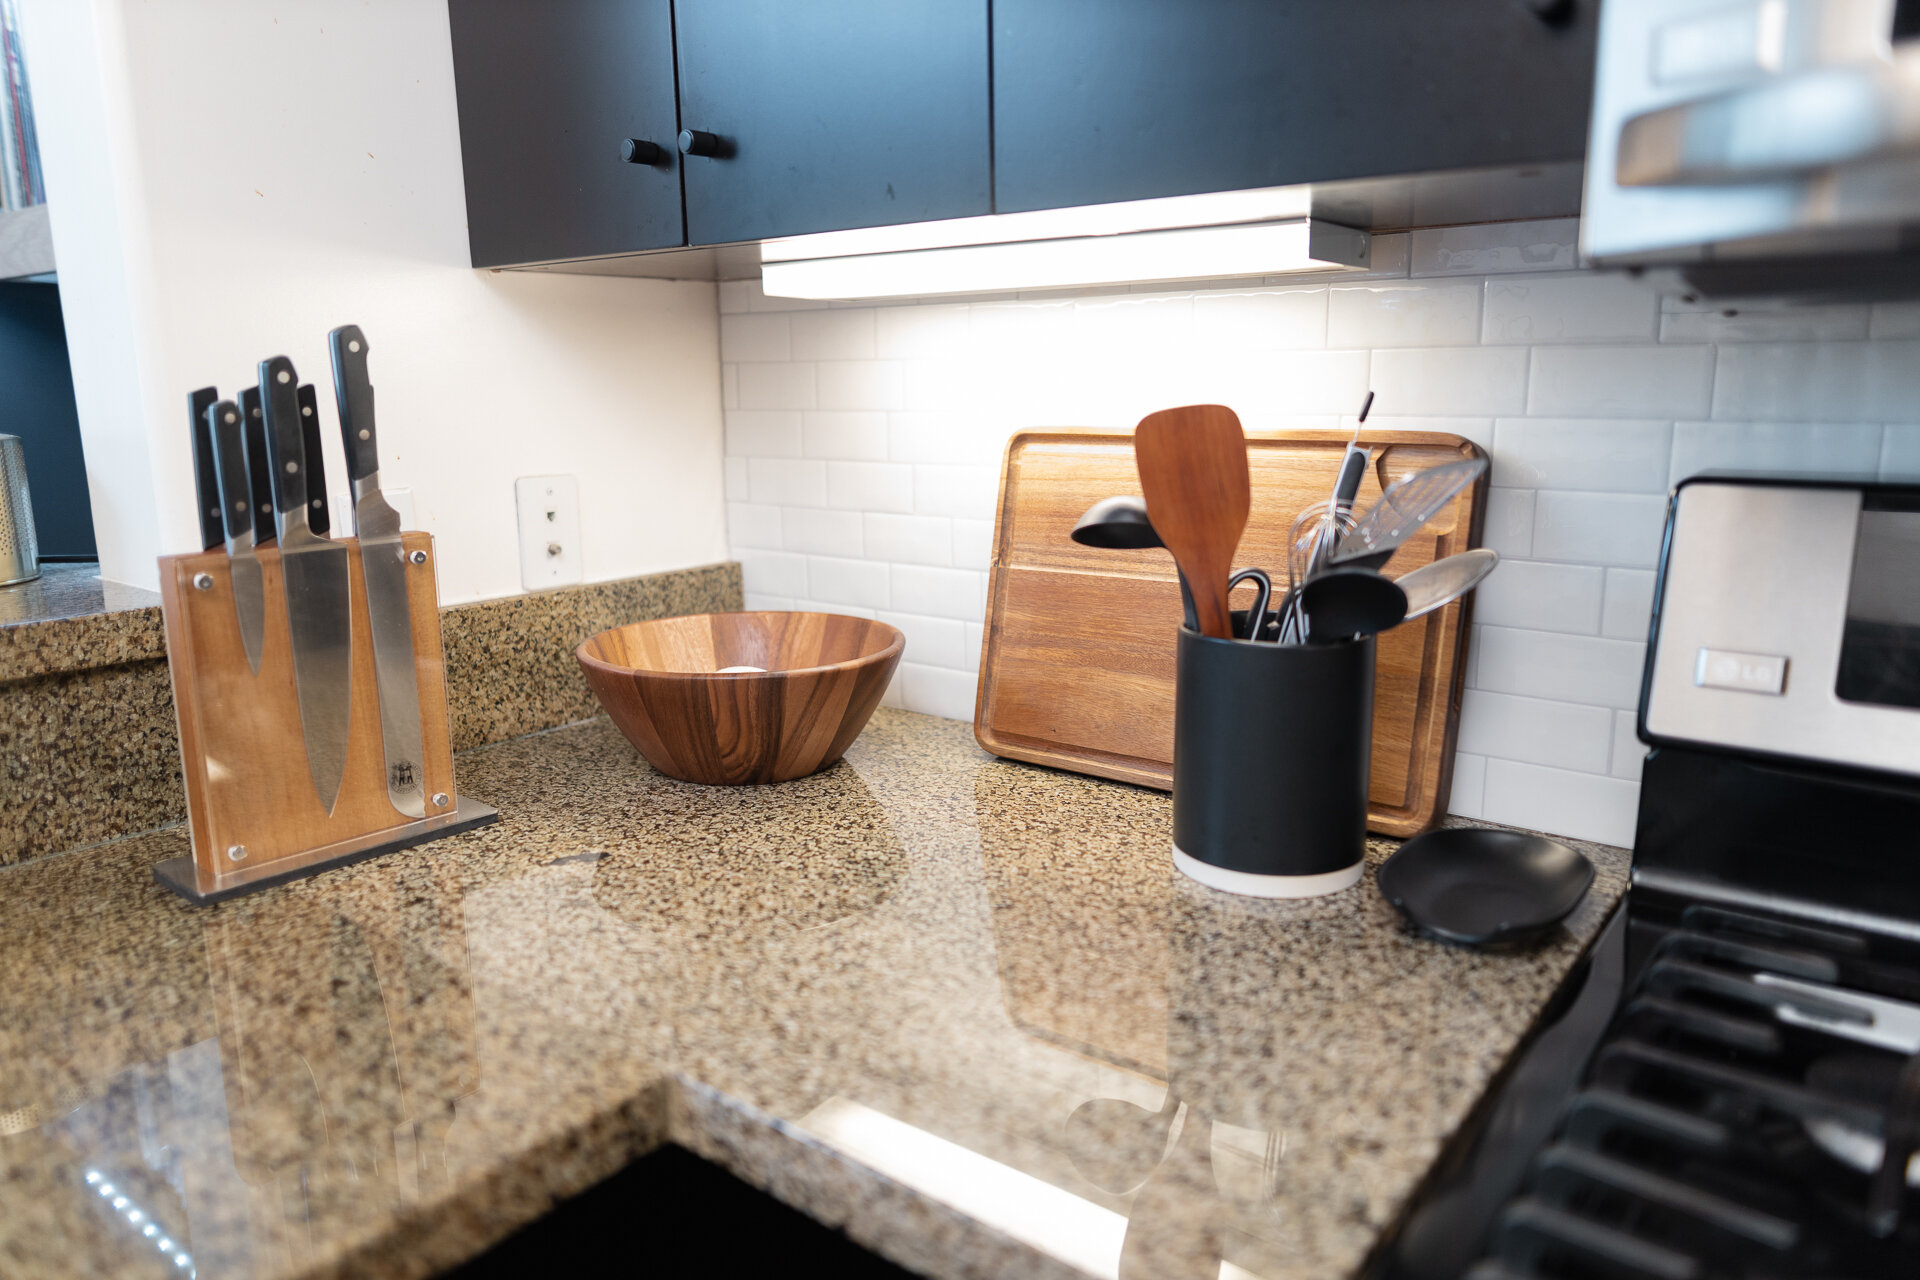
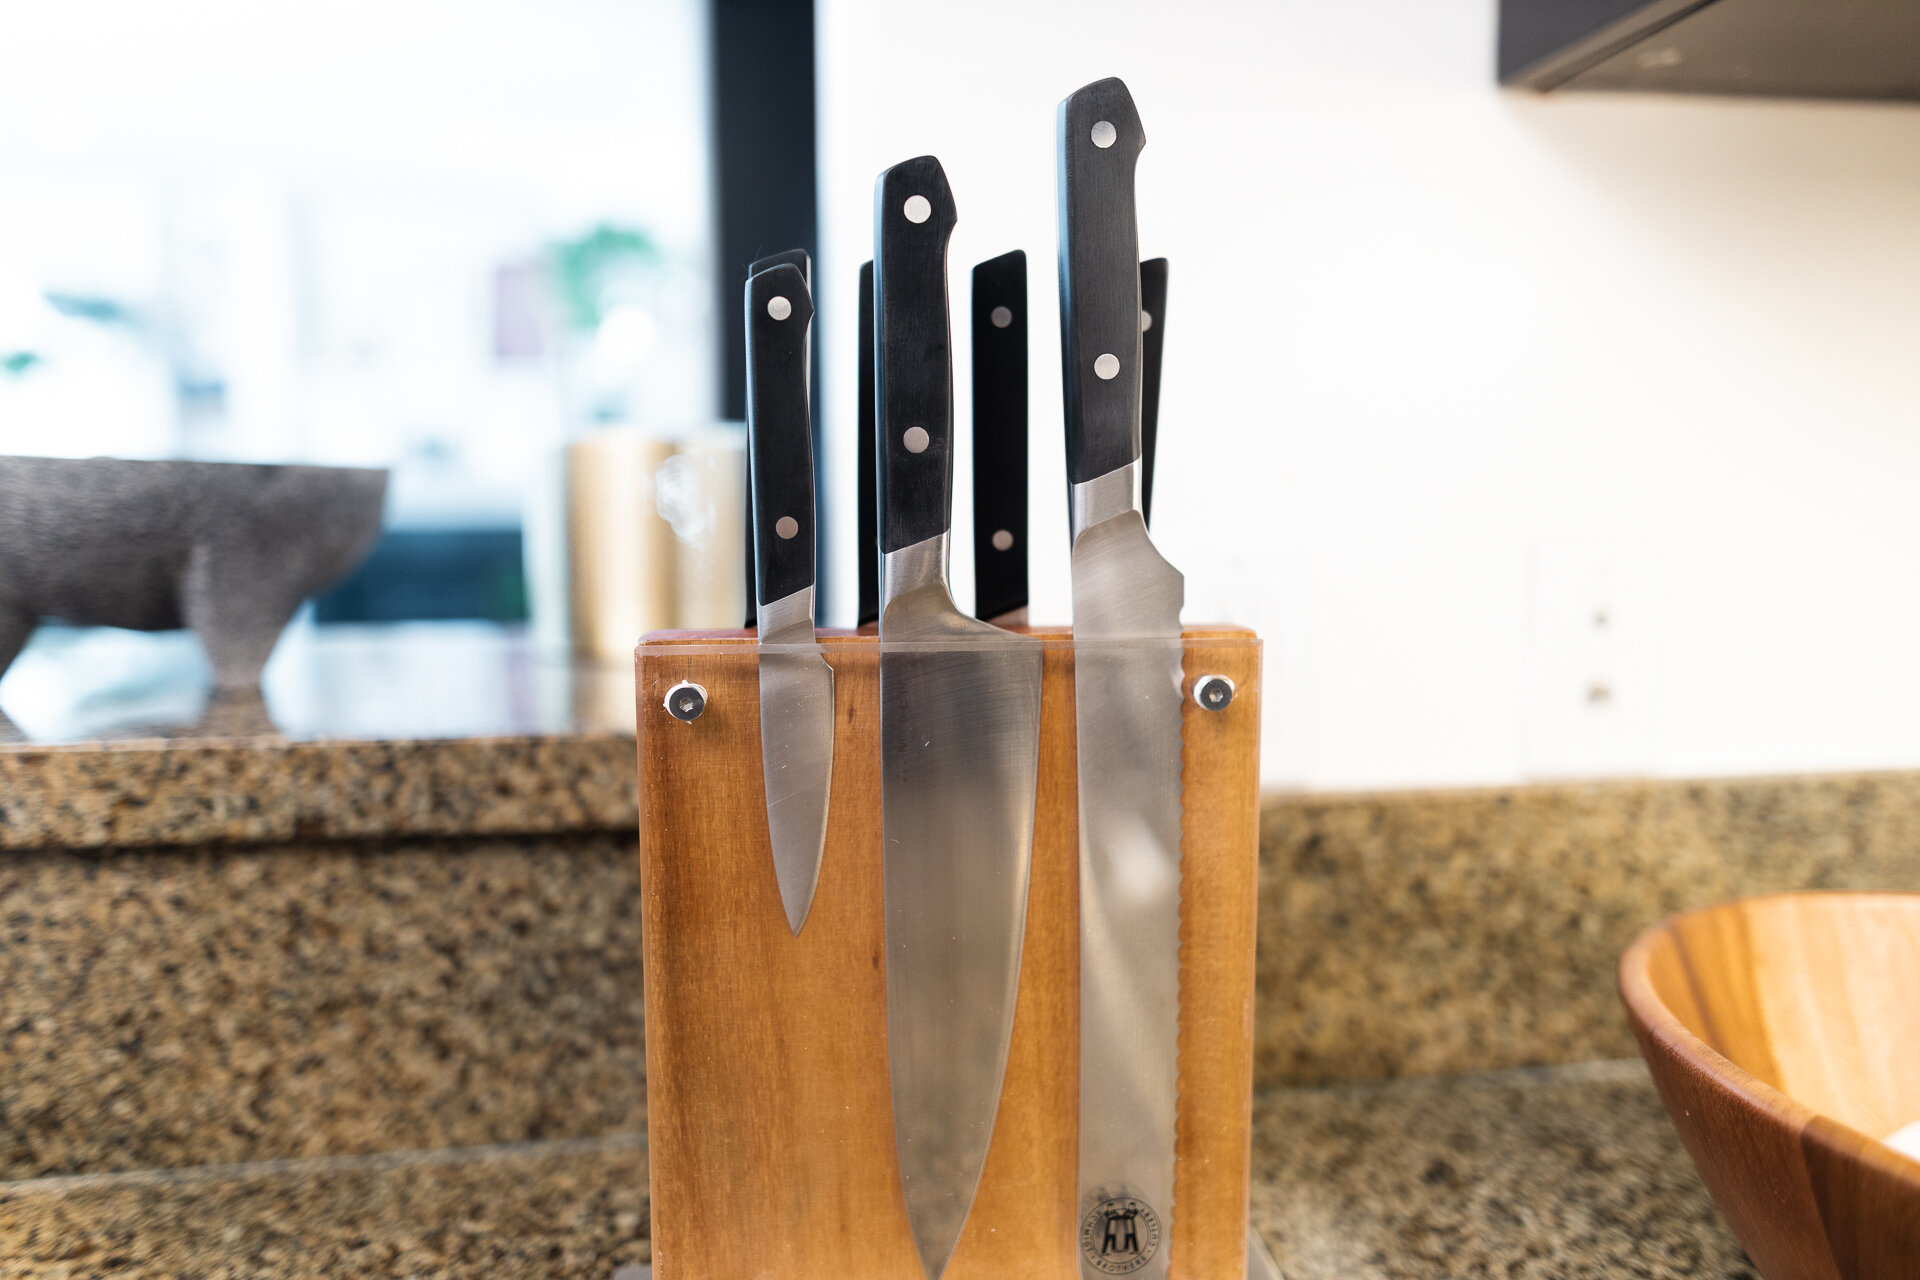
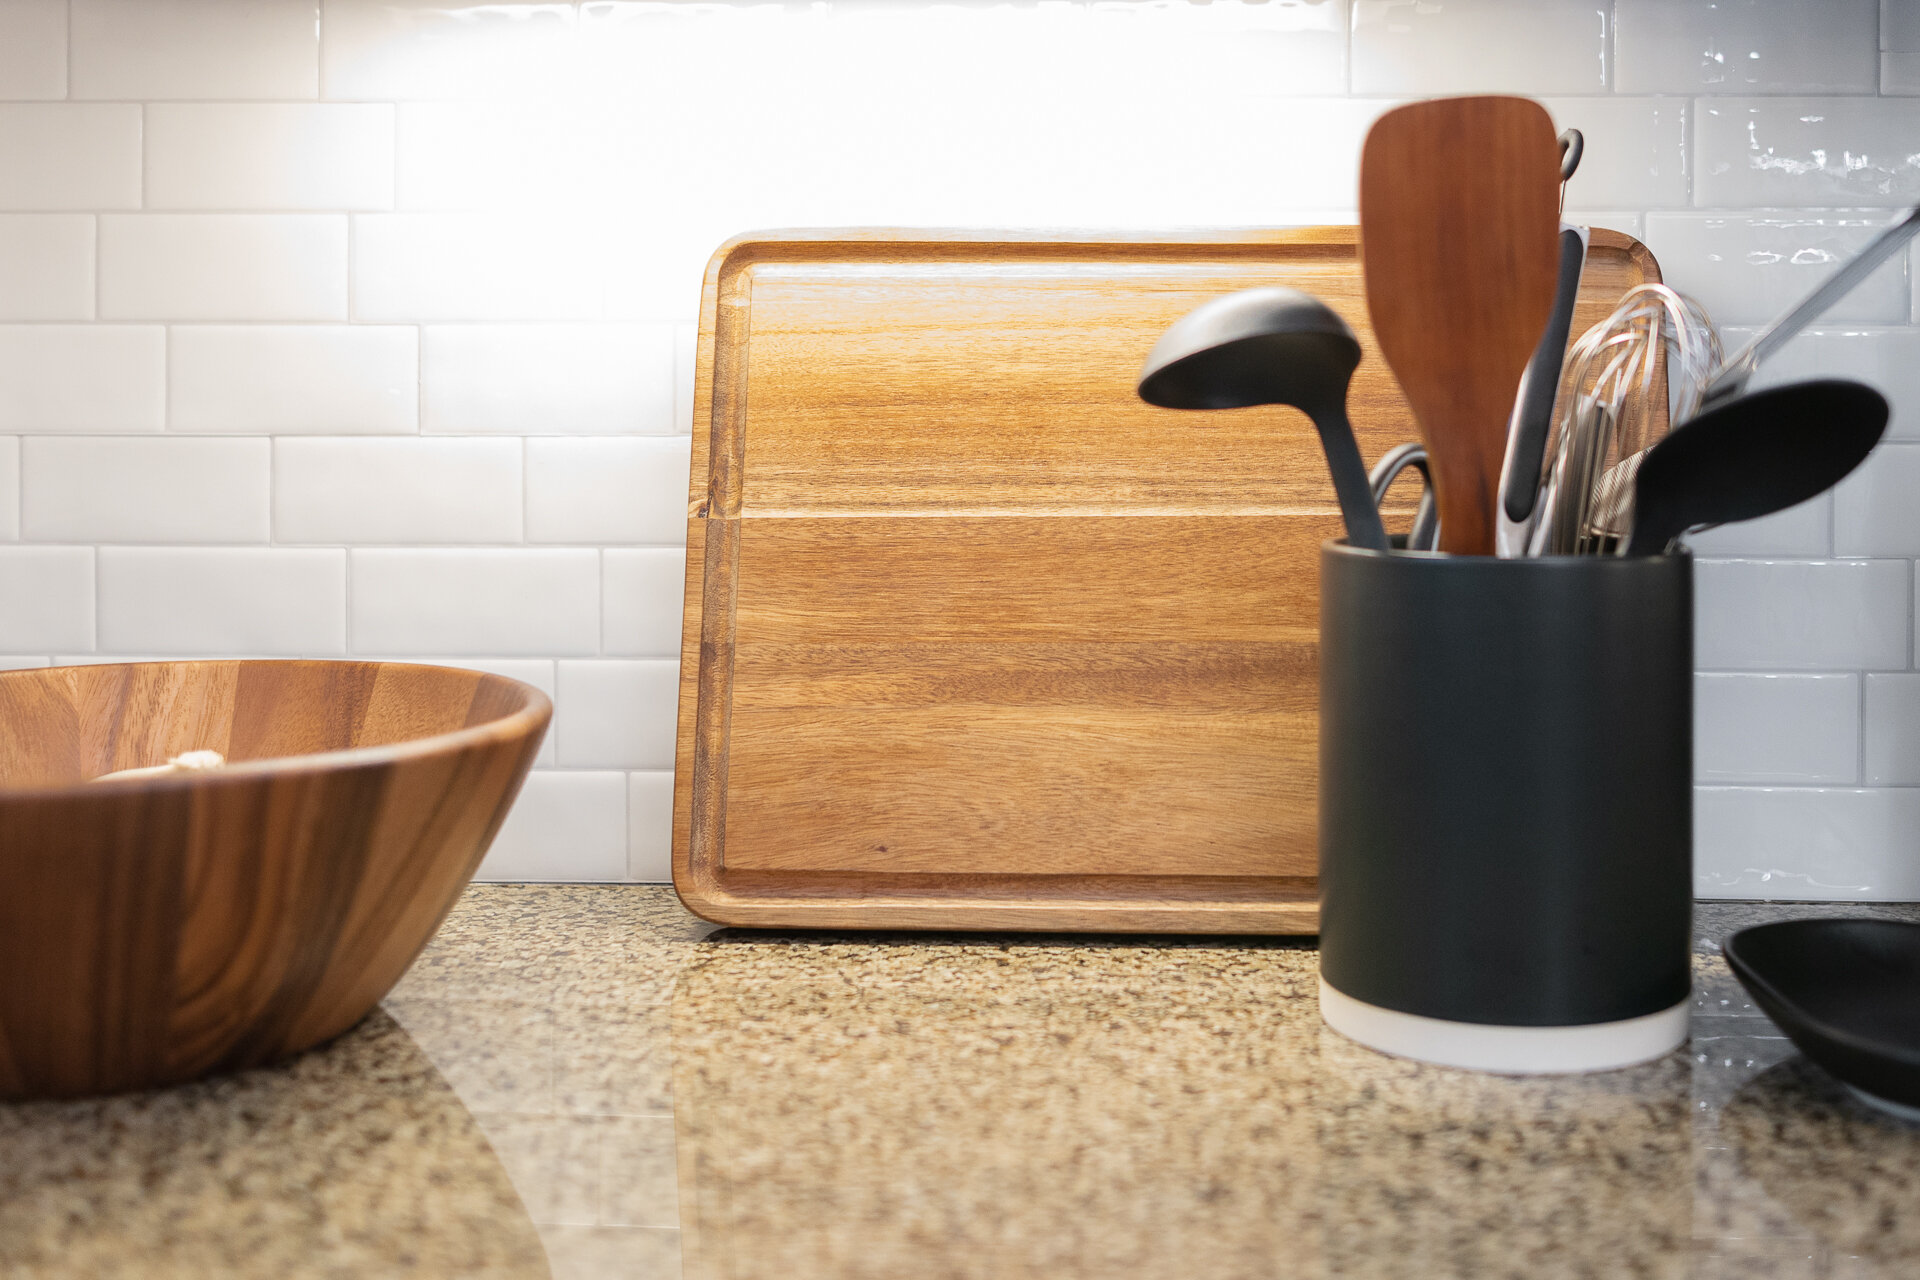
The last part of the project was to style it. I splurged a little on a few accessories that would be visible on my countertops. I thought it would be too stark and sterile if everything were just black and white, so I made sure to add a few pops of acacia wood, to give a natural warm accent to the space.
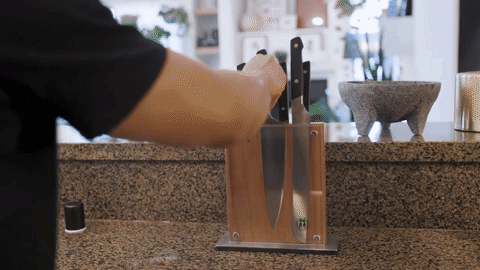

Cooking Essentials. These are the tools I use to cook with every day.


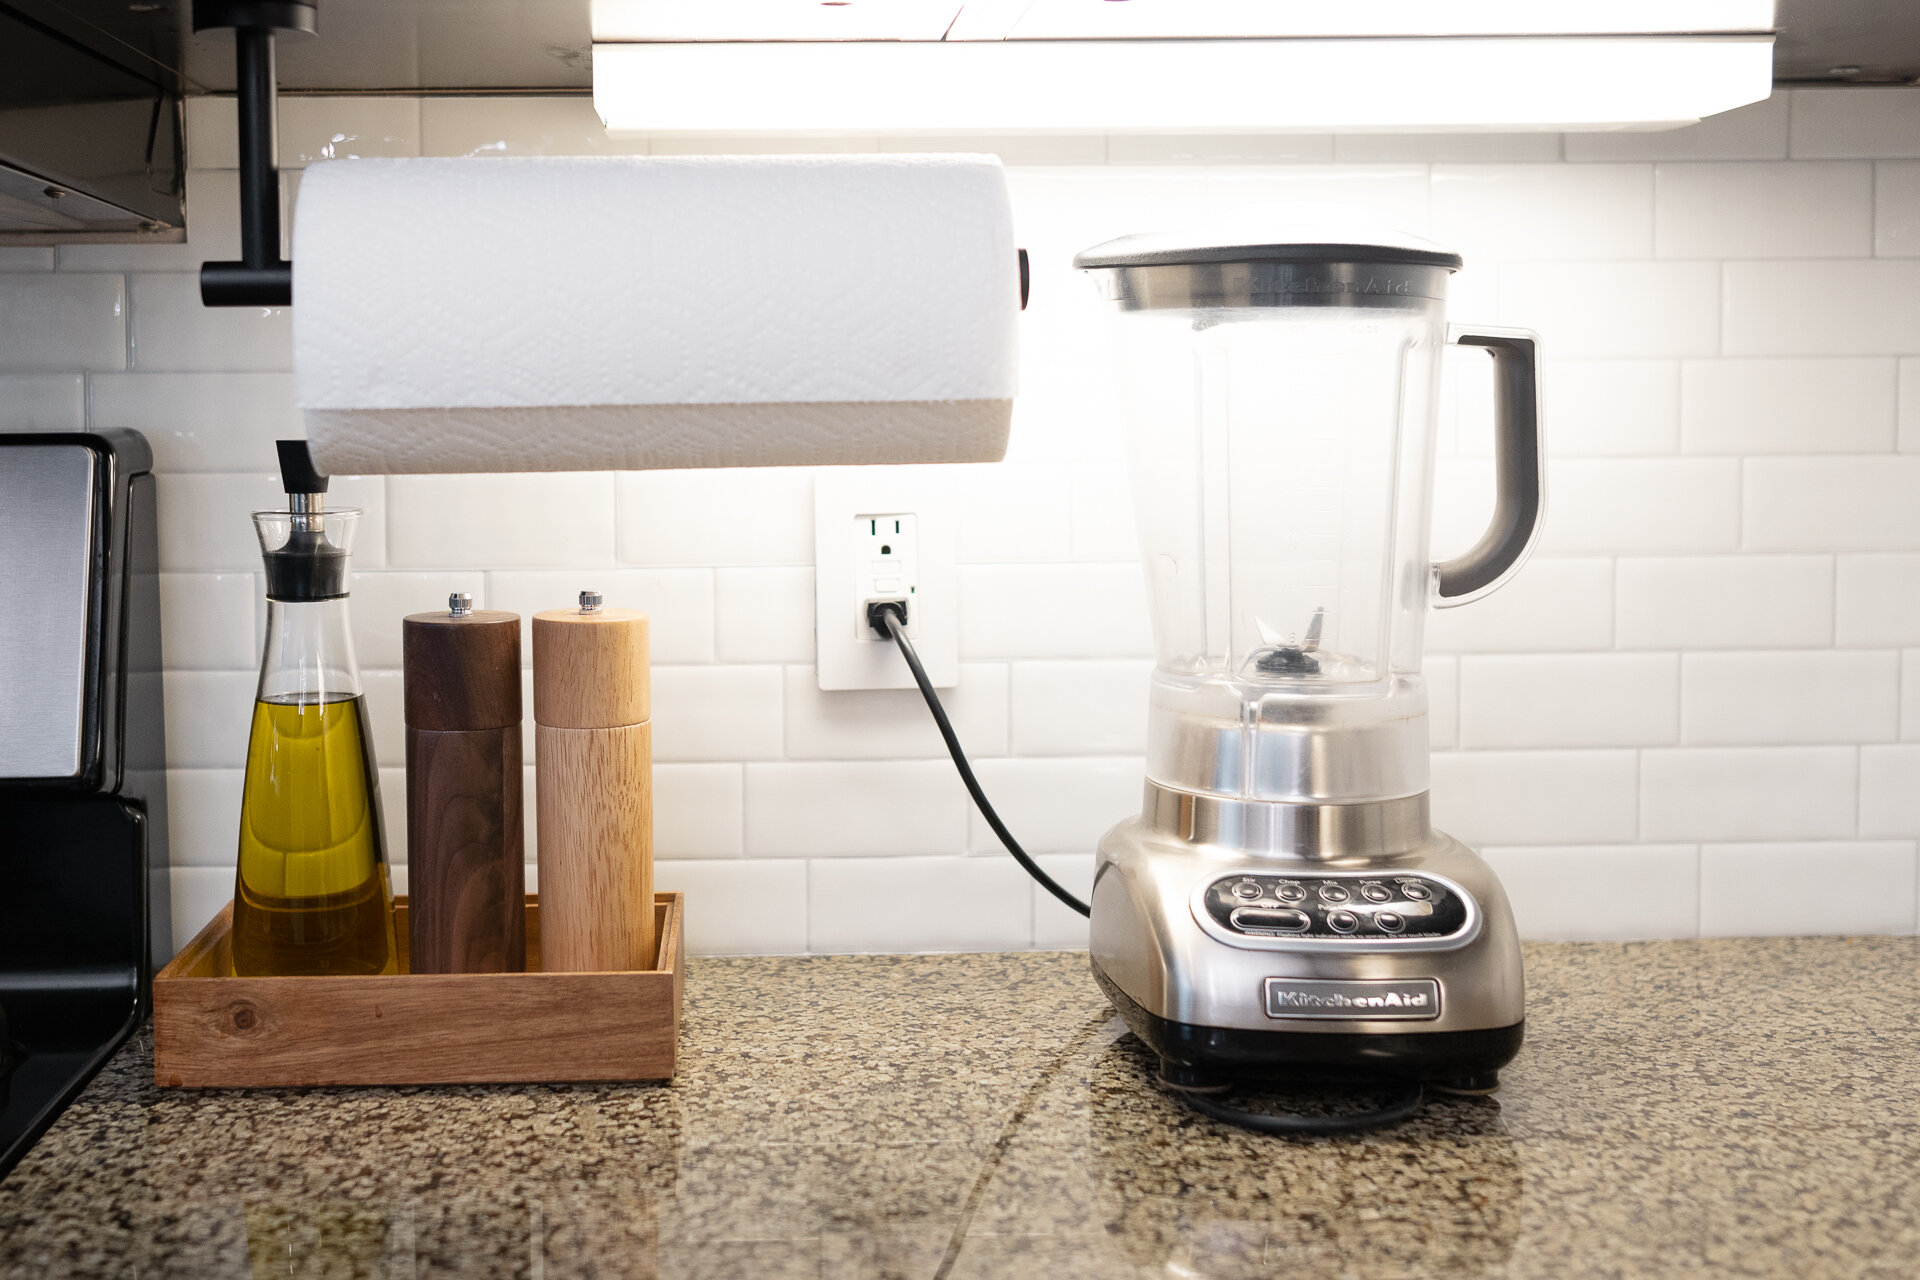
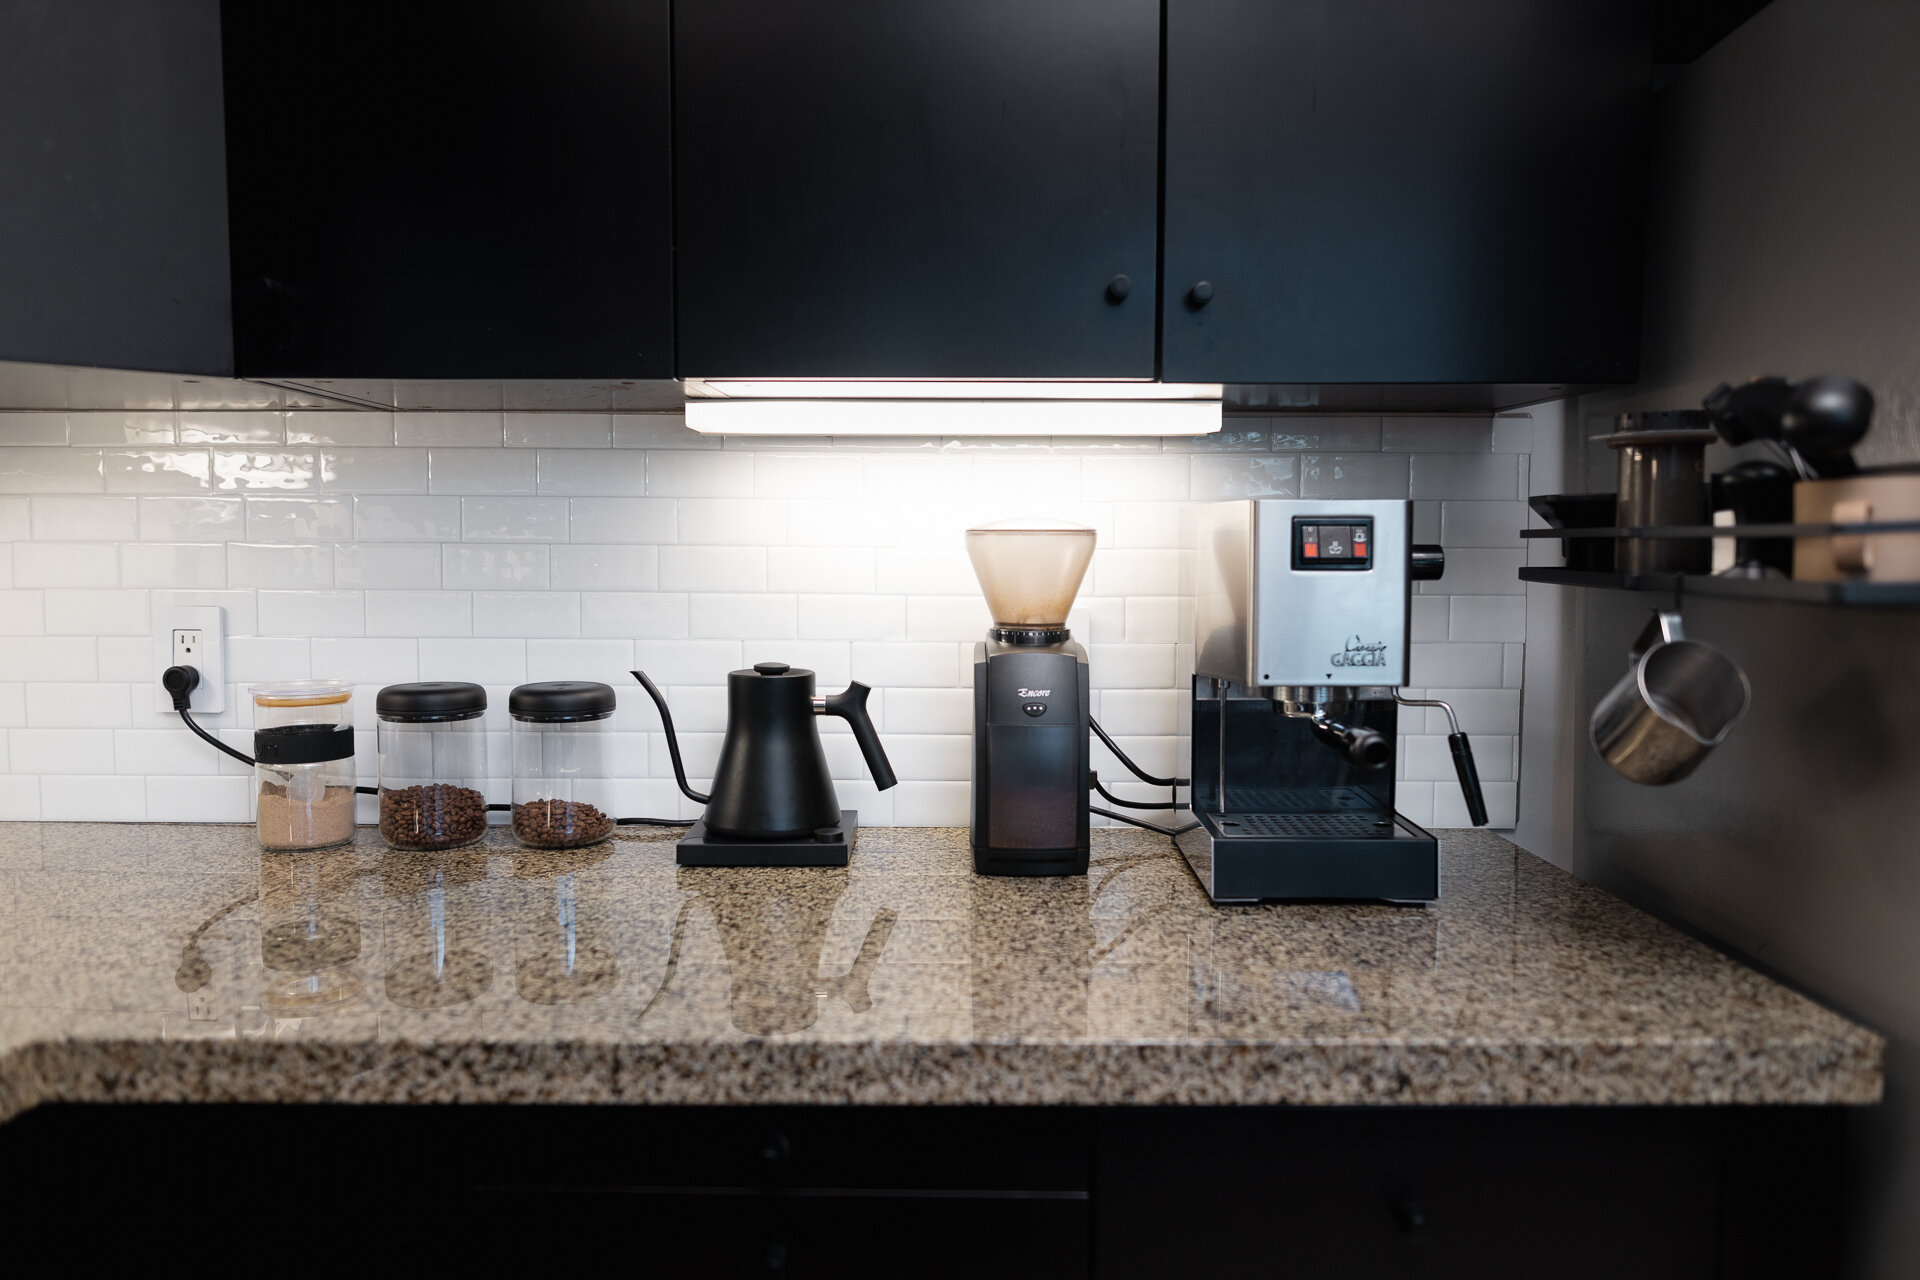
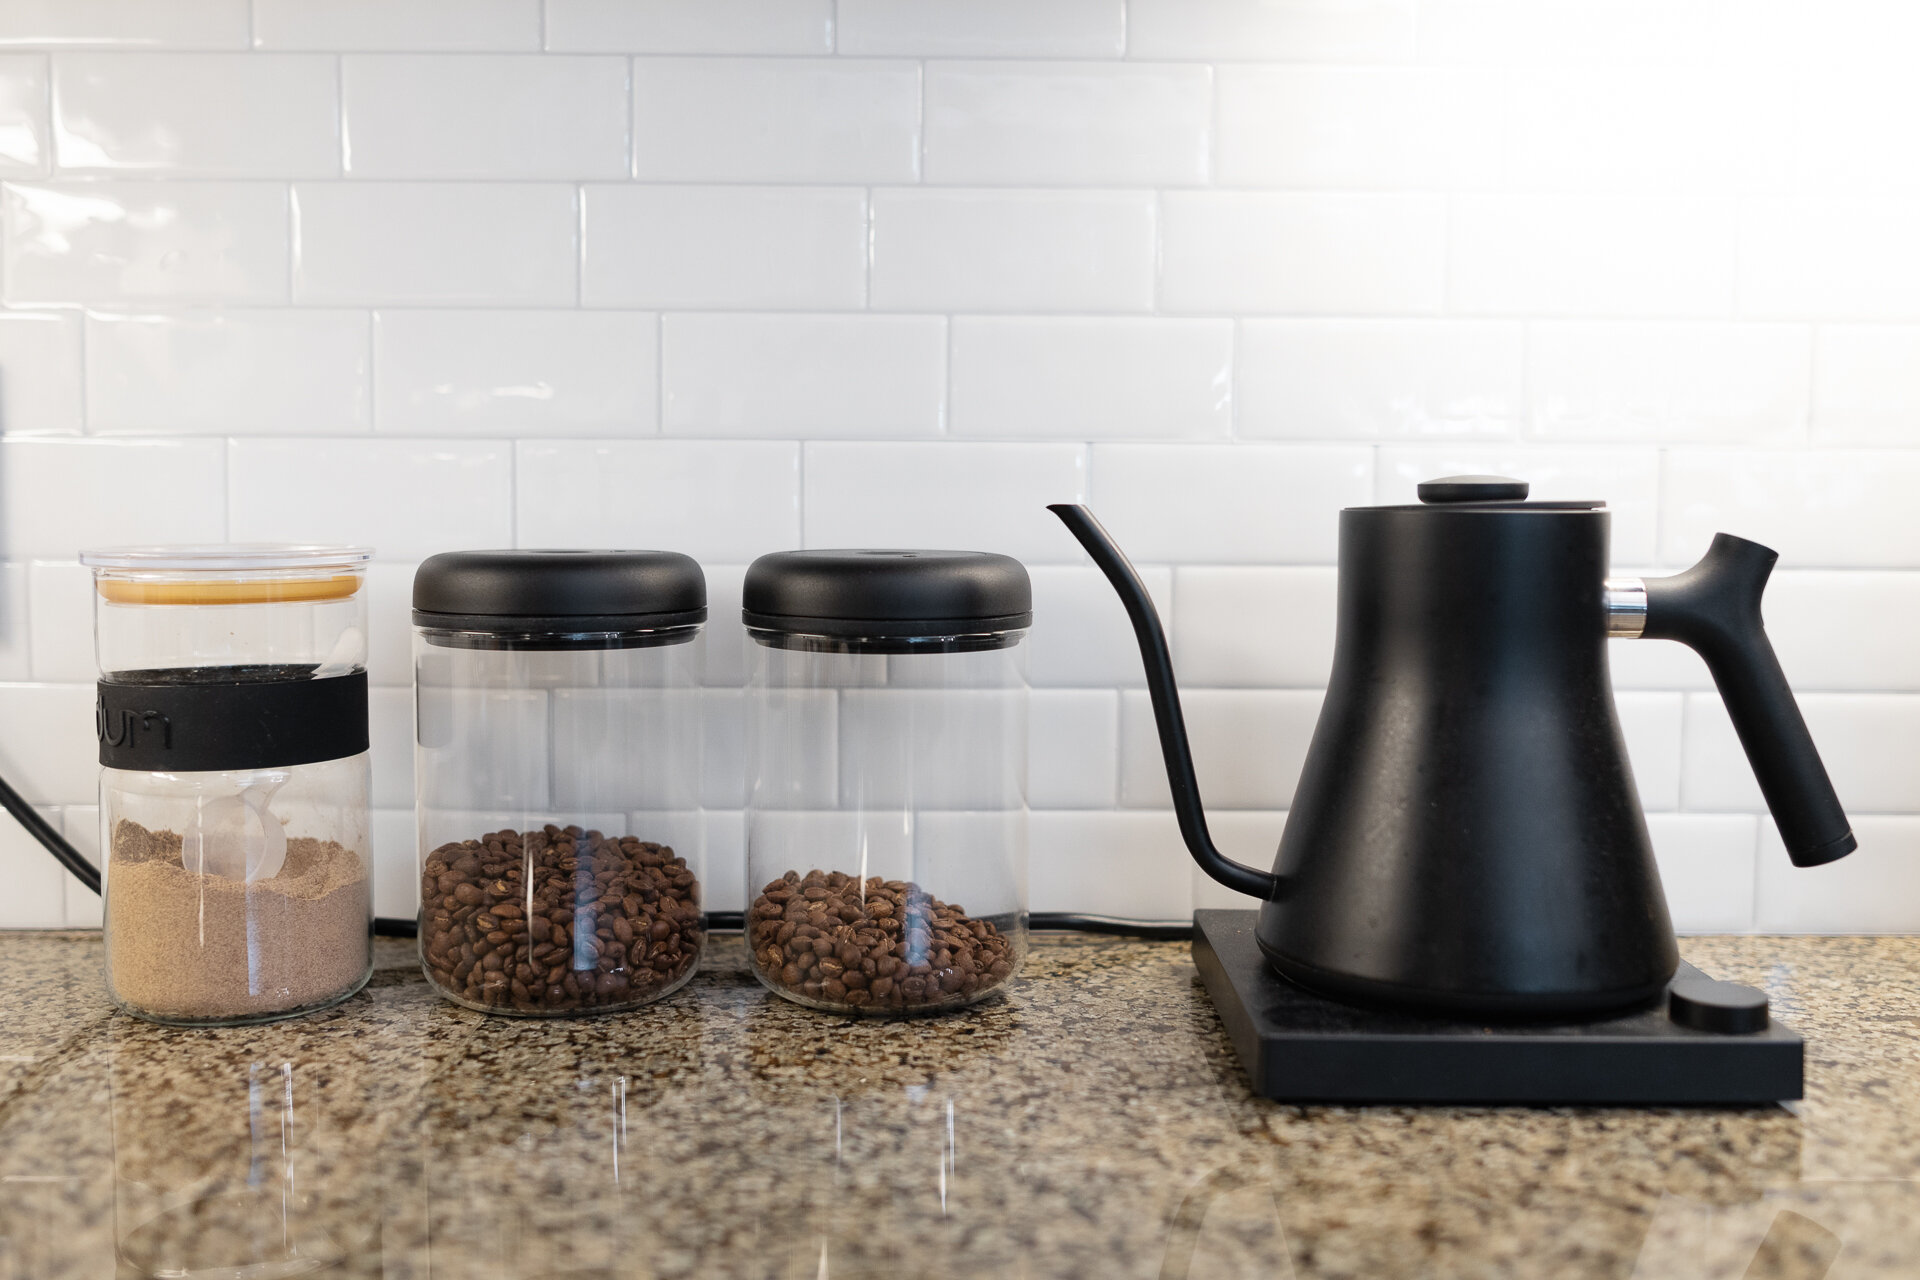
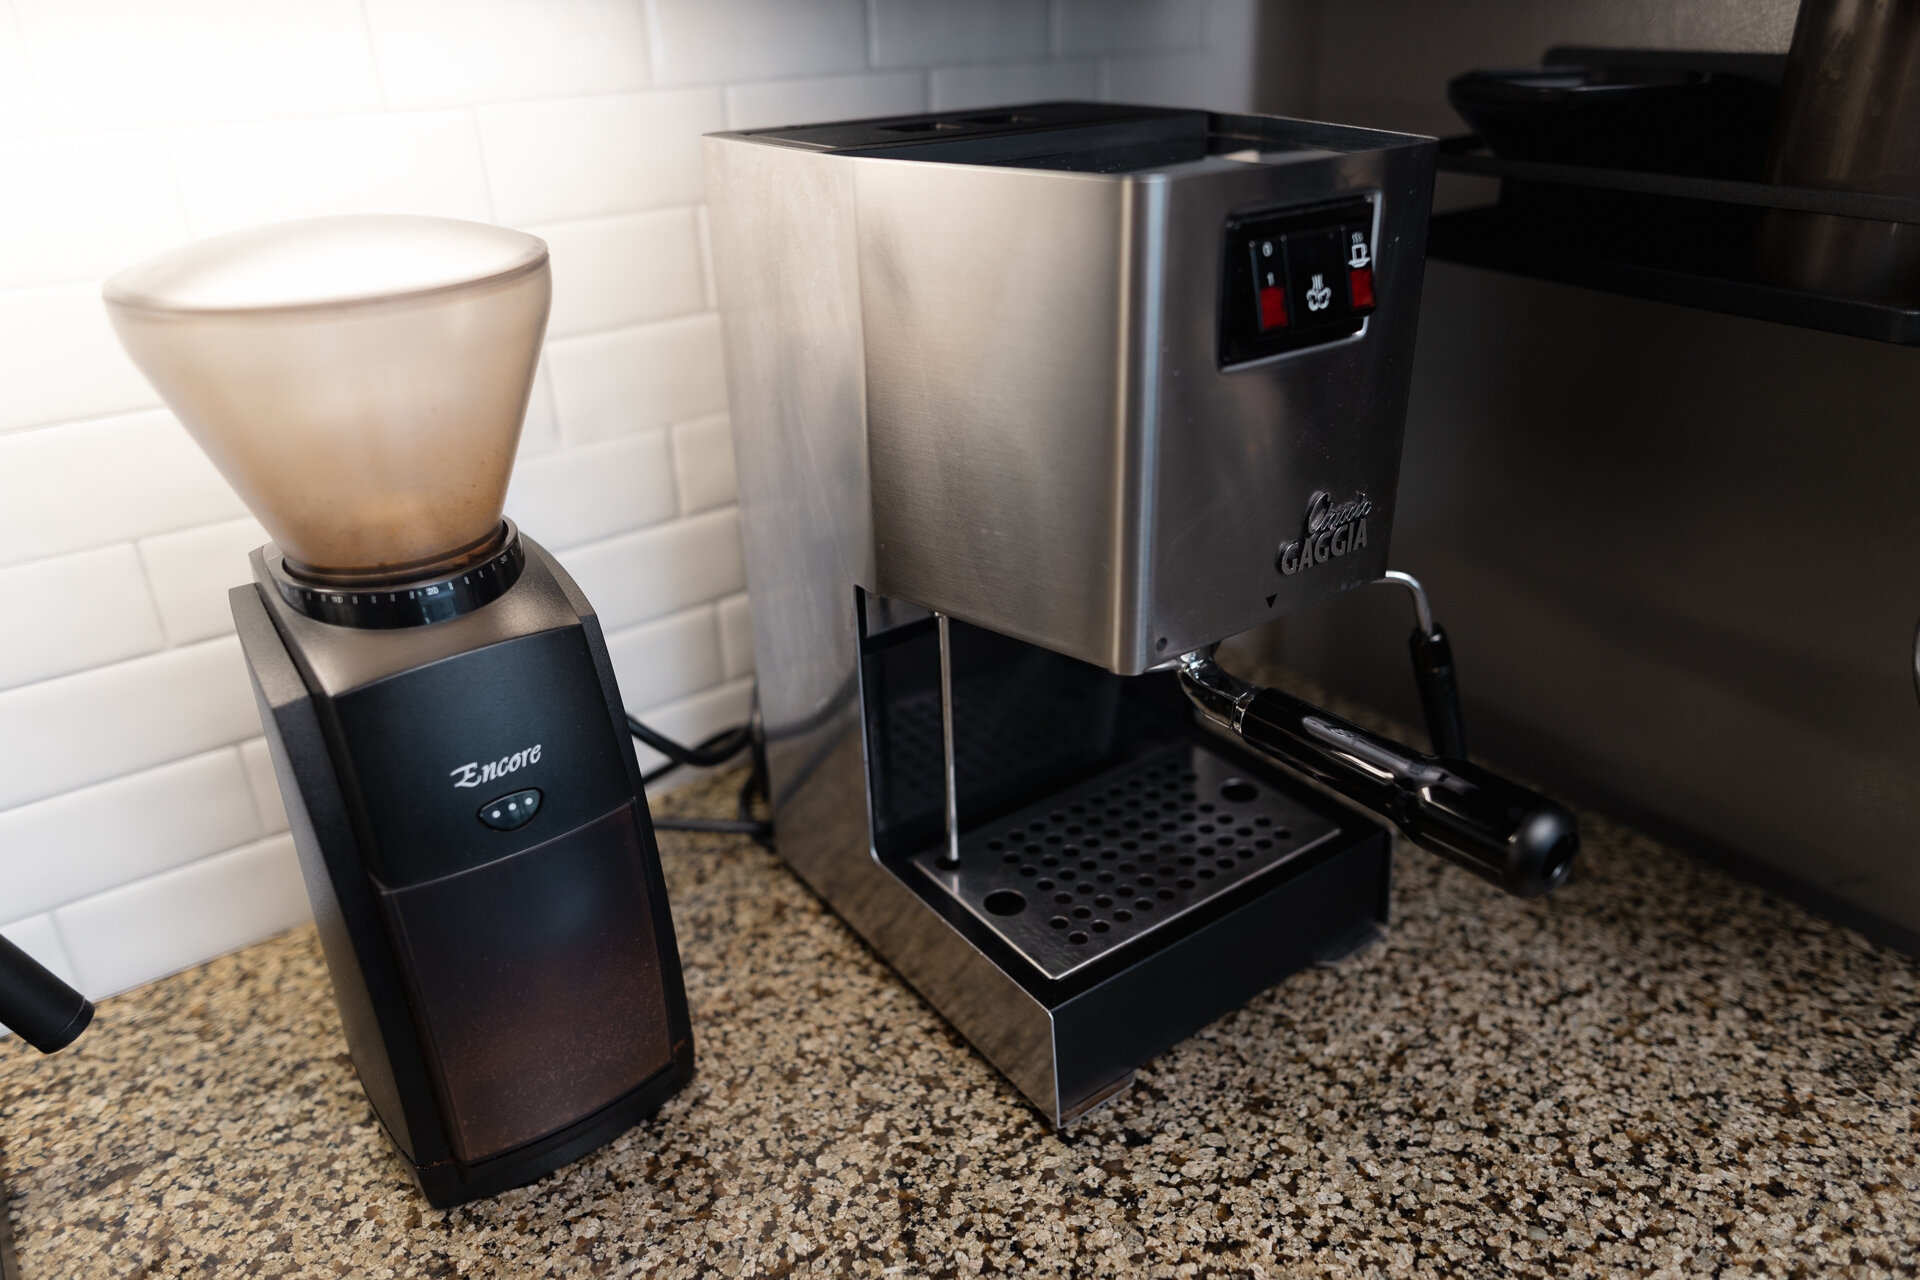
Coffee corner. I love all things coffee. That’s why I have a dedicated coffee corner in my kitchen.
The Results
The whole project took about 3 weeks, on and off, to complete. Though I believe you can do this all if you have a single focused weekend. In total, I spent under $1,000 on the titles, lights, and faucet. And another few hundred dollars on the accessories throughout.
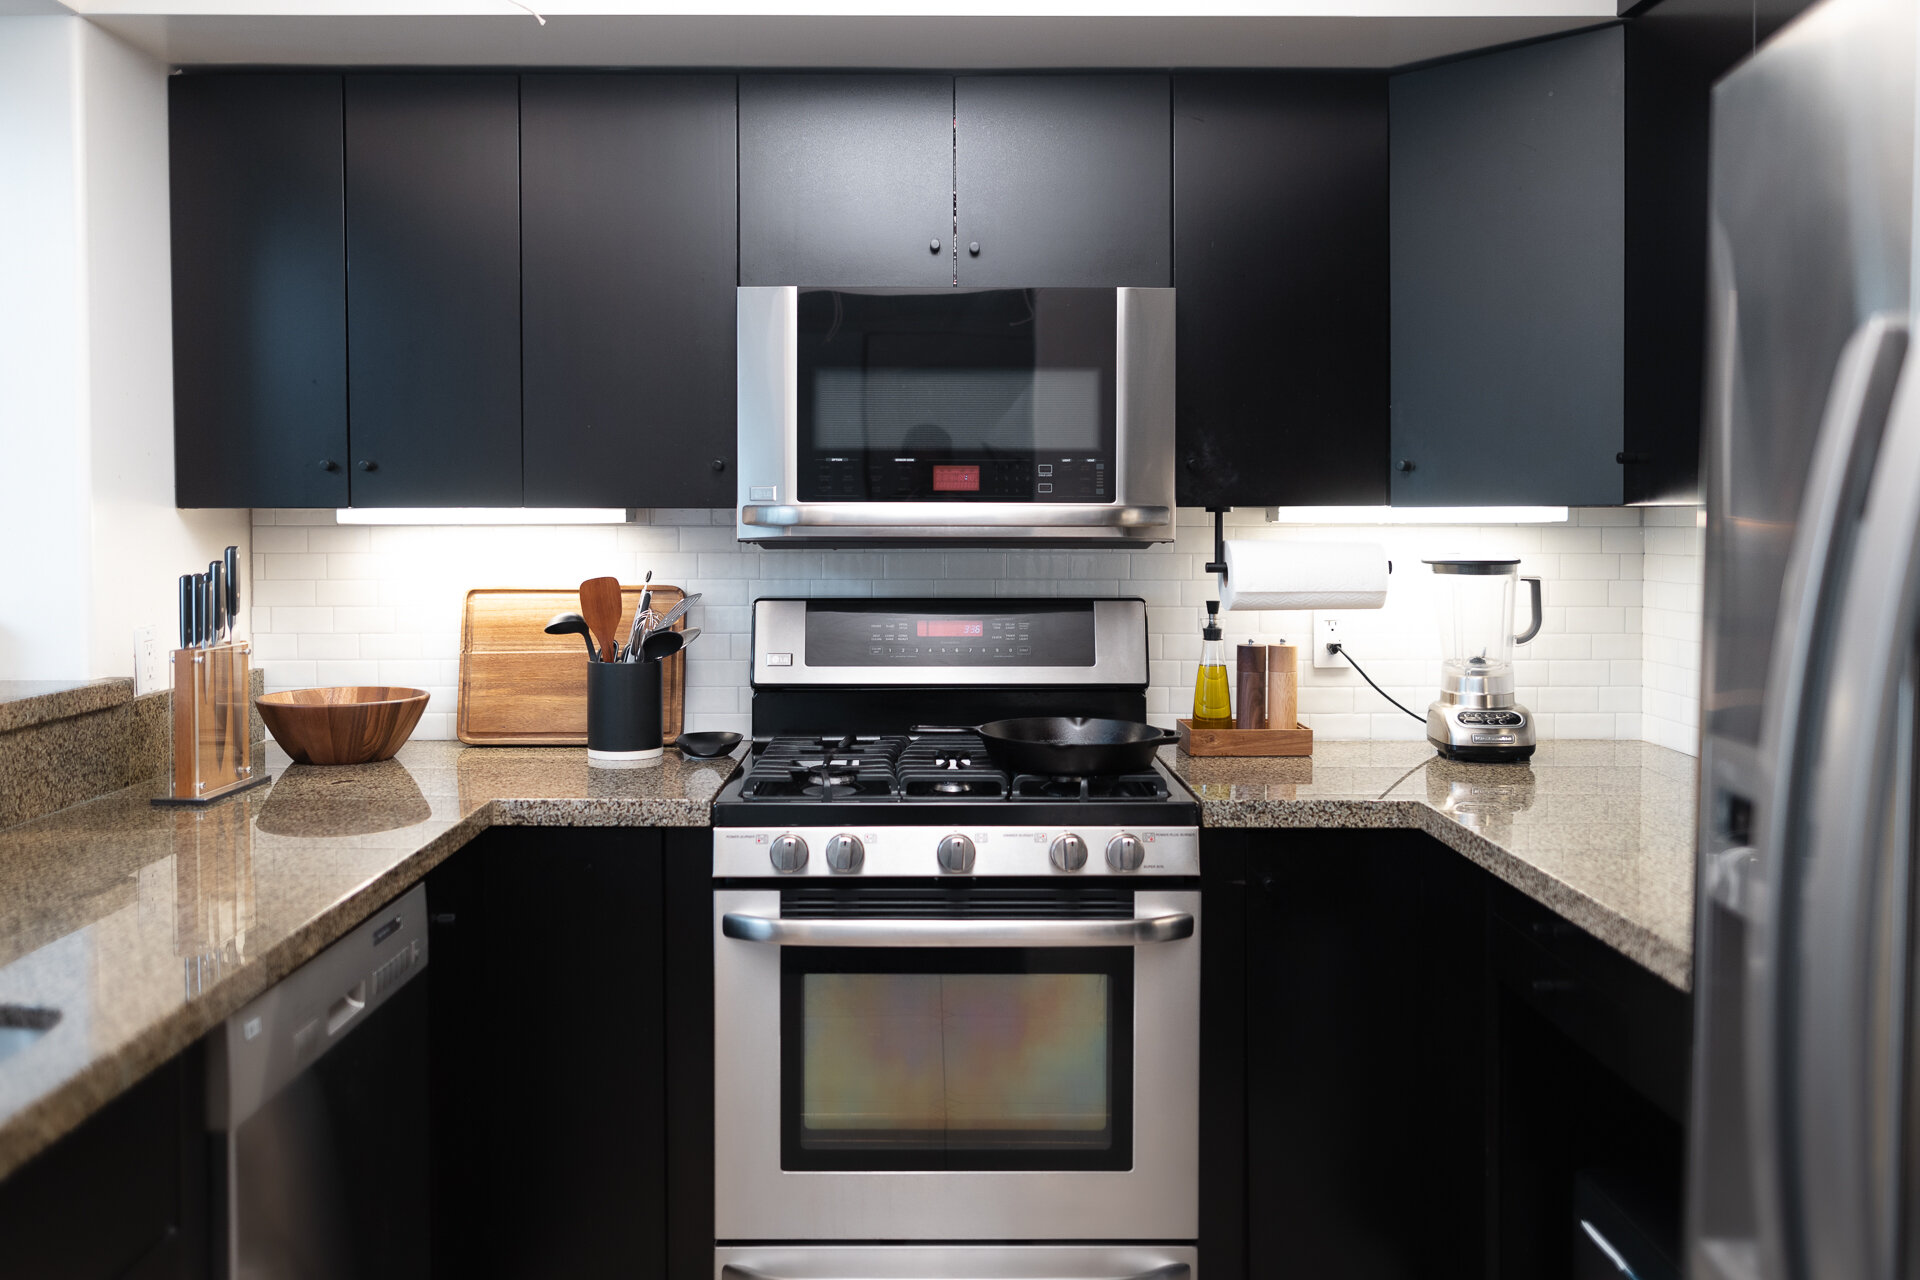

Now I spend more time here. Cooking frequently and to my surprise, I’ve been able to keep it clean and maintained. Since reorganizing, all my kitchen items now have a proper home, and everything just flows. I have easier access to my most used tools and ingredients. And I have more counter space to work on when cooking. Which has made for a better experience all around.