
Relaxing Living Room Makeover
Last year, we built a custom art studio in our living room for my wife Belinda. It was our first attempt at woodworking and gave our living room a beautiful facelift. Recently, I’ve found myself with a little extra time on my hands, so I decided to give the rest of the living room an updated look.
When designing the living room, I had a few goals in mind:
Unify the aesthetic of the space to be cozy and inviting.
Have a dining room and table again, after going 4 years without one.
Install some built-in shelving.
Fill it with as many plants as possible.
Quick note: Some of the links provided below are affiliate links, which I receive a small commission for at no extra cost to you. Shopping through those links is the easiest way to support my content. Thank you.
The Main Entertainment Area
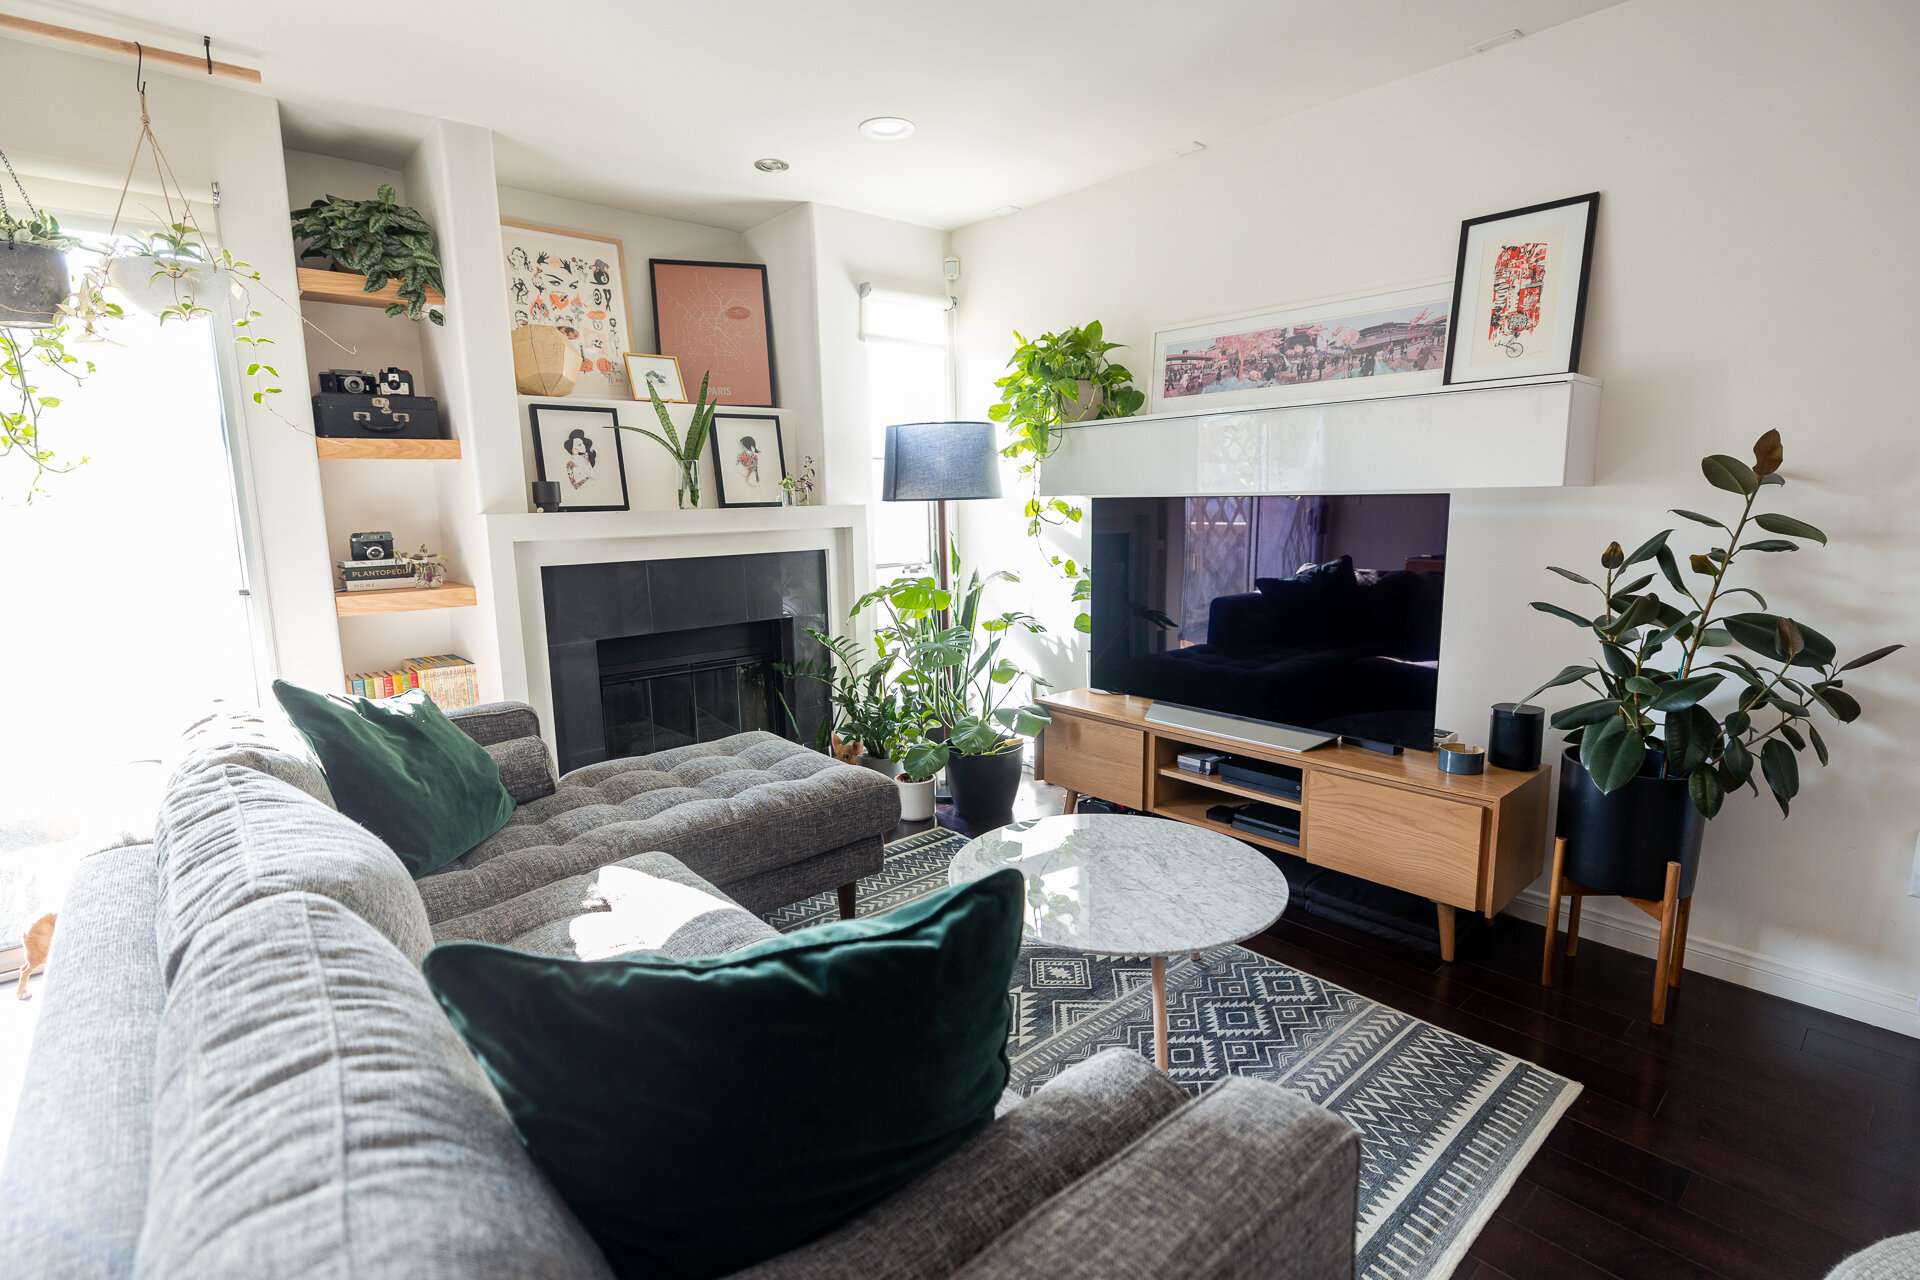
Most of the furniture I had in the living room were old pieces that I've been using for over a decade. While they've served me well, I felt overdue for a refresh. Luckily my friends over at Article provided the key pieces I needed for the space.

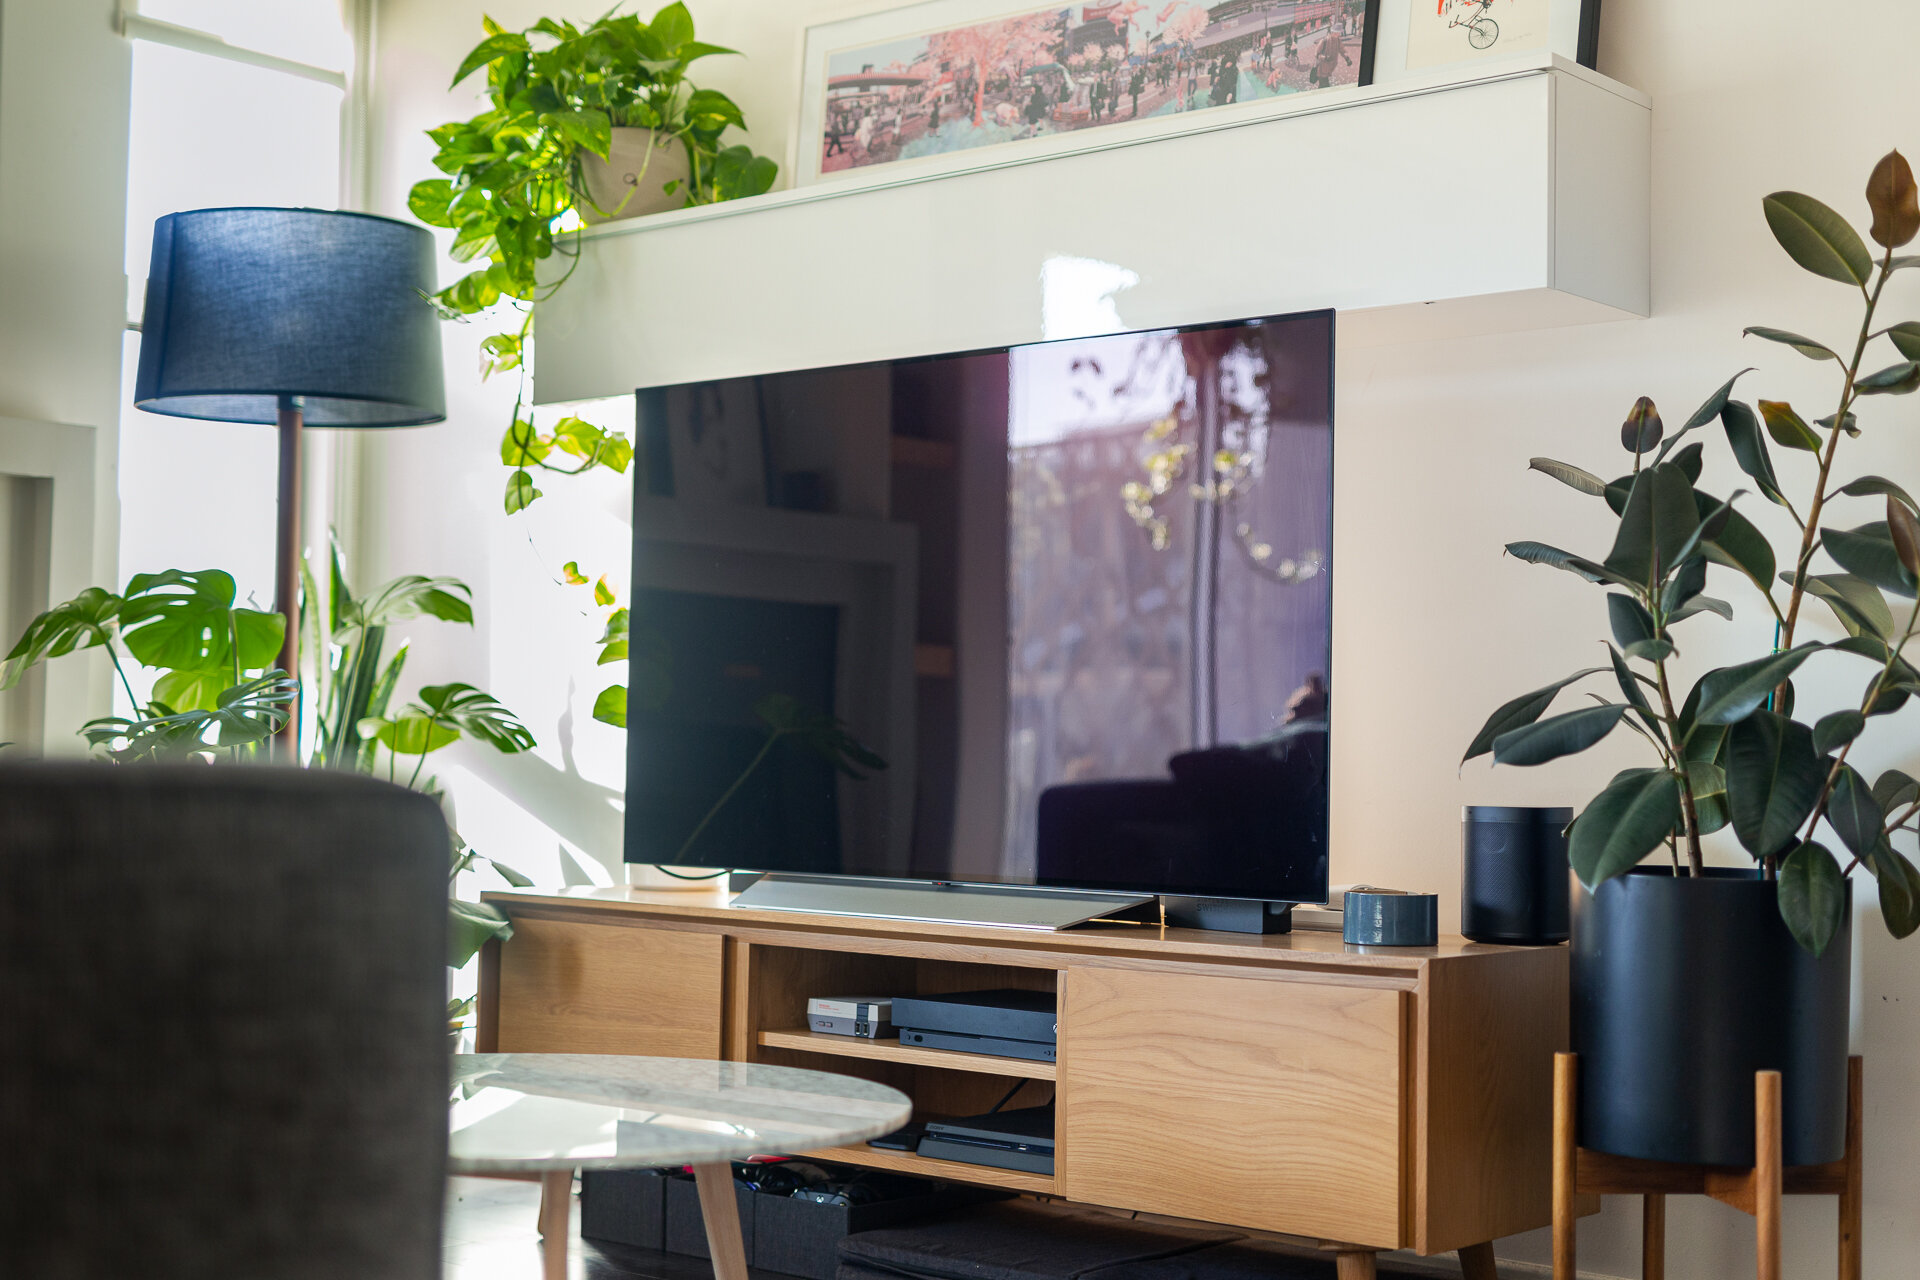
First up, is this media unit for my TV and games. I chose the Seno Oak 63" Media Unit for its minimal design and because it was made of white oak. Which matches perfectly with the desk we built on the other side of the room. Inside the console, I purchased a few bins from The Container Store to help me organize all of my games and controllers.
To replace my old couch, I got a mid-century style sectional made with a handsome tweed fabric. I've always wanted a big sofa with a chaise to stretch my legs out on. In the center of it all, I added a beautiful marble and oak coffee table.
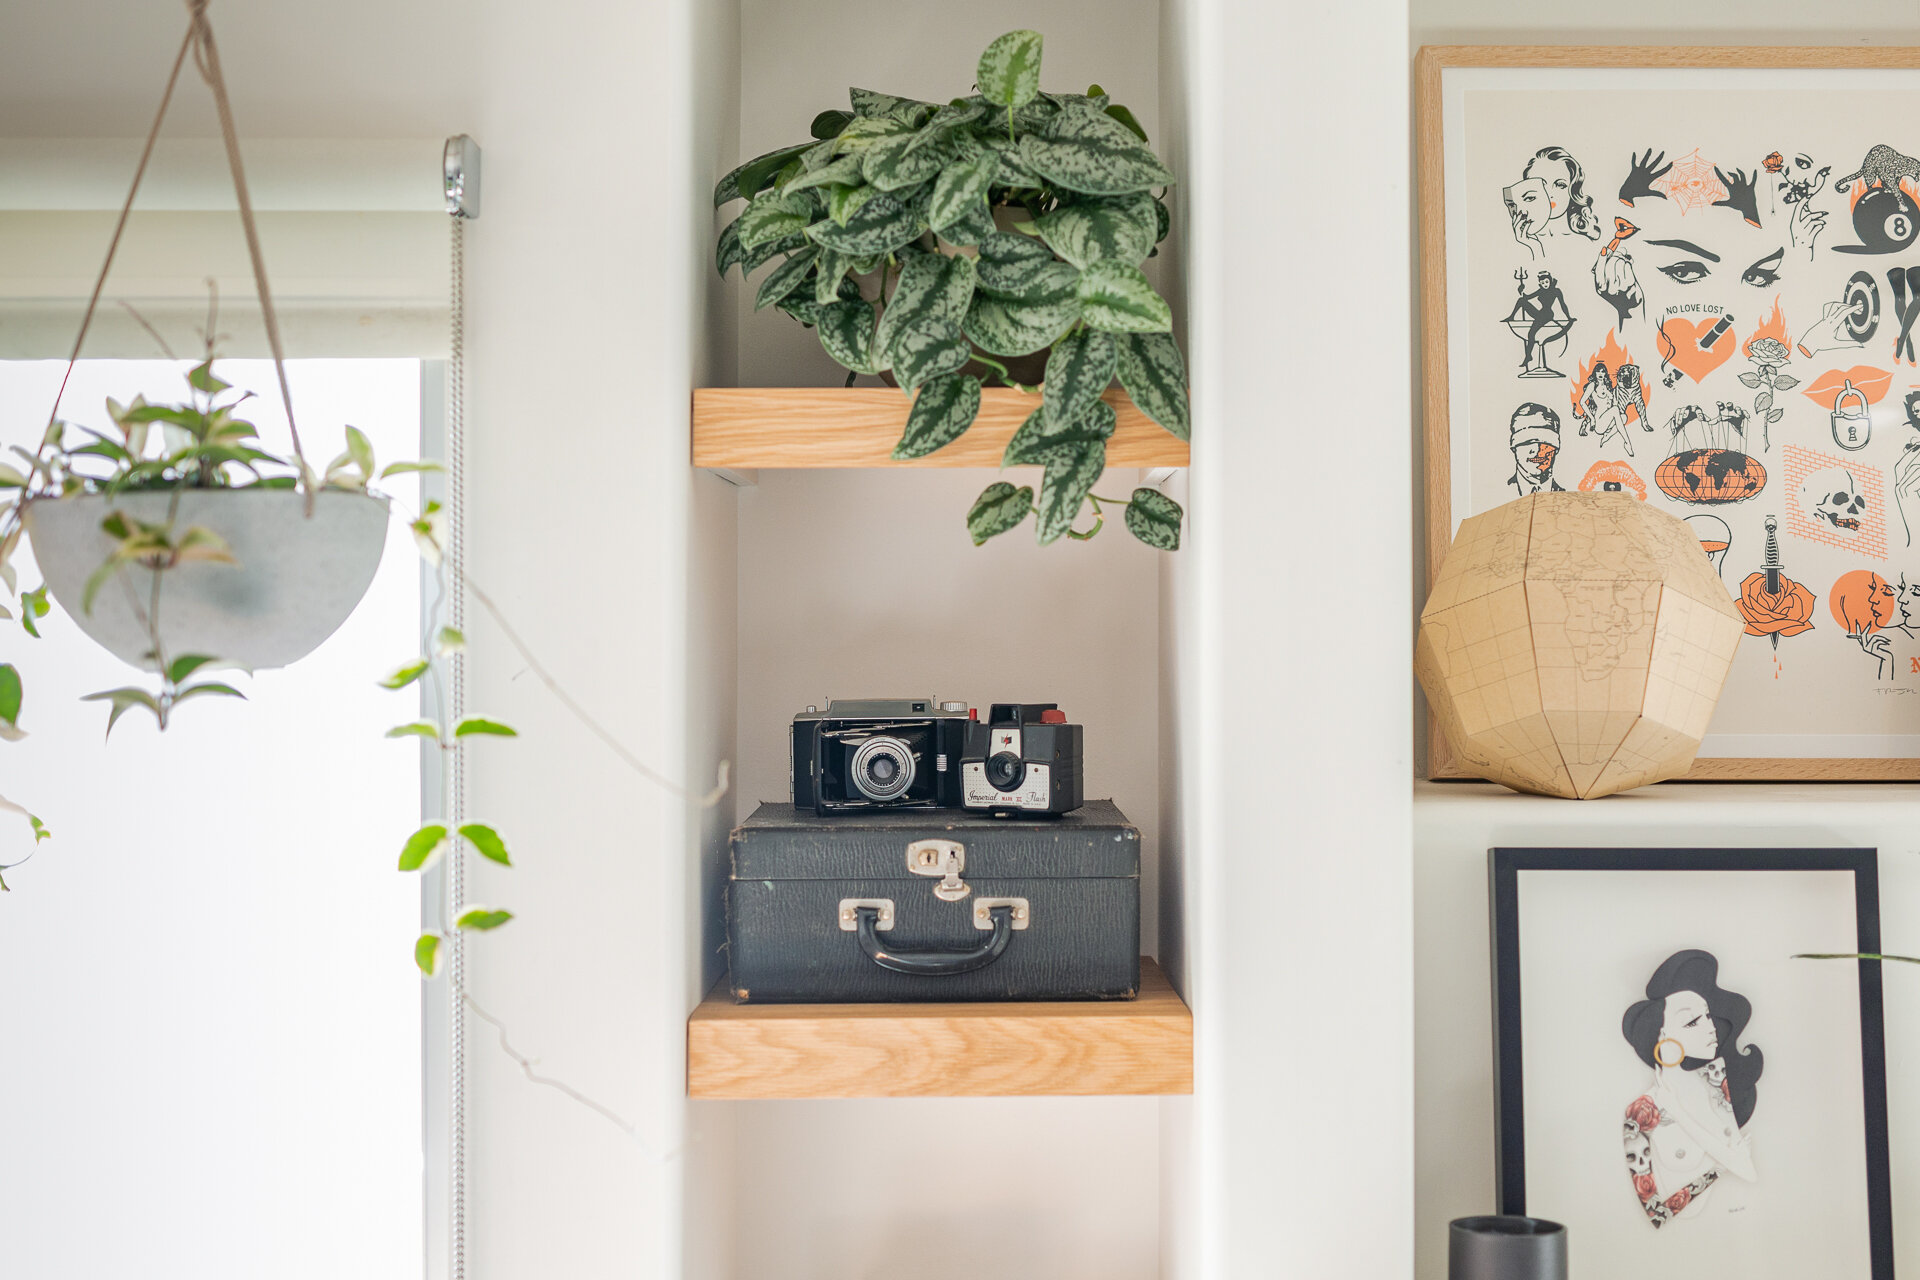
DIY Alcove Shelves
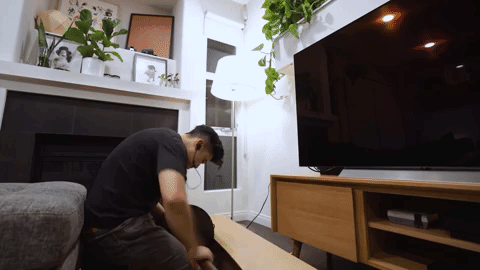
Next to the fireplace, I had a small alcove, which was originally filled with a tall IKEA shelf. I took on the challenge to replace it with DIY built-in shelving. Whenever I start a new DIY project, I always research it first. I usually watch or read 3-5 different sources to cross-reference information, to make sure I'm doing it right. Below are a few of the videos I studied to learn about the process.
I first started by building out battens for the wall, which are thin strips of wood that act as a ledge for the shelves to sit on. I fastened them to the wall using a combination of cabinet screws and drywall anchors.

Building alcove shelves are a bit tricky, that's because, in almost all instances, the walls in these spaces are slightly uneven. For this corner, the mouth of the alcove was about half an inch wider than it was in the back. And the top was a little more narrow than the bottom. So I had to measure each shelf individually and cut them with a slight taper towards the back of them. I actually had to re-measure and make slight adjustments several times to get a good fit.

I made these shelves out of the same white oak plywood I've been using in the rest of my home projects because it's strong and I love the soft, warm color of it. To give the shelves a nice thick look, I added a 2 3/4" face to it. I then finished these with edge-banding, an oil-wax finish, and a fine paper sand (learn more about this process from a previous project).

Before installing the shelves, I painted the walls and the battens white, to look nice and clean, and then slid each of the shelves into place, for a near-perfect fit.
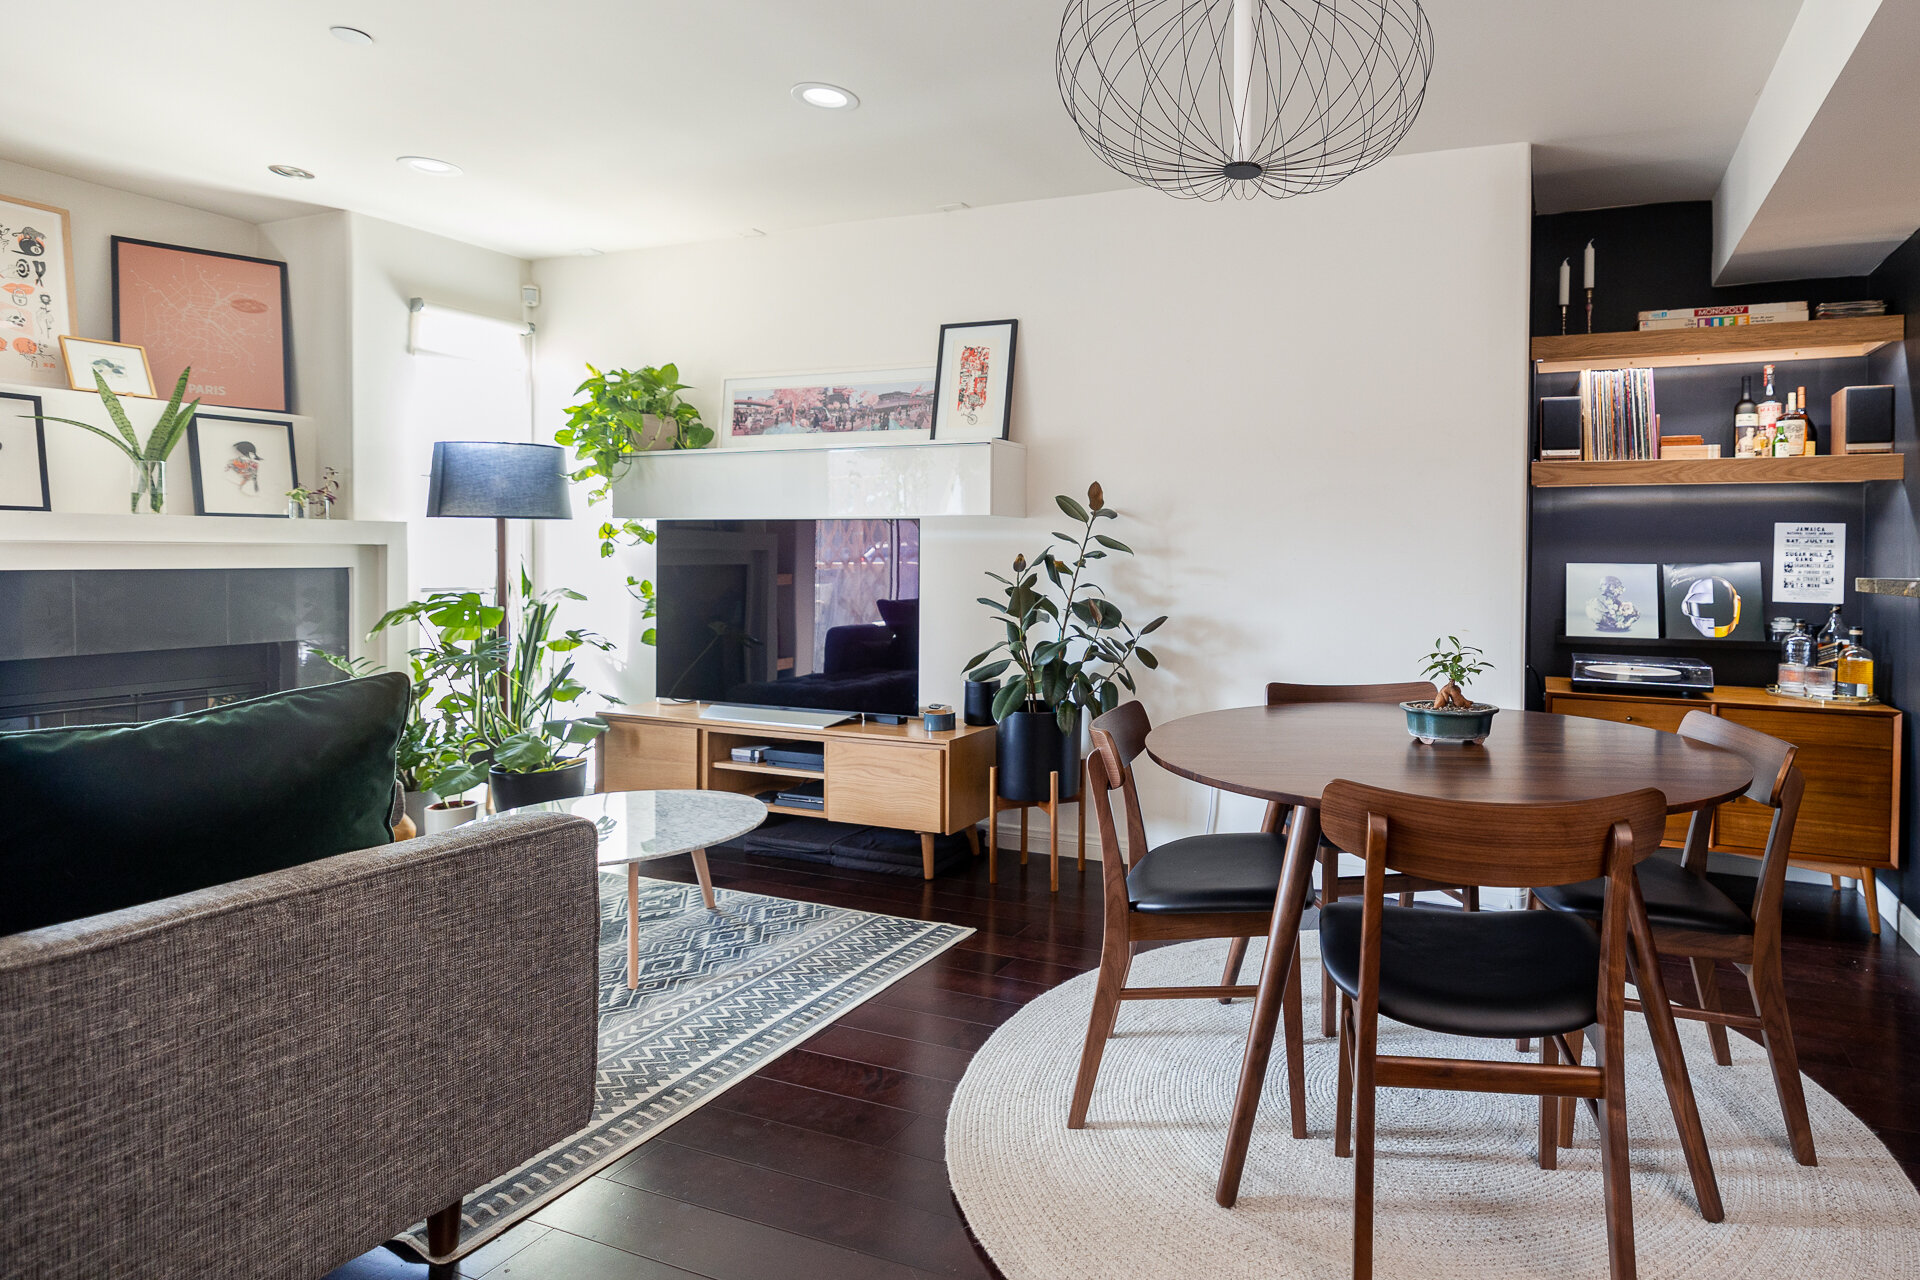
The Dining Room
Adjacent to the main entertainment area is our dining room. I wanted to make this spot feel distinct since there's no physical separation of the space. I wanted to give this area a dark and moody look, so I went bold.
I taped off this area and painted it with a soft black paint– I used Blackish by Clare Paint. To break up the use of white oak throughout the living room, I decided to go for a rich walnut and leather dining table and seats.

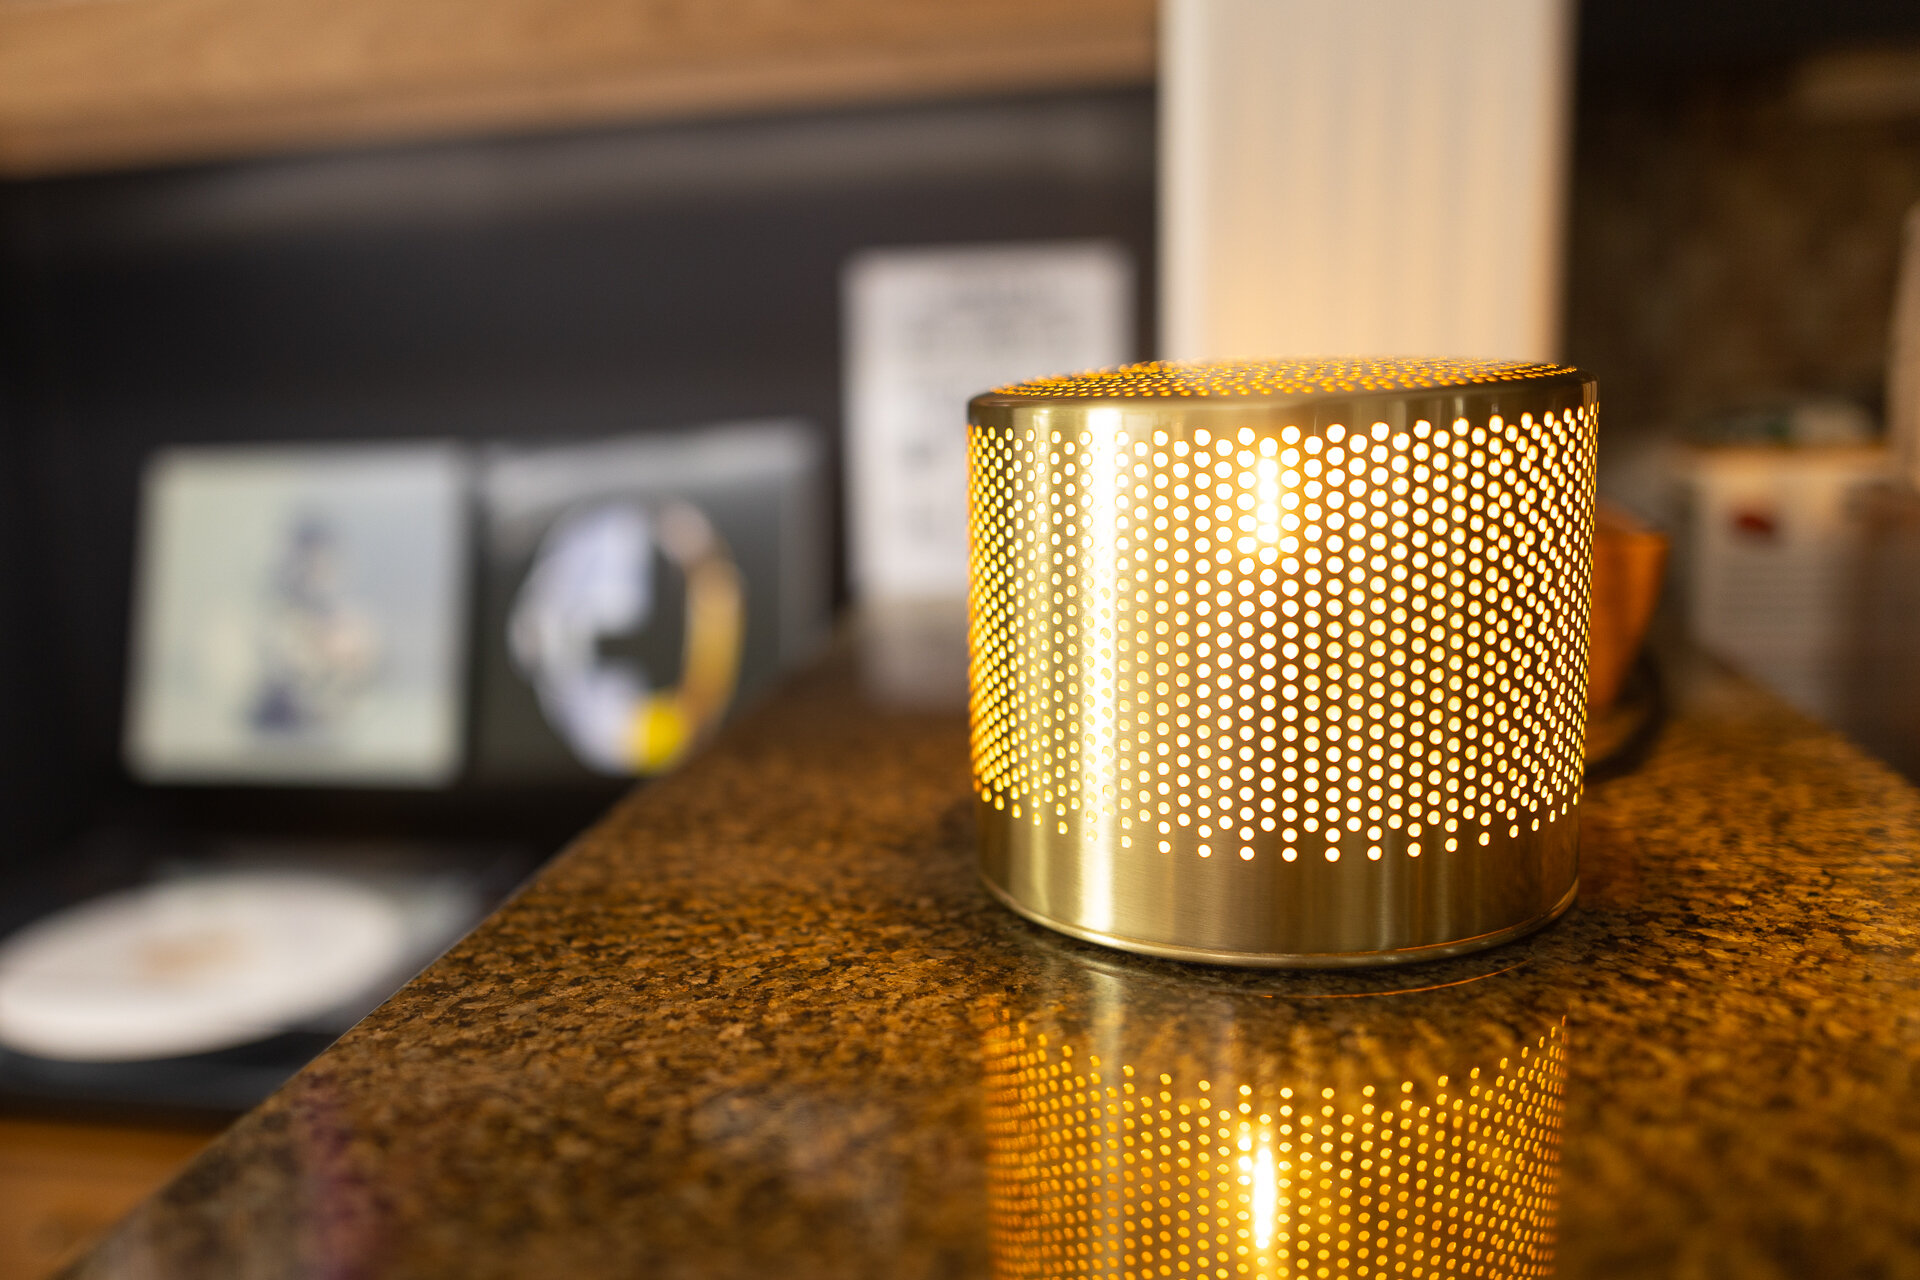
At our standing bar, I originally had white electrical receptacles here, but they stood out too much, so my brother helped me replace them with black sockets and covers. To give intimate lighting at the bar, I added this perforated brass table lamp, which emits a nice effect when you move around it– almost like a small candle.


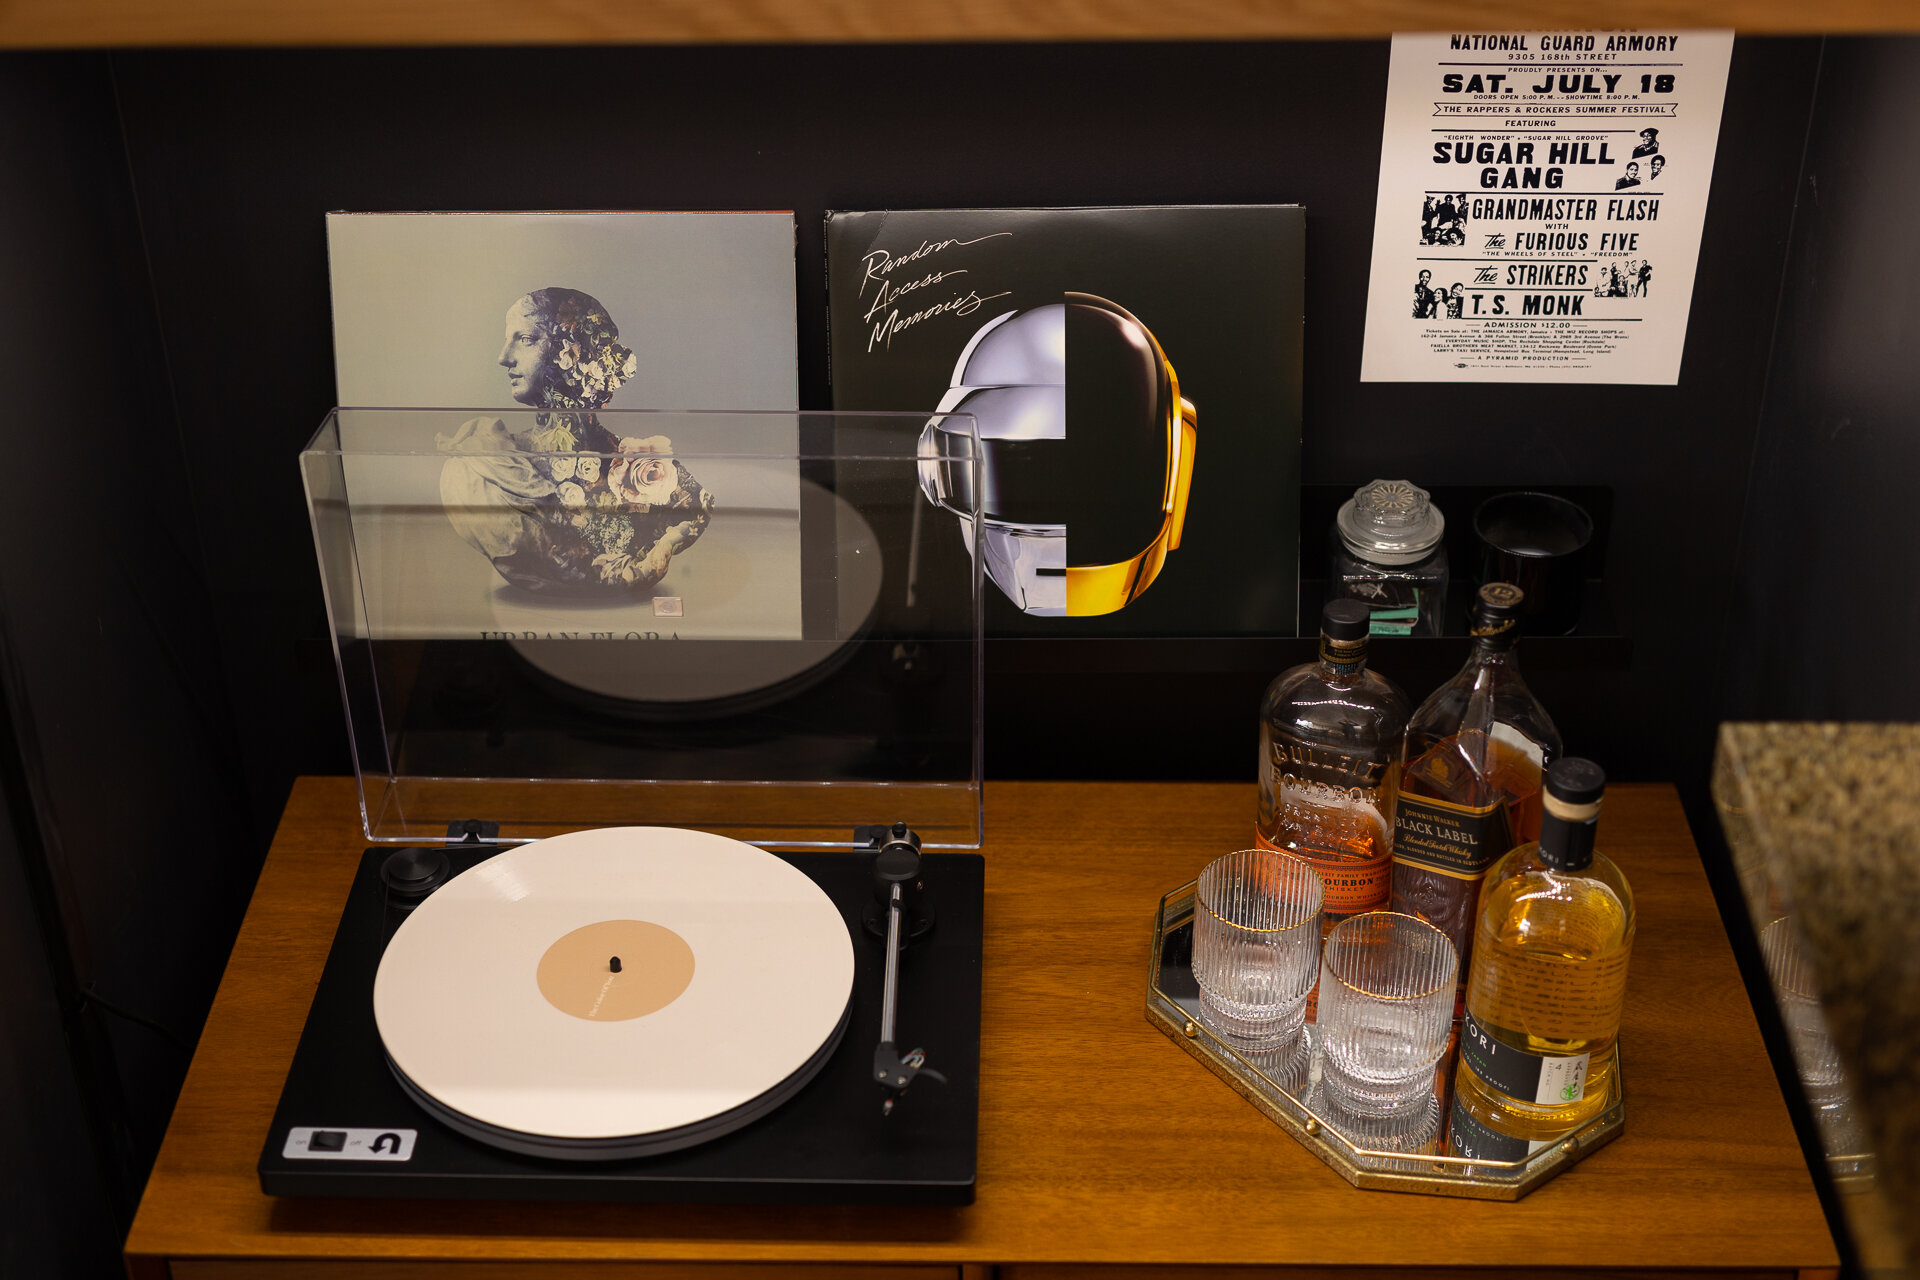
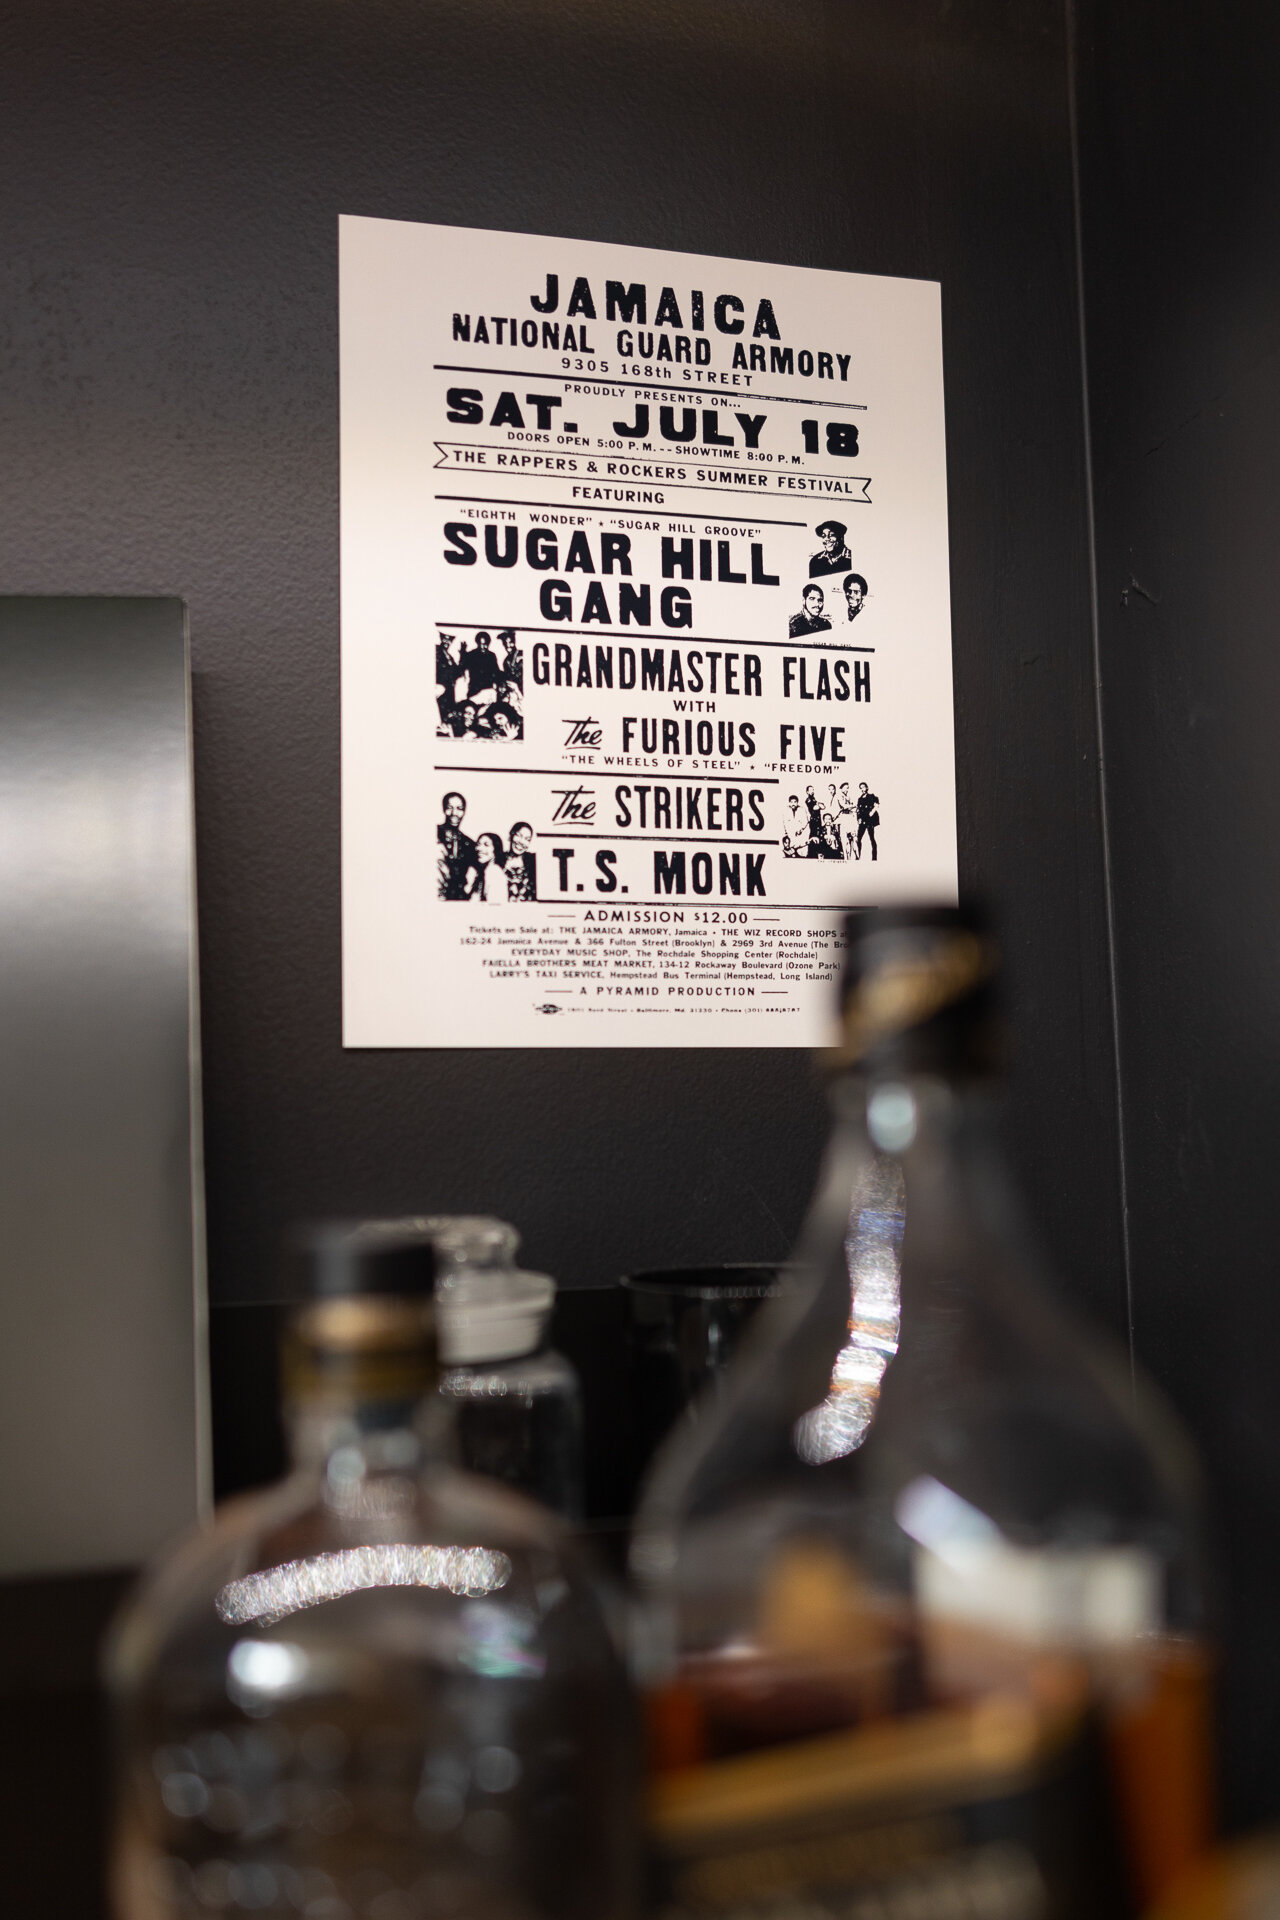
Because I loved how the alcove shelves turned out next to my fireplace, I ended up building another set in this corner. Beneath the shelves, I added a mid-century buffet console to store drinks, board games, and a host vinyl setup.

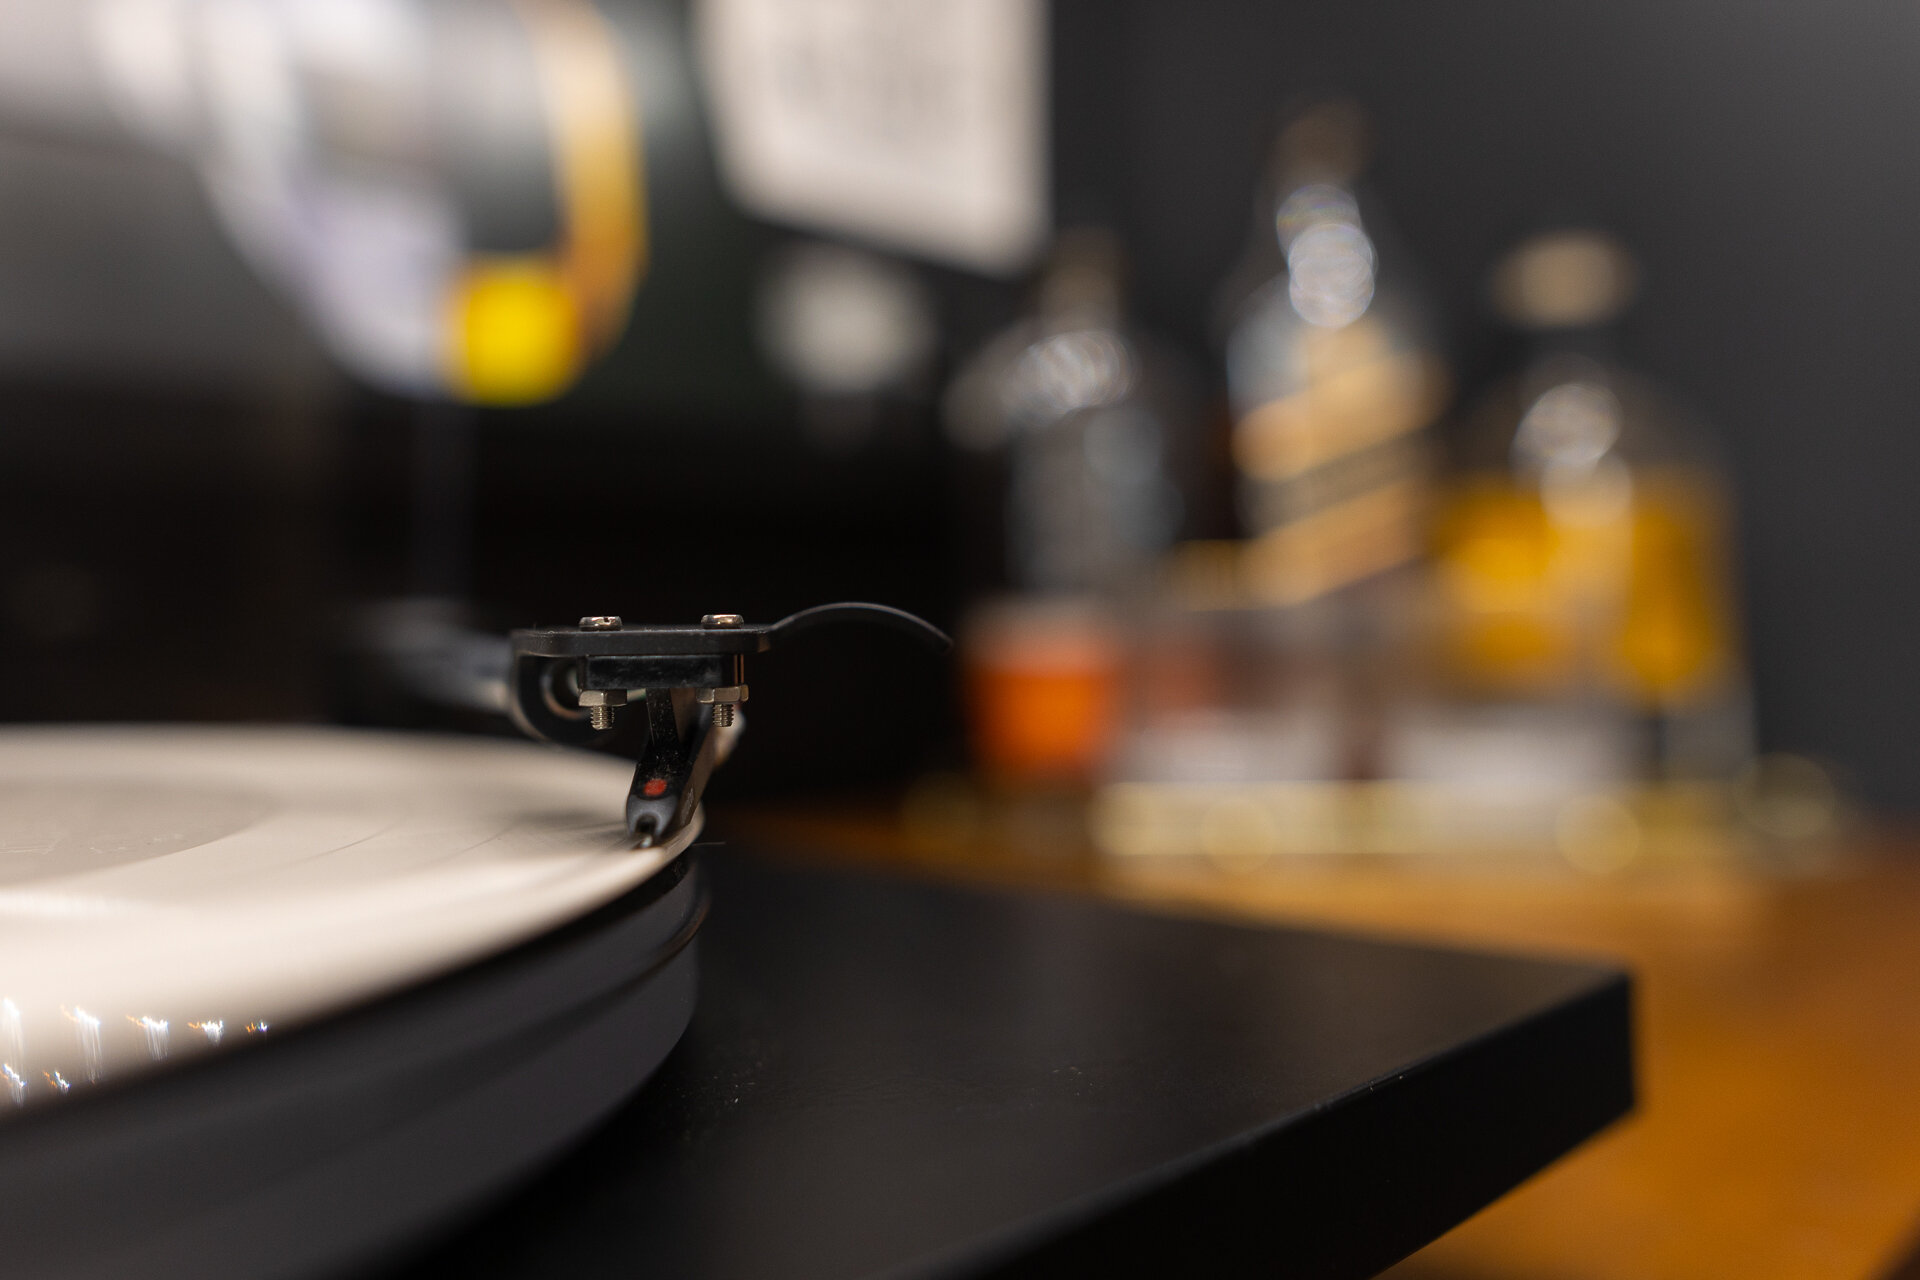
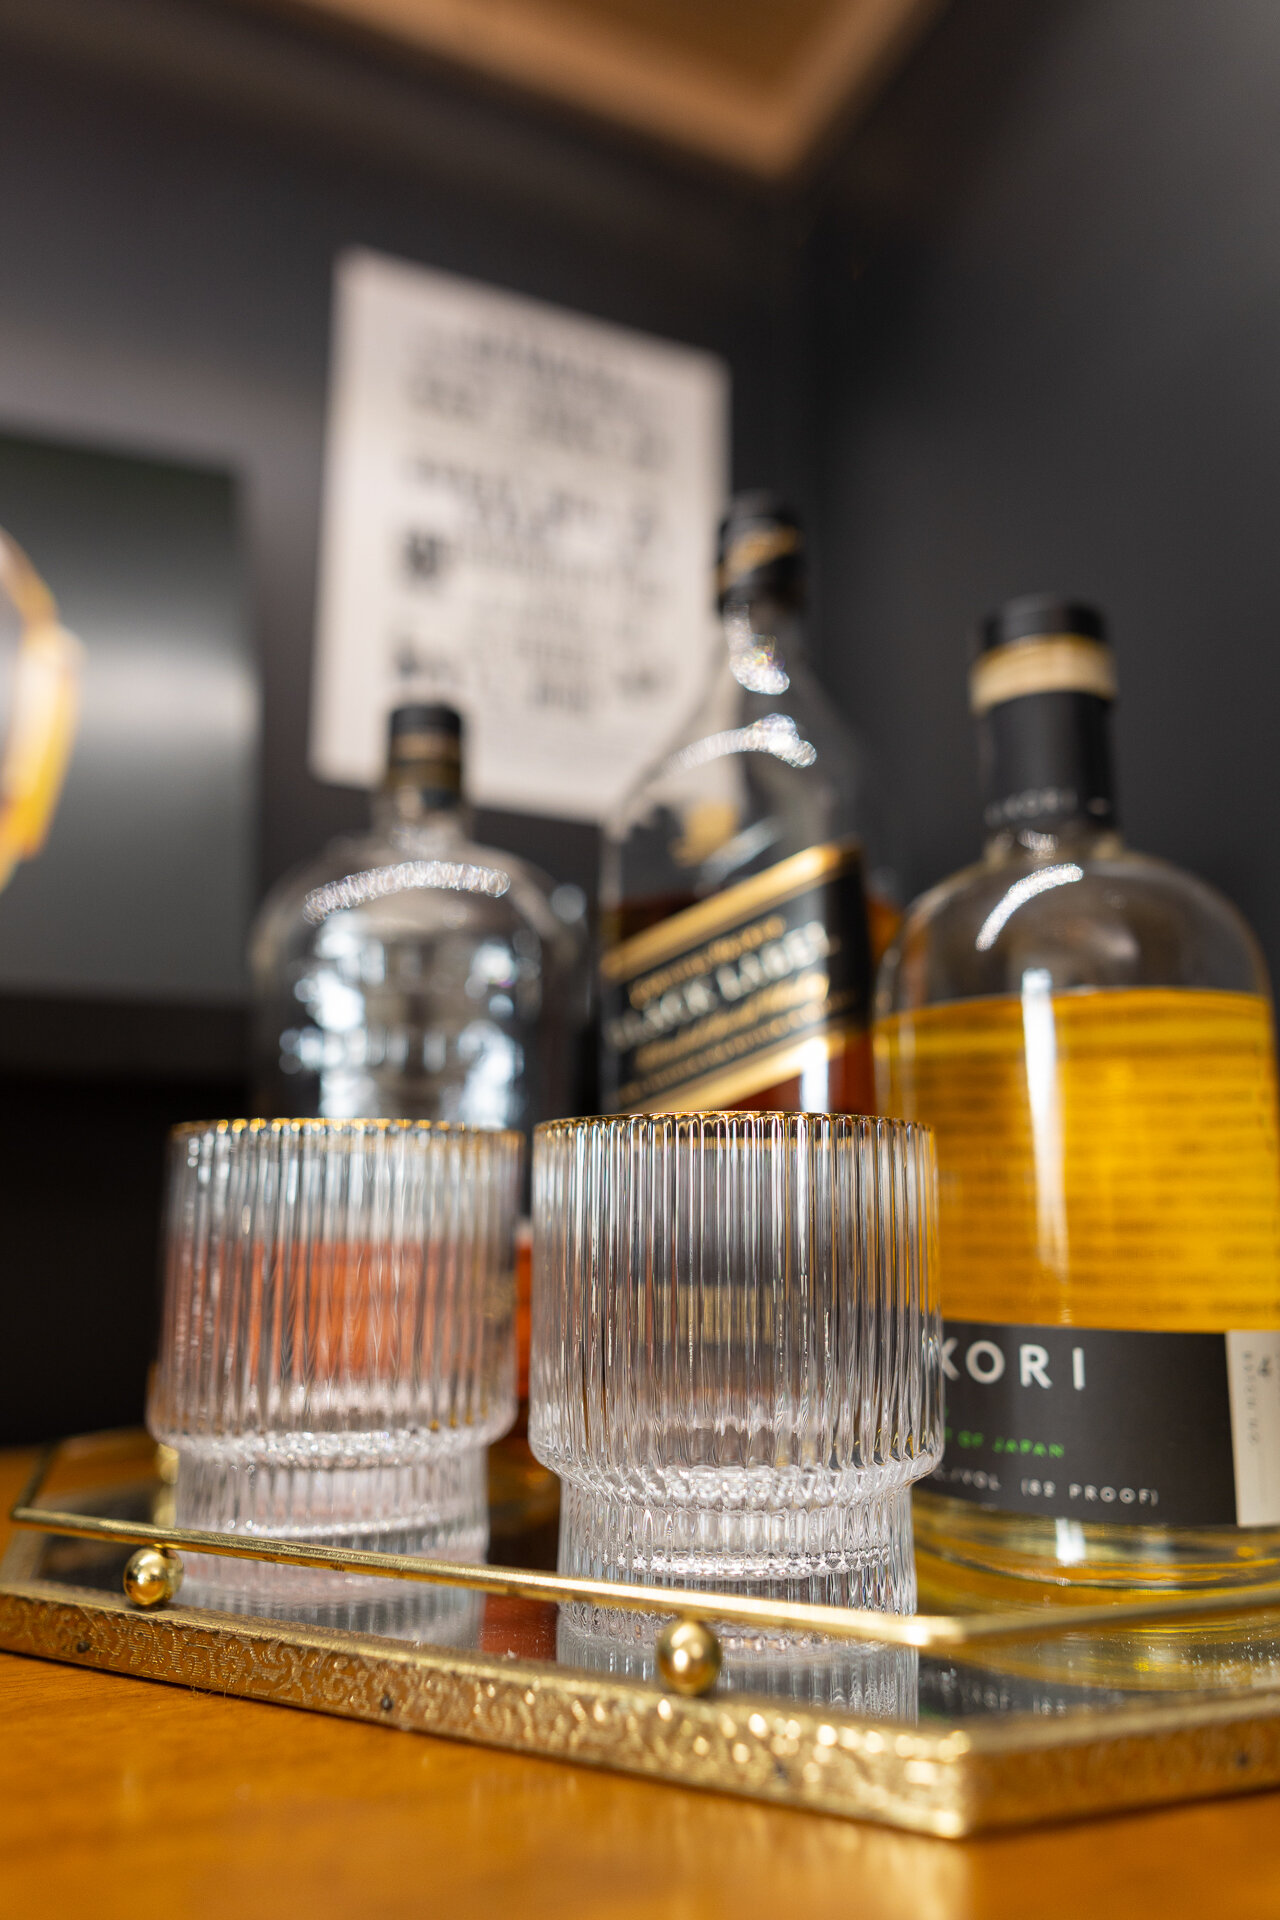
To play our record collection, I have a simple vinyl setup is made up of the U-Turn turntable and HD4 speakers by AudioEngine. I also added a narrow black shelf, to display records we’re currently playing. While we're not big drinkers, we have a nice small tumbler liquor set to enjoy a smooth glass of whiskey now and again.
Lighting
This dining room corner doesn't get much sun, so I installed Philips Hue strip lights underneath the shelves to highlight the details of the area, and give us some good supplementary mood lighting. To hide the wires, I used black cable channels to route everything neatly against the wall.

For overhead lighting, my brother who's an electrician, helped me replace my old light fixture with this minimal spindle pendant lamp. In the rest of the living room, my brother helped me update all of my old recessed lighting, with Philips Hue smart lighting.

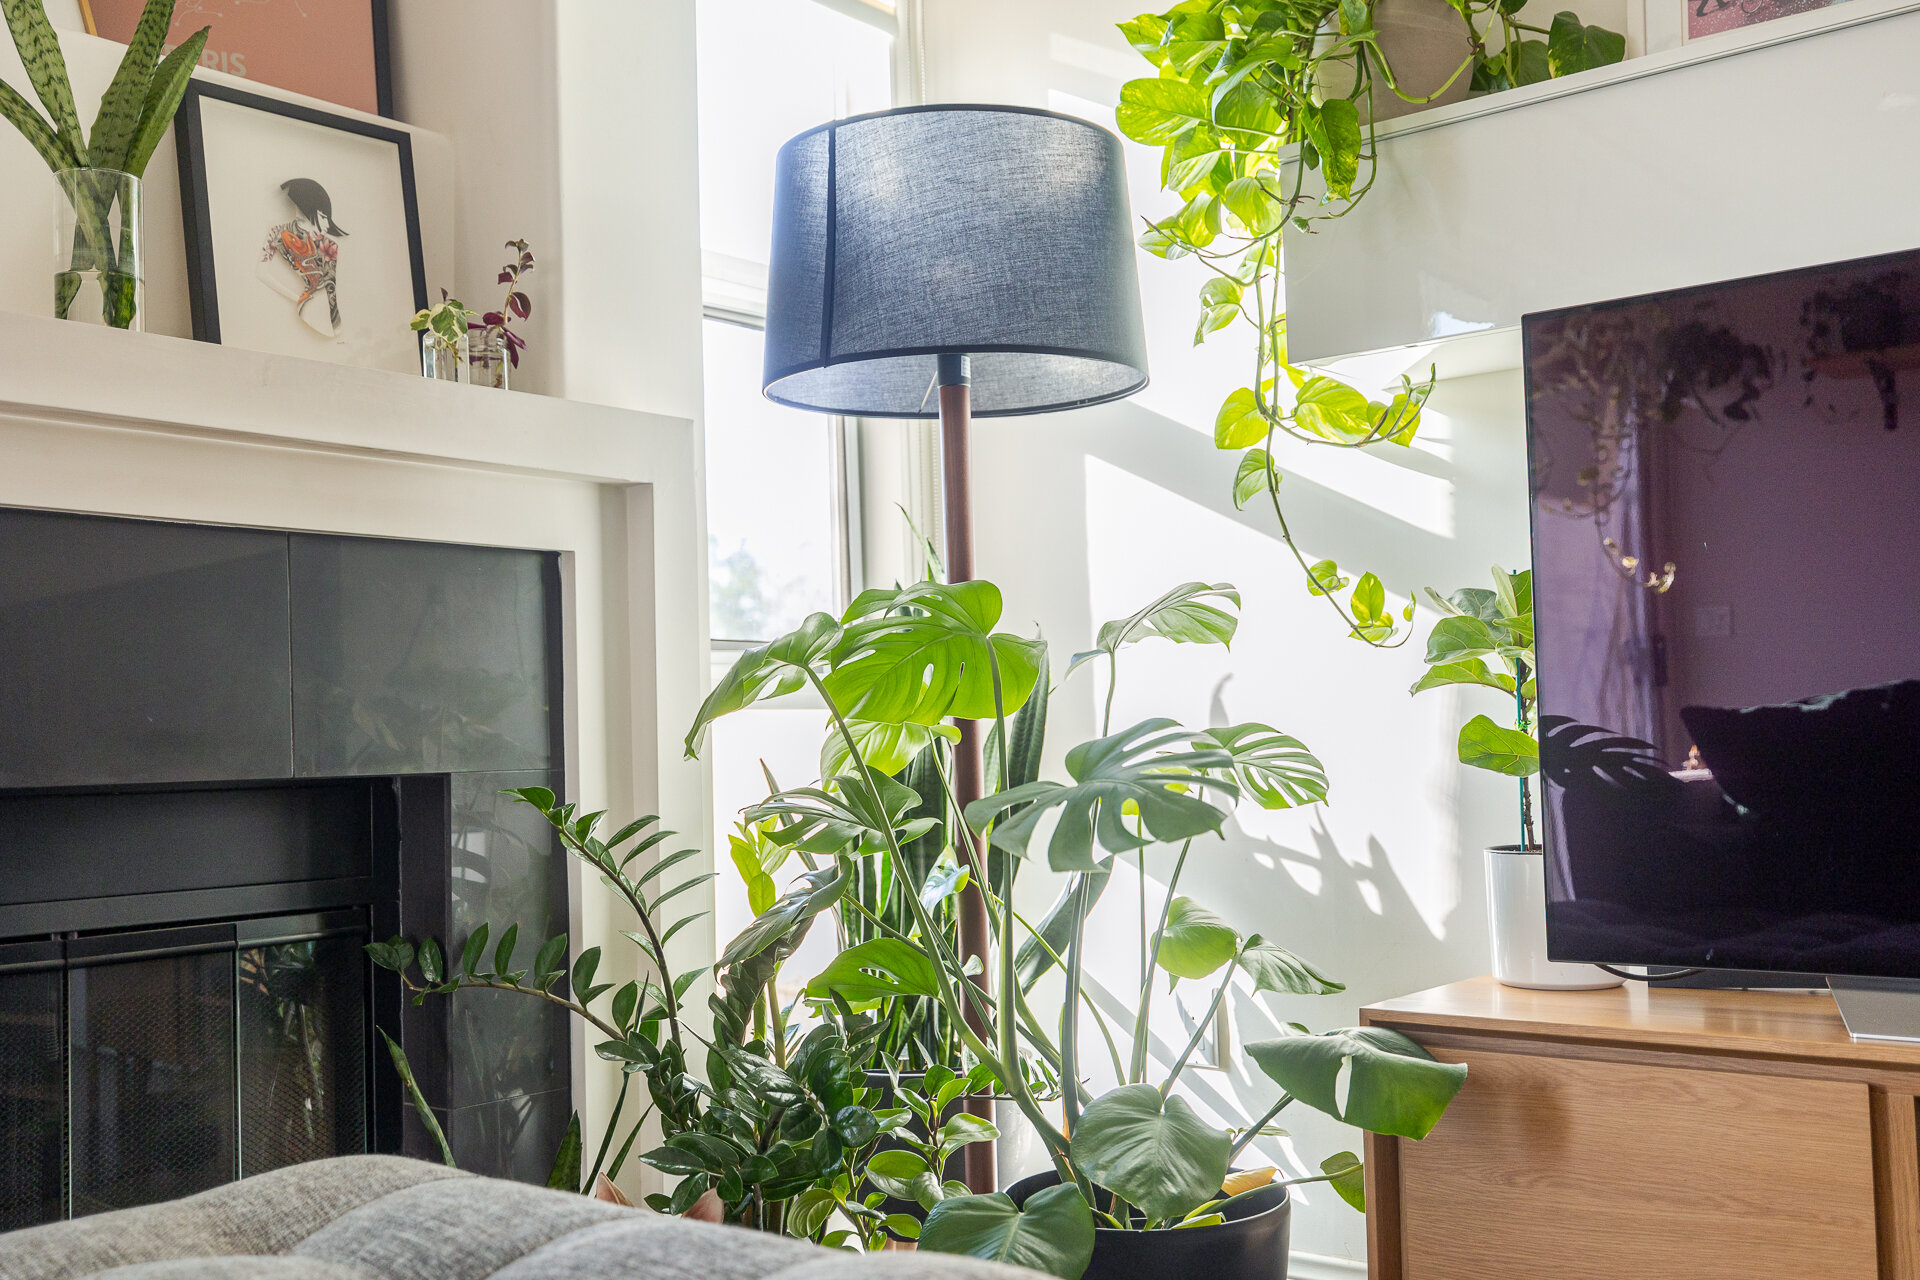
I updated my old floor lamp with a beautiful walnut one, which I added a smart bulb into as well. With everything updated to smart lighting, I can now control and program everything right from my phone.

Plantlife
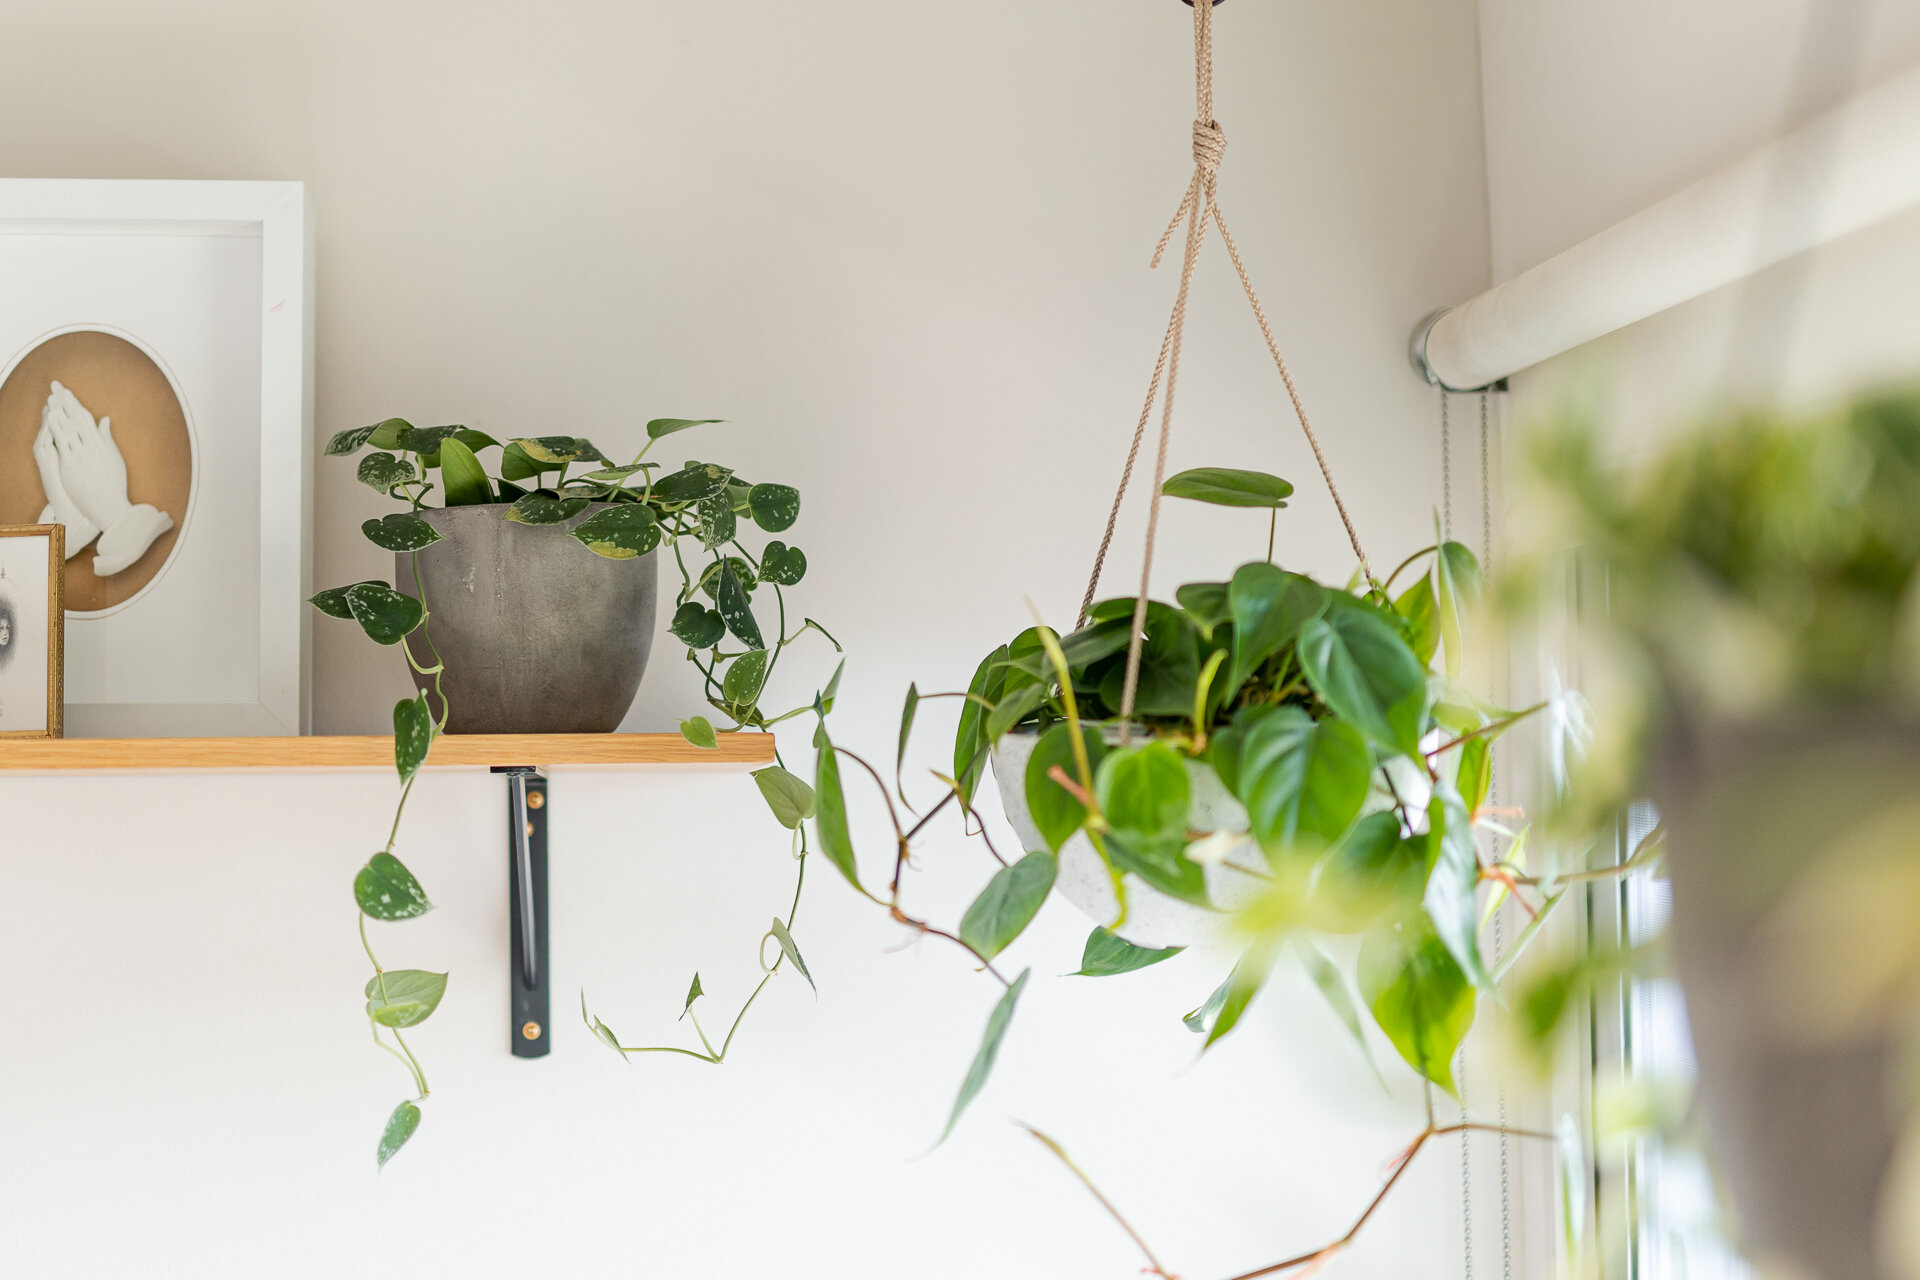
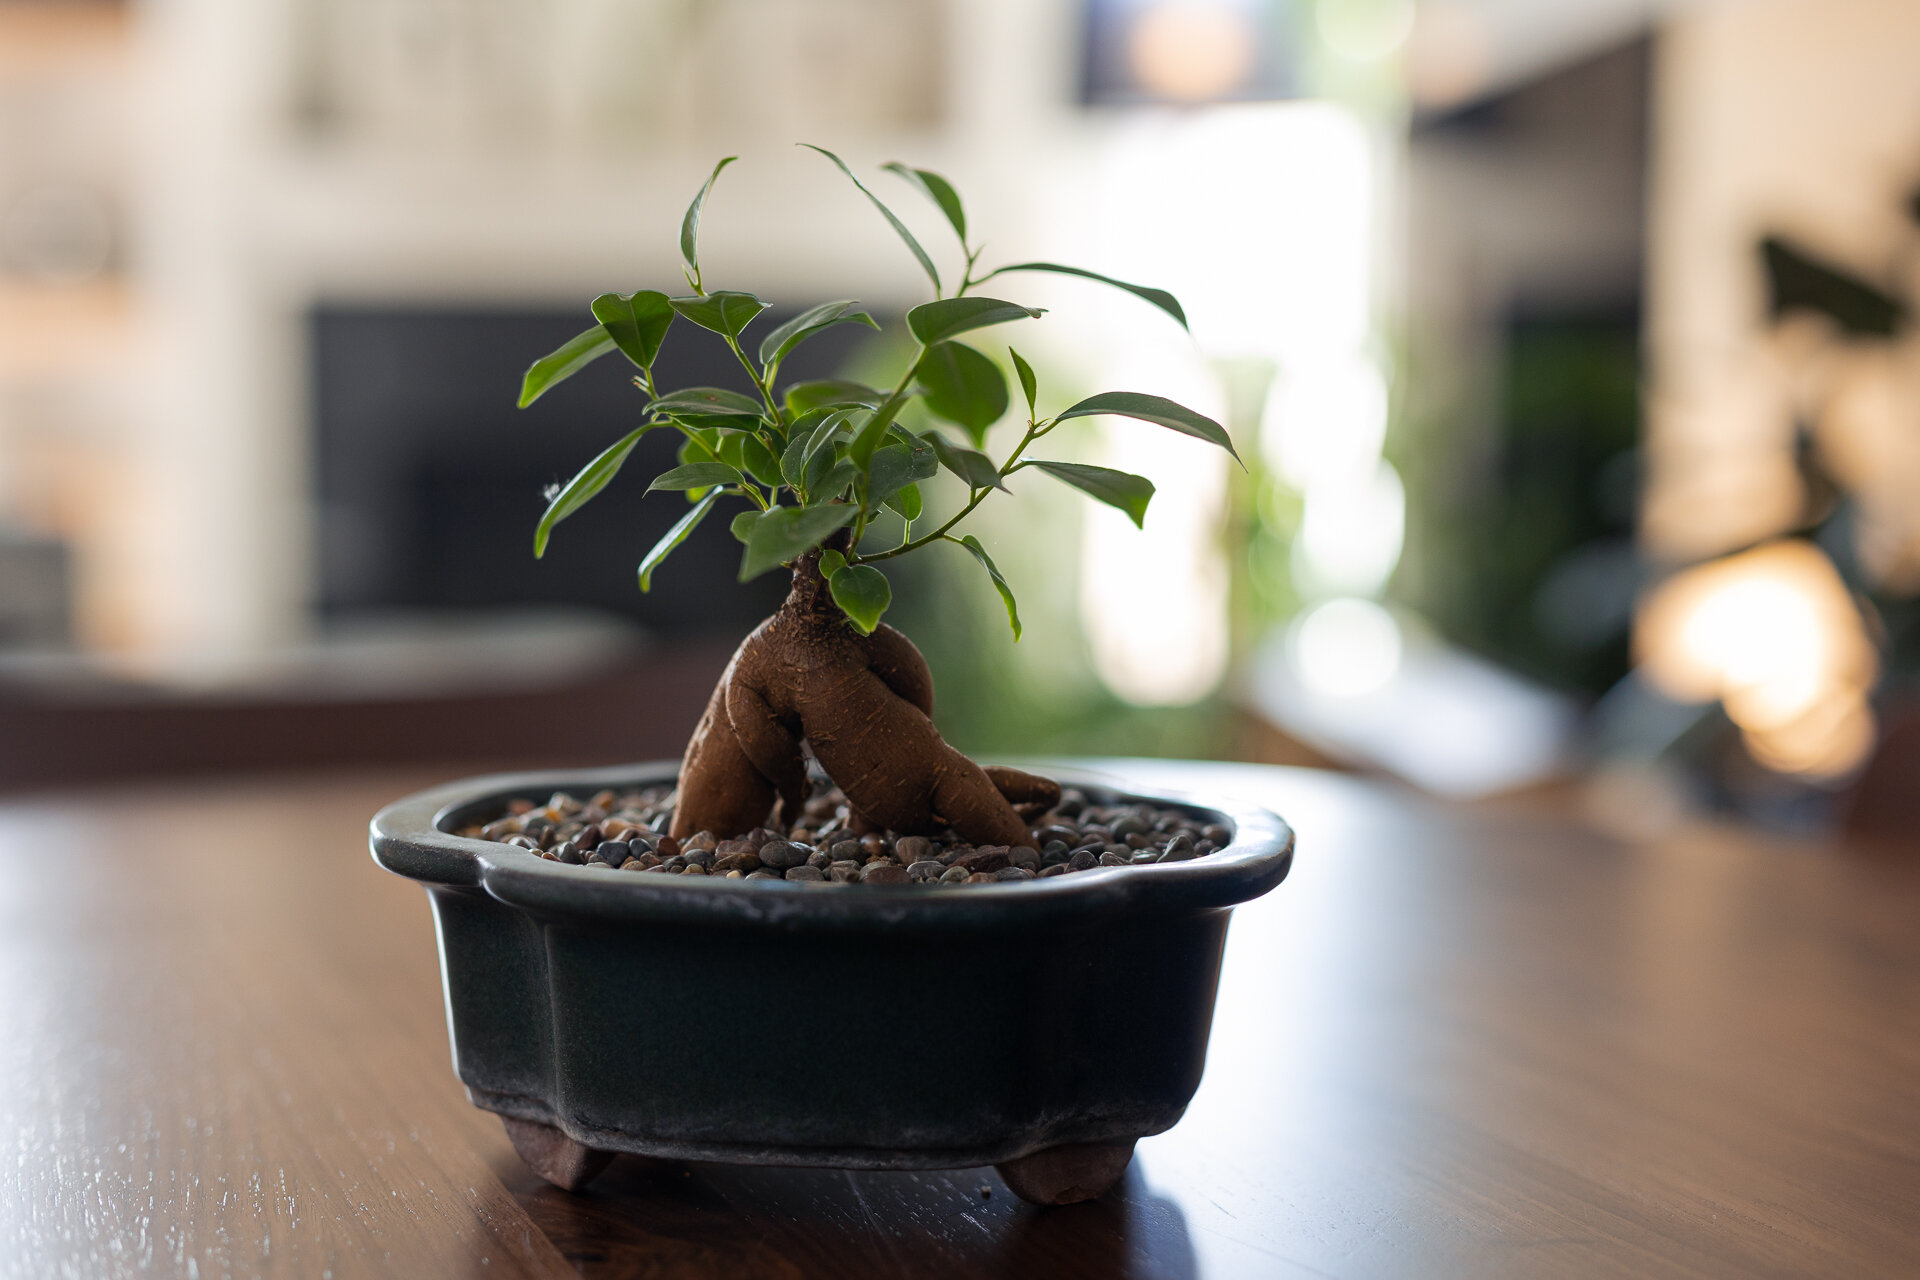
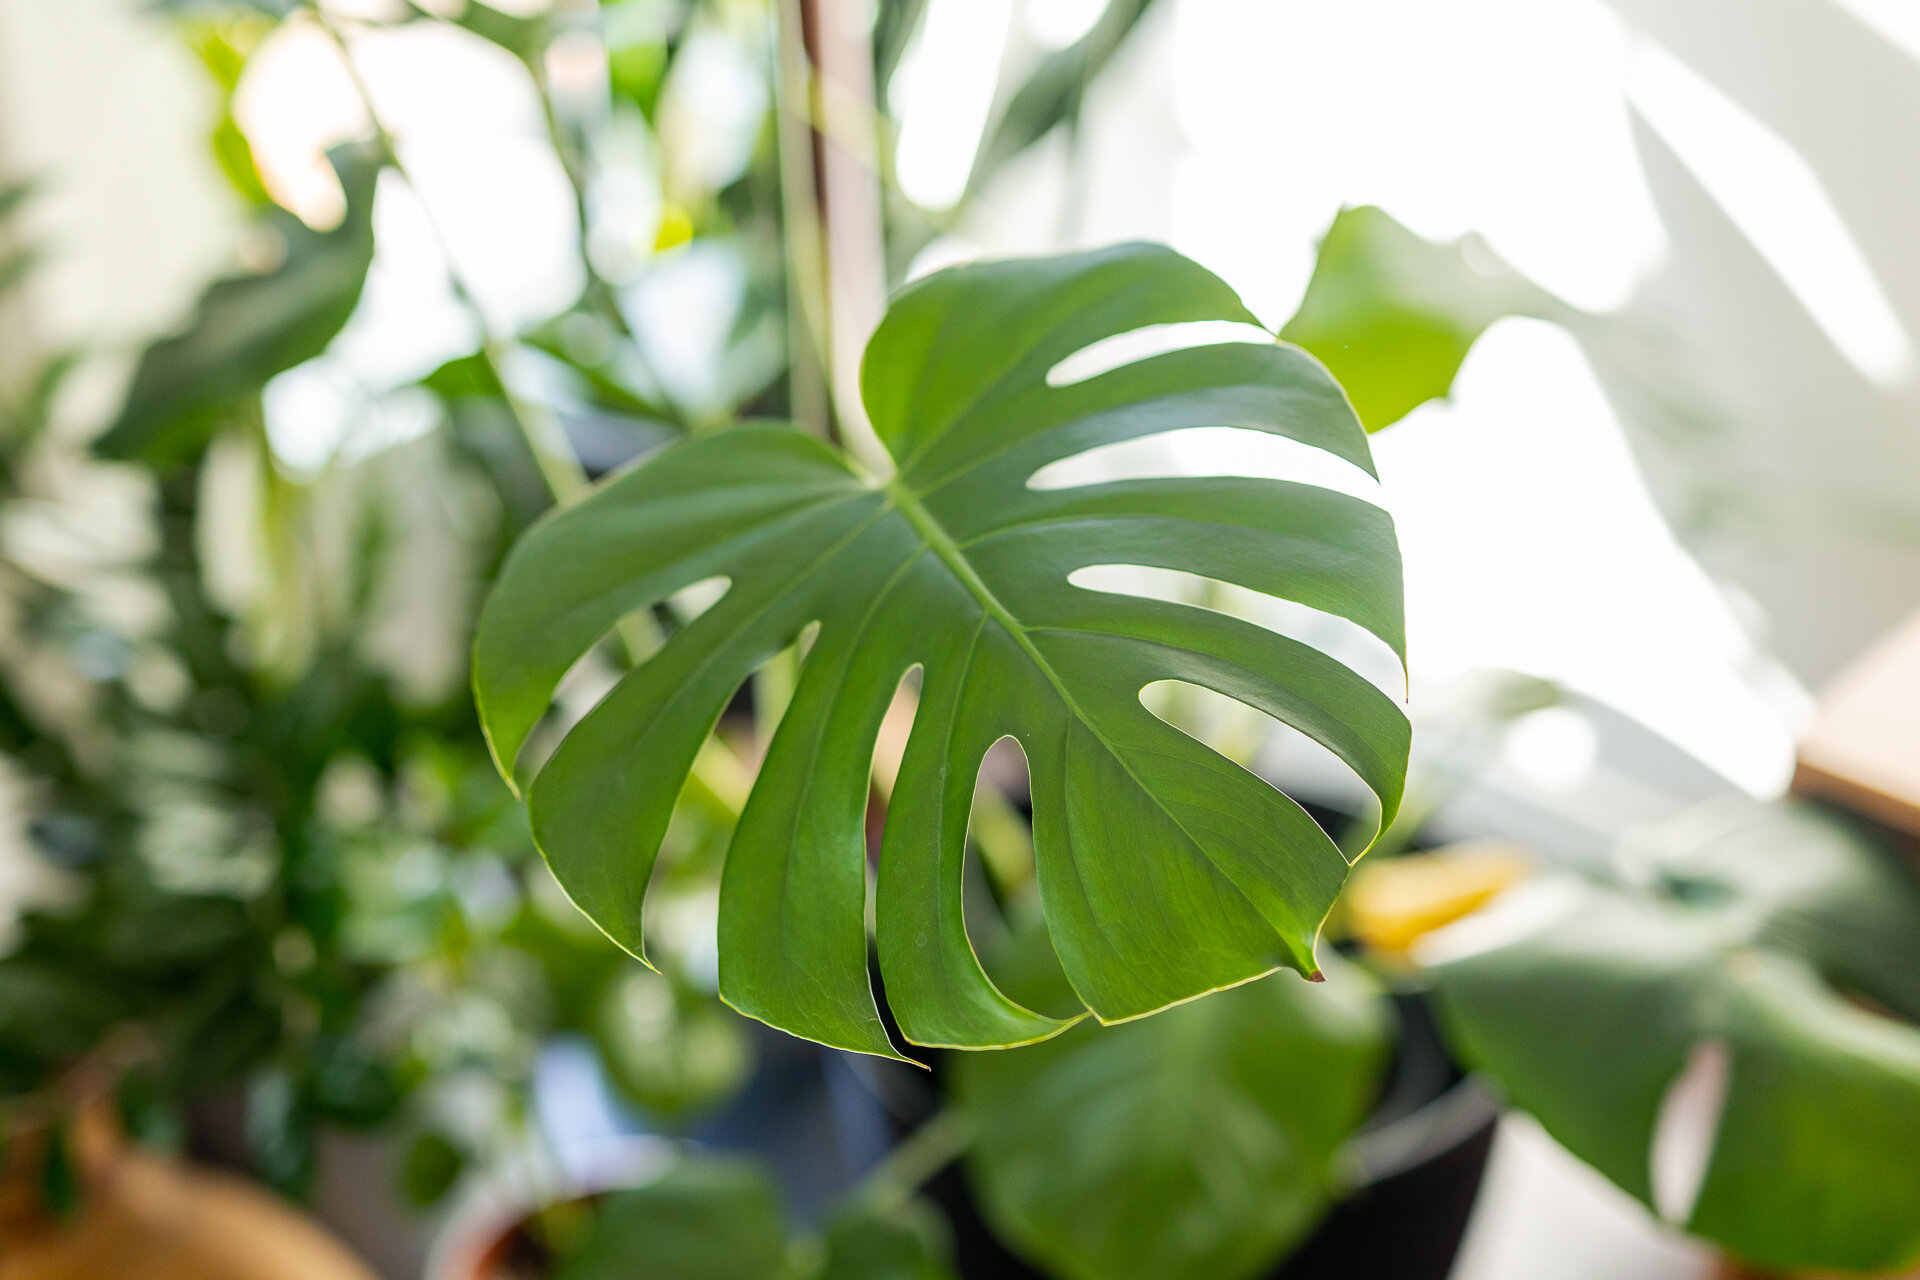
To give the living room life, I wanted to fill it with plants. Not just any plants, but ones that I know I could take care of and would do well in the environment here. So I moved in plants I already owned and purchased a few more to fill up empty spots.

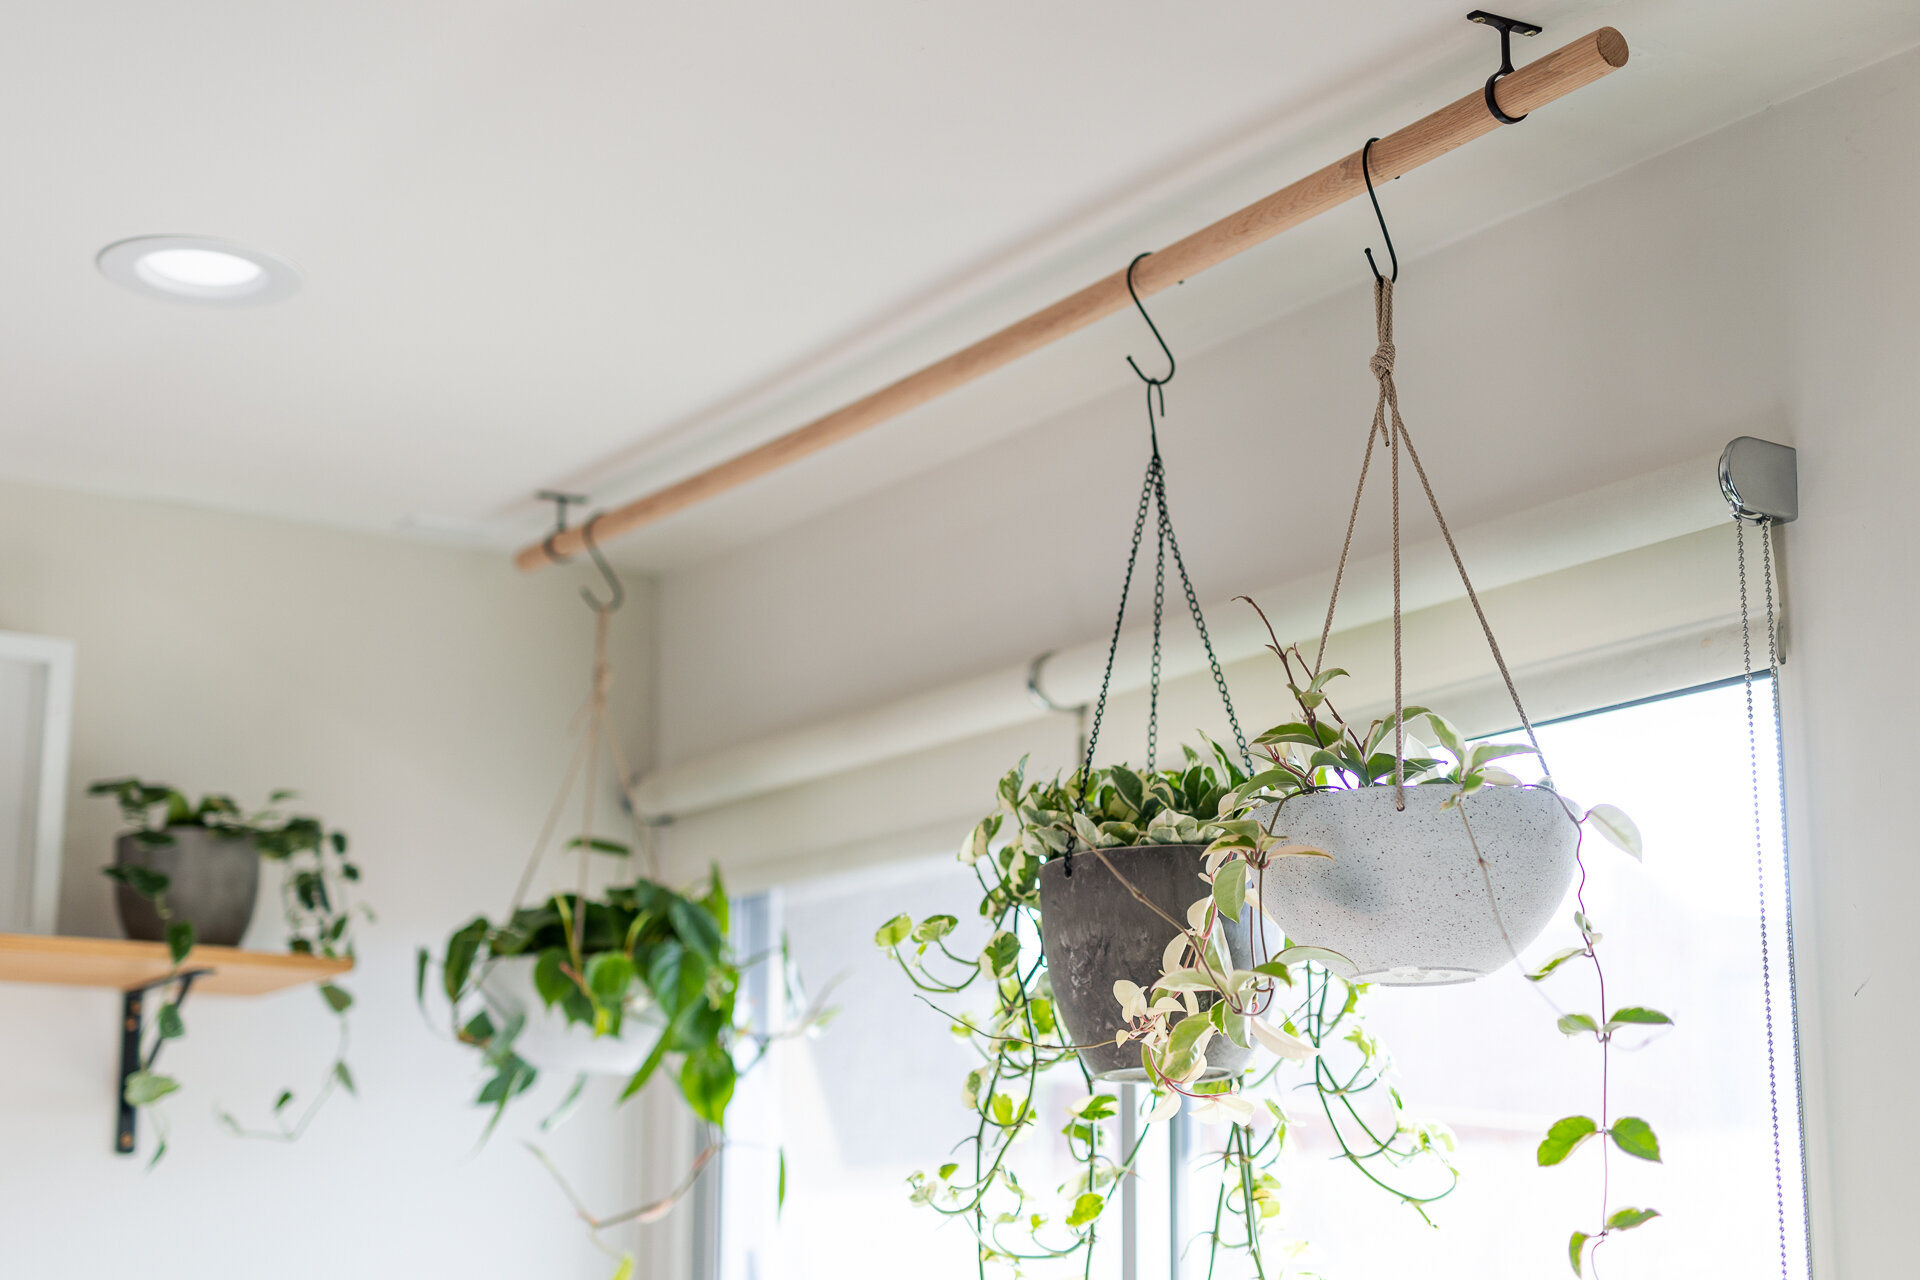
I then built a DIY plant hanger out of a closet rod and brackets into the ceiling, to make room for hanging plants by the window. My goal was to create a visual flow of greenery– from Belinda's desk all the way over to the media console –to tie the whole room together. I created a whole tutorial for this DIY Plant Hanging Rod here.

Plants Featured (Common Names):
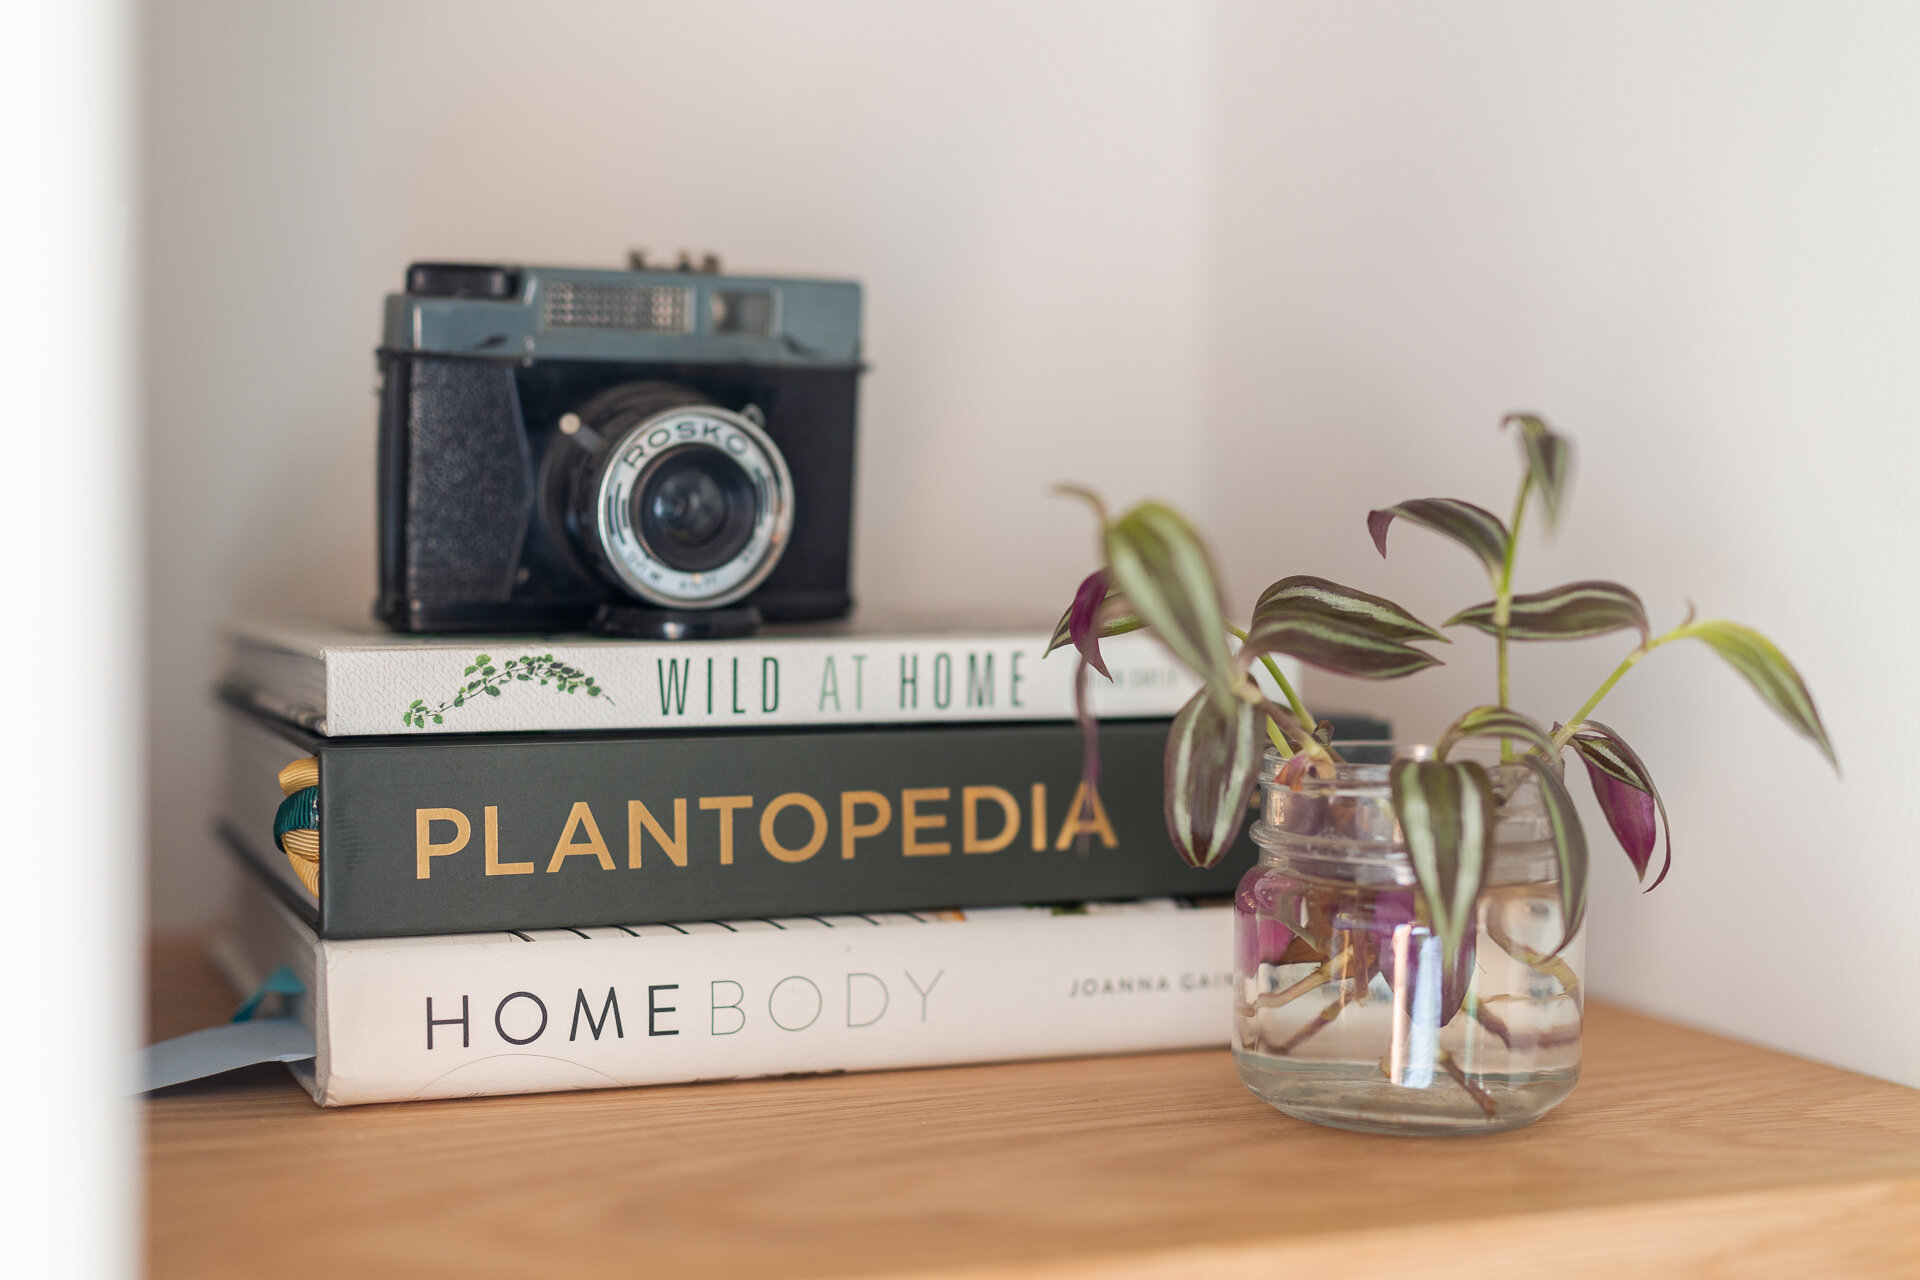
Book recommendation: Plantopedia
The Results
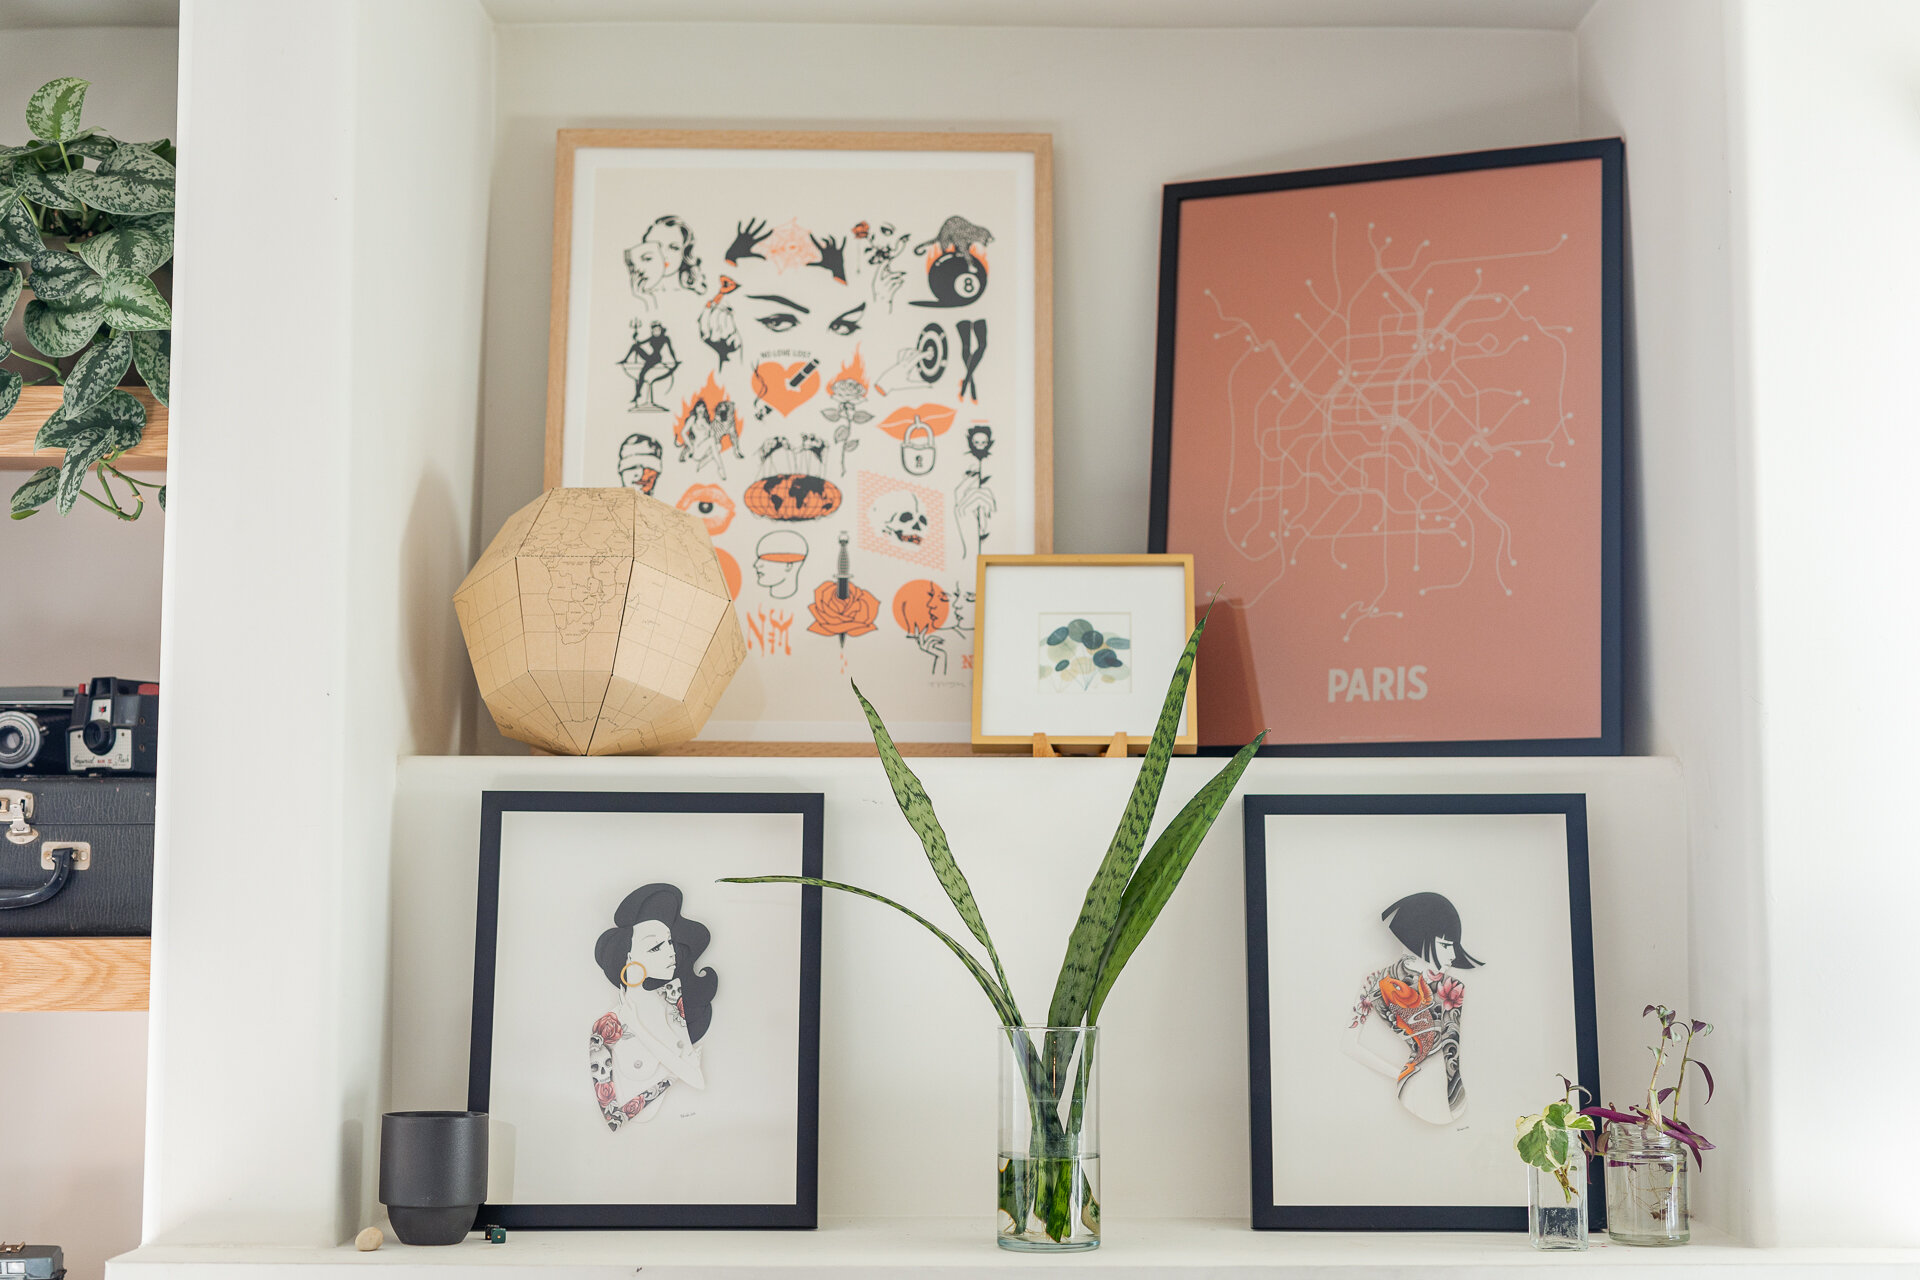
Since we've updated our living room, Belinda and I have been spending so much more time in this space. It's perfect to start the day in, and is so cozy to unwind in at night. I've even found myself working here instead of my home office, just because it's so refreshing. There are still a few small things I'd like to update (like the artwork on the mantle and above the TV) but for now, I'm happy with where it's at.

Watch the entire process from beginning to end on YouTube.